Undersized power is the #1 killer of pixel installs — dim whites, flicker under load, controllers rebooting mid-show. Oversized power wastes money and complicates wiring. This guide gives you the exact sizing formula, the supply types worth buying, and the multi-supply wiring patterns the pros use.
Recommended for new shows: LEDEdit Pro 2026
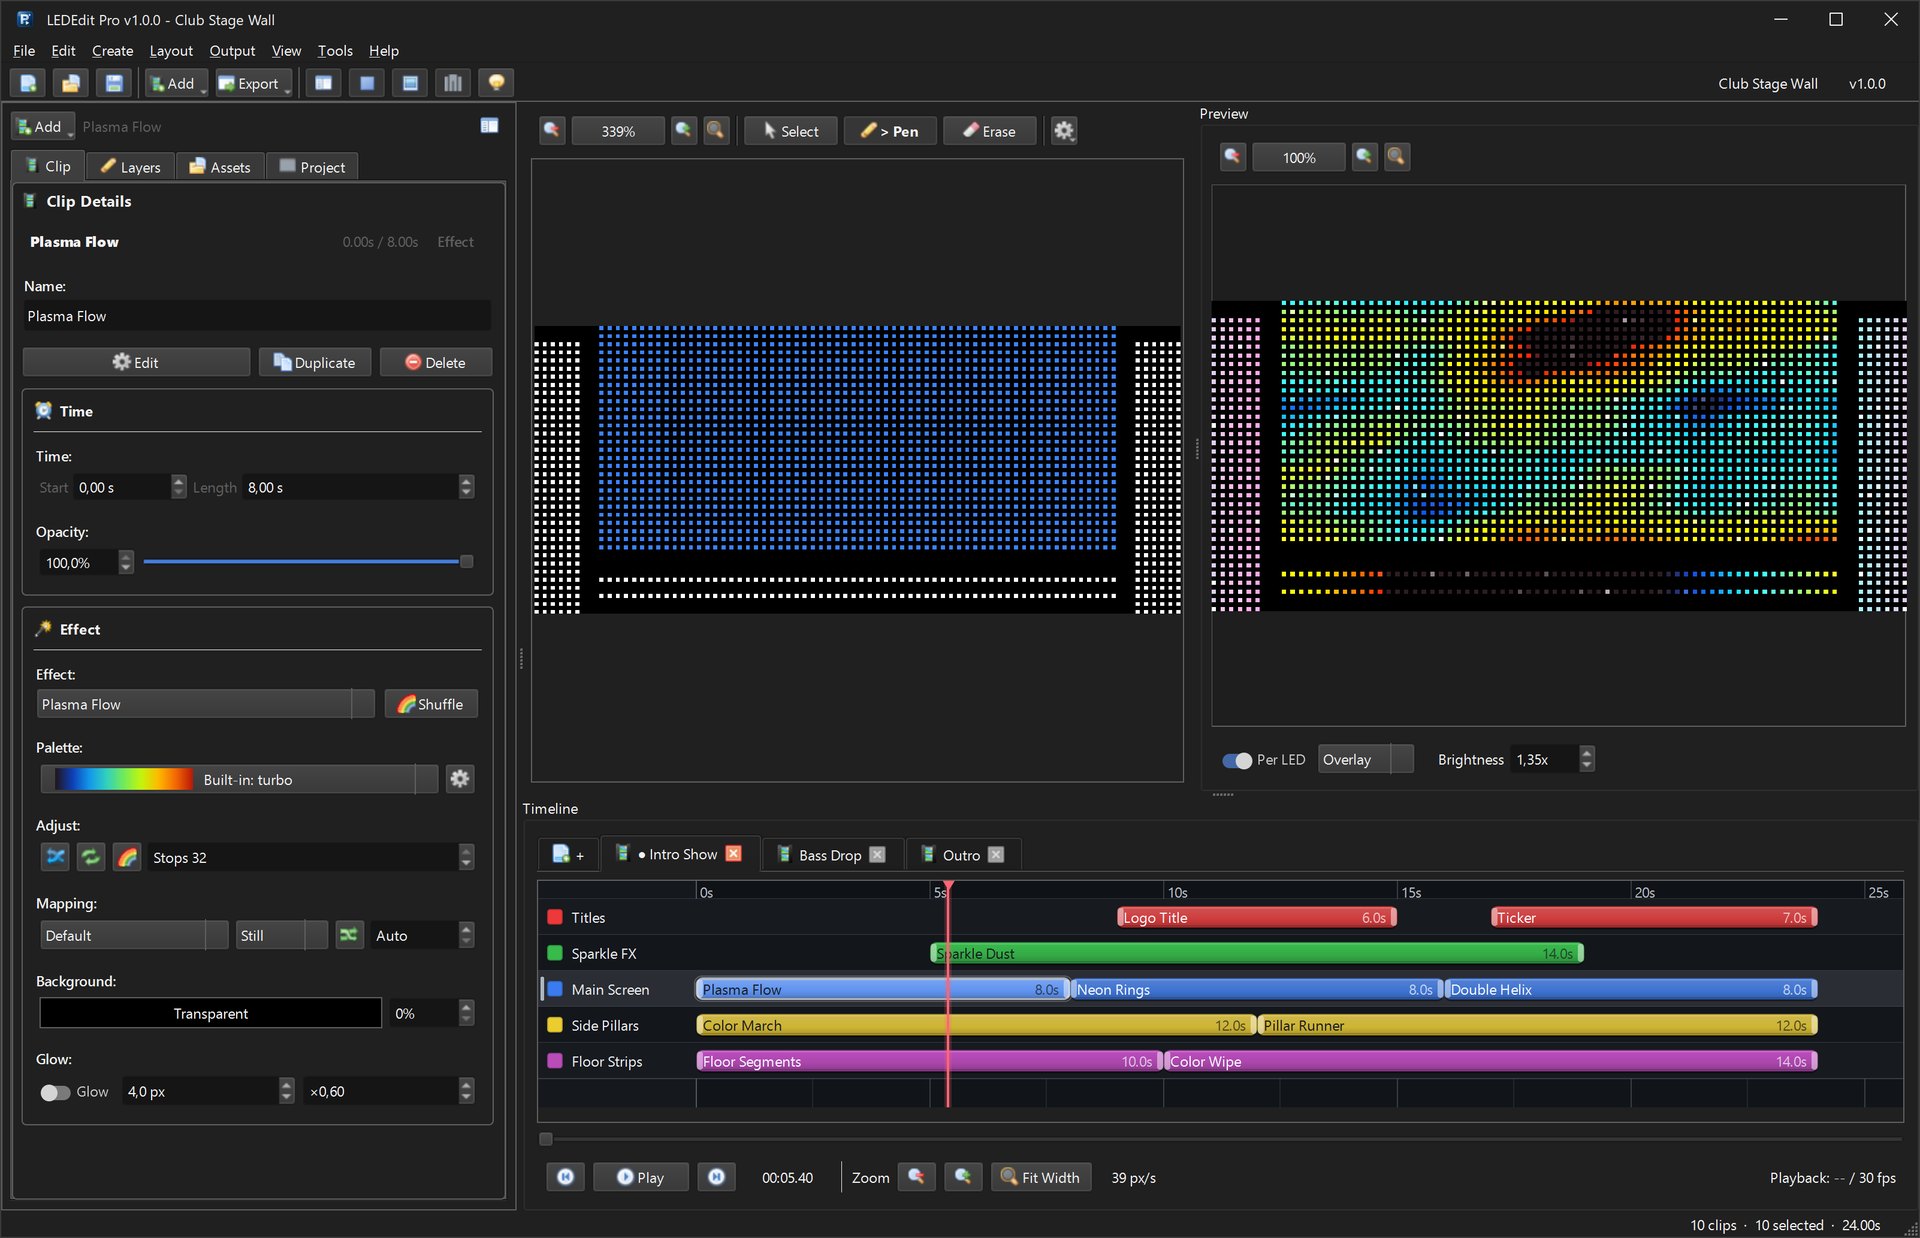
Power done right deserves content done right. LEDEdit Pro 2026 builds the shows your wall will play — multi-layer timeline, 151 effects, LED Layout Creator with DXF import/export, live per-LED preview and direct .led export for 19 controller families.
The sizing formula
Measure or look up single-pixel full-white current, then:
Total current  = pixels × amps-per-pixel
Supply minimum = total current × 1.0
Supply bought  = total current × 1.2  (20% headroom)
Typical per-pixel full-white draw at 5V:
| Strip | Per-pixel max |
|---|---|
| WS2812B 30 LEDs/m | ~50 mA |
| WS2812B 60 LEDs/m | ~50 mA (same chip, more of them) |
| WS2811 12V string | ~55–60 mA |
| SK6812 RGBW | ~60–80 mA (white channel adds up) |
| APA102 | ~50–60 mA |
Worked example: 300 WS2812B pixels × 0.05 A = 15 A total → buy 18 A minimum → nearest standard size is a 5V 20A (100W) supply. For 1,000 pixels: 50 A → buy 60 A, split across two 30A units rather than one monster.
Design for white, enjoy the colors. Effects rarely pull full white on all pixels, but the supply must survive the all-white test pattern without sagging below ~4.6V at strip end.
Linear vs SMPS (buy SMPS)
- Linear supplies — heavy transformers, hot, inefficient. Only for tiny lab setups.
- SMPS (switch-mode) — the silver perforated bricks (Mean Well LRS/RSP series and clones). Efficient, cheap per watt, the standard for every install in this guide.
Buy branded SMPS for permanent installs (Mean Well and equivalents) — no-name bricks lie about wattage by 20–30%. For one-night events, clones are acceptable if you keep the 20% headroom rule to 30%.
Voltage: 5V vs 12V pixels
- 5V strips (WS2812B): efficient for short runs; voltage drop bites fast — inject every 2.5–5 m.
- 12V strings (WS2811 12V): lower current per meter, longer runs between injection (5–10 m), slightly less efficient per lumen. The default for outlines and facades.
Match the supply to the pixels — never feed 12V into 5V strips. When an install mixes voltages, use separate supplies with a common ground.
Power injection spacing
| Density | 5V injection | 12V injection |
|---|---|---|
| 30 LEDs/m | every 5 m | every 10 m |
| 60 LEDs/m | every 2.5–5 m | every 5–7 m |
| 144 LEDs/m | every 1–2 m | n/a (runs hot, short only) |
Injection = run thick wire (1.5–2.5 mm²) from the supply directly to the strip’s +/− pads at intervals; do not daisy-chain power through 10 m of thin strip copper. Cut the +V rail between injection zones on very long runs (keep GND continuous) so supplies don’t back-feed each other.
Multi-supply wiring
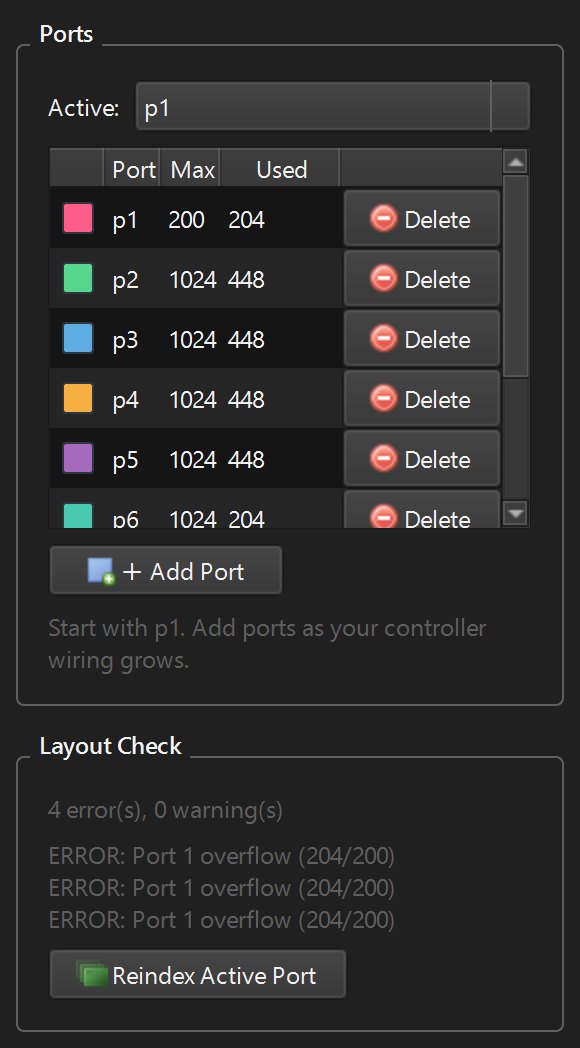
- One supply per zone: e.g. ports 1–3 on supply A, ports 4–6 on supply B.
- Star ground: tie all supply GNDs and the controller GND together at one point.
- Separate +V: never parallel two supplies’ +V outputs — diode-OR or split zones instead.
- Fuse each feed: automotive blade fuses per injection leg (5–15A by wire size). A shorted strip without a fuse becomes a heater.
- Controller logic gets its own small feed (or shares zone A through a buck converter) — never power 300 pixels through the controller board.
Wire gauge cheat sheet
| Current | Distance <3 m | Distance 3–10 m |
|---|---|---|
| <5 A | 0.75 mm² | 1.5 mm² |
| 5–10 A | 1.5 mm² | 2.5 mm² |
| 10–20 A | 2.5 mm² | 4 mm² |
| >20 A | split into zones | split into zones |
Troubleshooting
| Symptom | Fix |
|---|---|
| White looks pink/orange at strip end | Voltage drop — add injection point, thicker feed |
| Controller reboots on bright scenes | Logic supply sagging — separate controller feed |
| First LEDs flicker | Missing common GND between controller and strip |
| Supply buzzes/overheats | Undersized — recalc with headroom, improve ventilation |
| Breaker trips at power-on | Inrush current — stagger supply power-up, add soft-start |
Related guides
- T-600K tutorial — multi-port wiring that needs this math
- T-1000S tutorial — single-port power basics
- LEDEdit-K online guide — networked installs
- Free downloads — LEDEdit installers
- LEDEdit Pro 2026 features — build the show after the wiring