Pixel Christmas lights look best when every part of the house has its own role: a chasing roof line, calm walls, glowing windows and a sparkling tree. This project builds exactly that in LEDEdit Pro 2026 and exports it for an SD-card controller with four outputs — here a T-4000.
The plan
| Run | Port | LEDs | Shape |
|---|---|---|---|
| Roof line | p1 | 49 | Eave → peak → eave |
| Walls | p2 | 126 | Rectangle |
| Tree | p3 | 72 | Triangle outline |
| Windows | p4 | 64 | Two squares, one chain |
| Total | 4 outputs | 311 |
The demo uses a compact grid so everything fits on screen; a real house simply has longer runs. Each T-4000 output allows up to 2,048 LEDs in the export profile, so there is plenty of room — see the T-4000 page.
1. Draw the runs
In the LED Layout Creator:
- Set Max LEDs/port to 2048 and load a photo of the house as Background Image if you have one.
- Pick p1 as active port and draw the roof line with Draw LEDs from the left eave over the peak to the right eave. Linear runs are wired in the order you draw them.
- Repeat on p2 (walls), p3 (tree) and p4 (windows). The two windows share one chain — the thin line between them is the data jump.
- Layout Check: Ready: 311 LEDs across 4 port(s) → Push to Editor.

2. One layer per run
Create four layers — Windows, Roof, Walls, Tree — and paint each mask over its run. Separate layers let every part of the house do something different at the same time.

3. Scene “Evening”
| Layer | Effect | Palette |
|---|---|---|
| Windows | Breathe | sunfire — a warm glow |
| Roof | Color March | candycane — red and white |
| Walls | Color March | ice_crystal — cool blue and white |
| Tree | Color March | gold_rush — gold |
4. Scene “Party”
Add a second scene with more movement: Colorloop in the windows, Theater Chase on the roof, Color March in candycane on the walls and Sparkle on the tree.

5. Preview every pixel

6. Switch programs by time
If your controller supports time schedules, Output → LEDEdit Tools → Time Schedule… writes a .tst file: set the hour and minute, the mode (for example Play program(s)), the weekdays and the programs to play — for instance the Evening program from 19:00.

7. Export for the T-4000
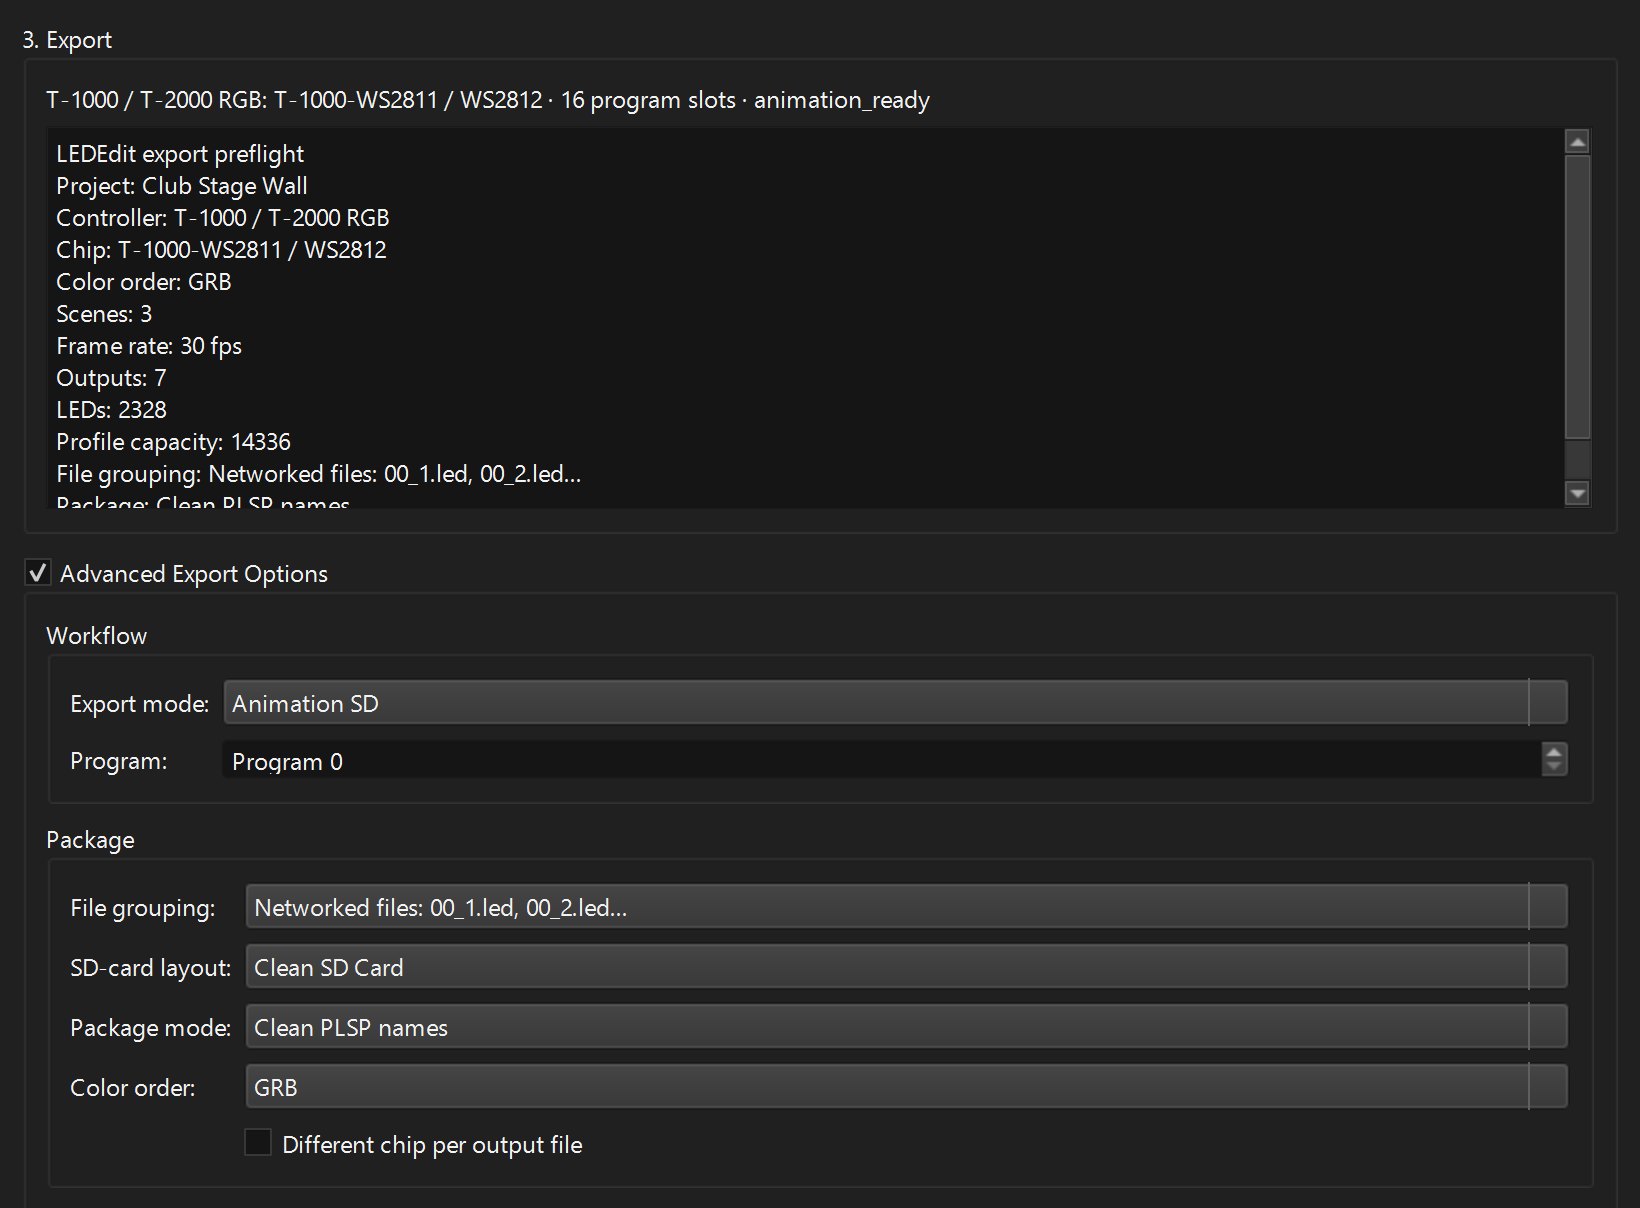
Output → Export LEDEdit .led… → choose the T-4000 family and your chip, check the preflight (4 outputs, 311 LEDs, 2 scenes) and export.

Tips for outdoor Christmas pixels
- Keep one run per architectural line — it makes animation and troubleshooting easier.
- Warm palettes in windows and cool palettes on walls make the roof line and tree stand out.
- Test the SD card before the first cold evening; if a controller refuses the file, use the DXF + AVI fallback.