Text is the hardest layout in pixel LEDs — every letter must be legible, wired in one continuous path, and connected to its neighbors without breaking the reading order. This guide walks through LEDEdit’s text tools: input window, character separation, per-letter detail fixes, series wiring and the scrolling ticker setup shops pay for.
Recommended for new shows: LEDEdit Pro 2026
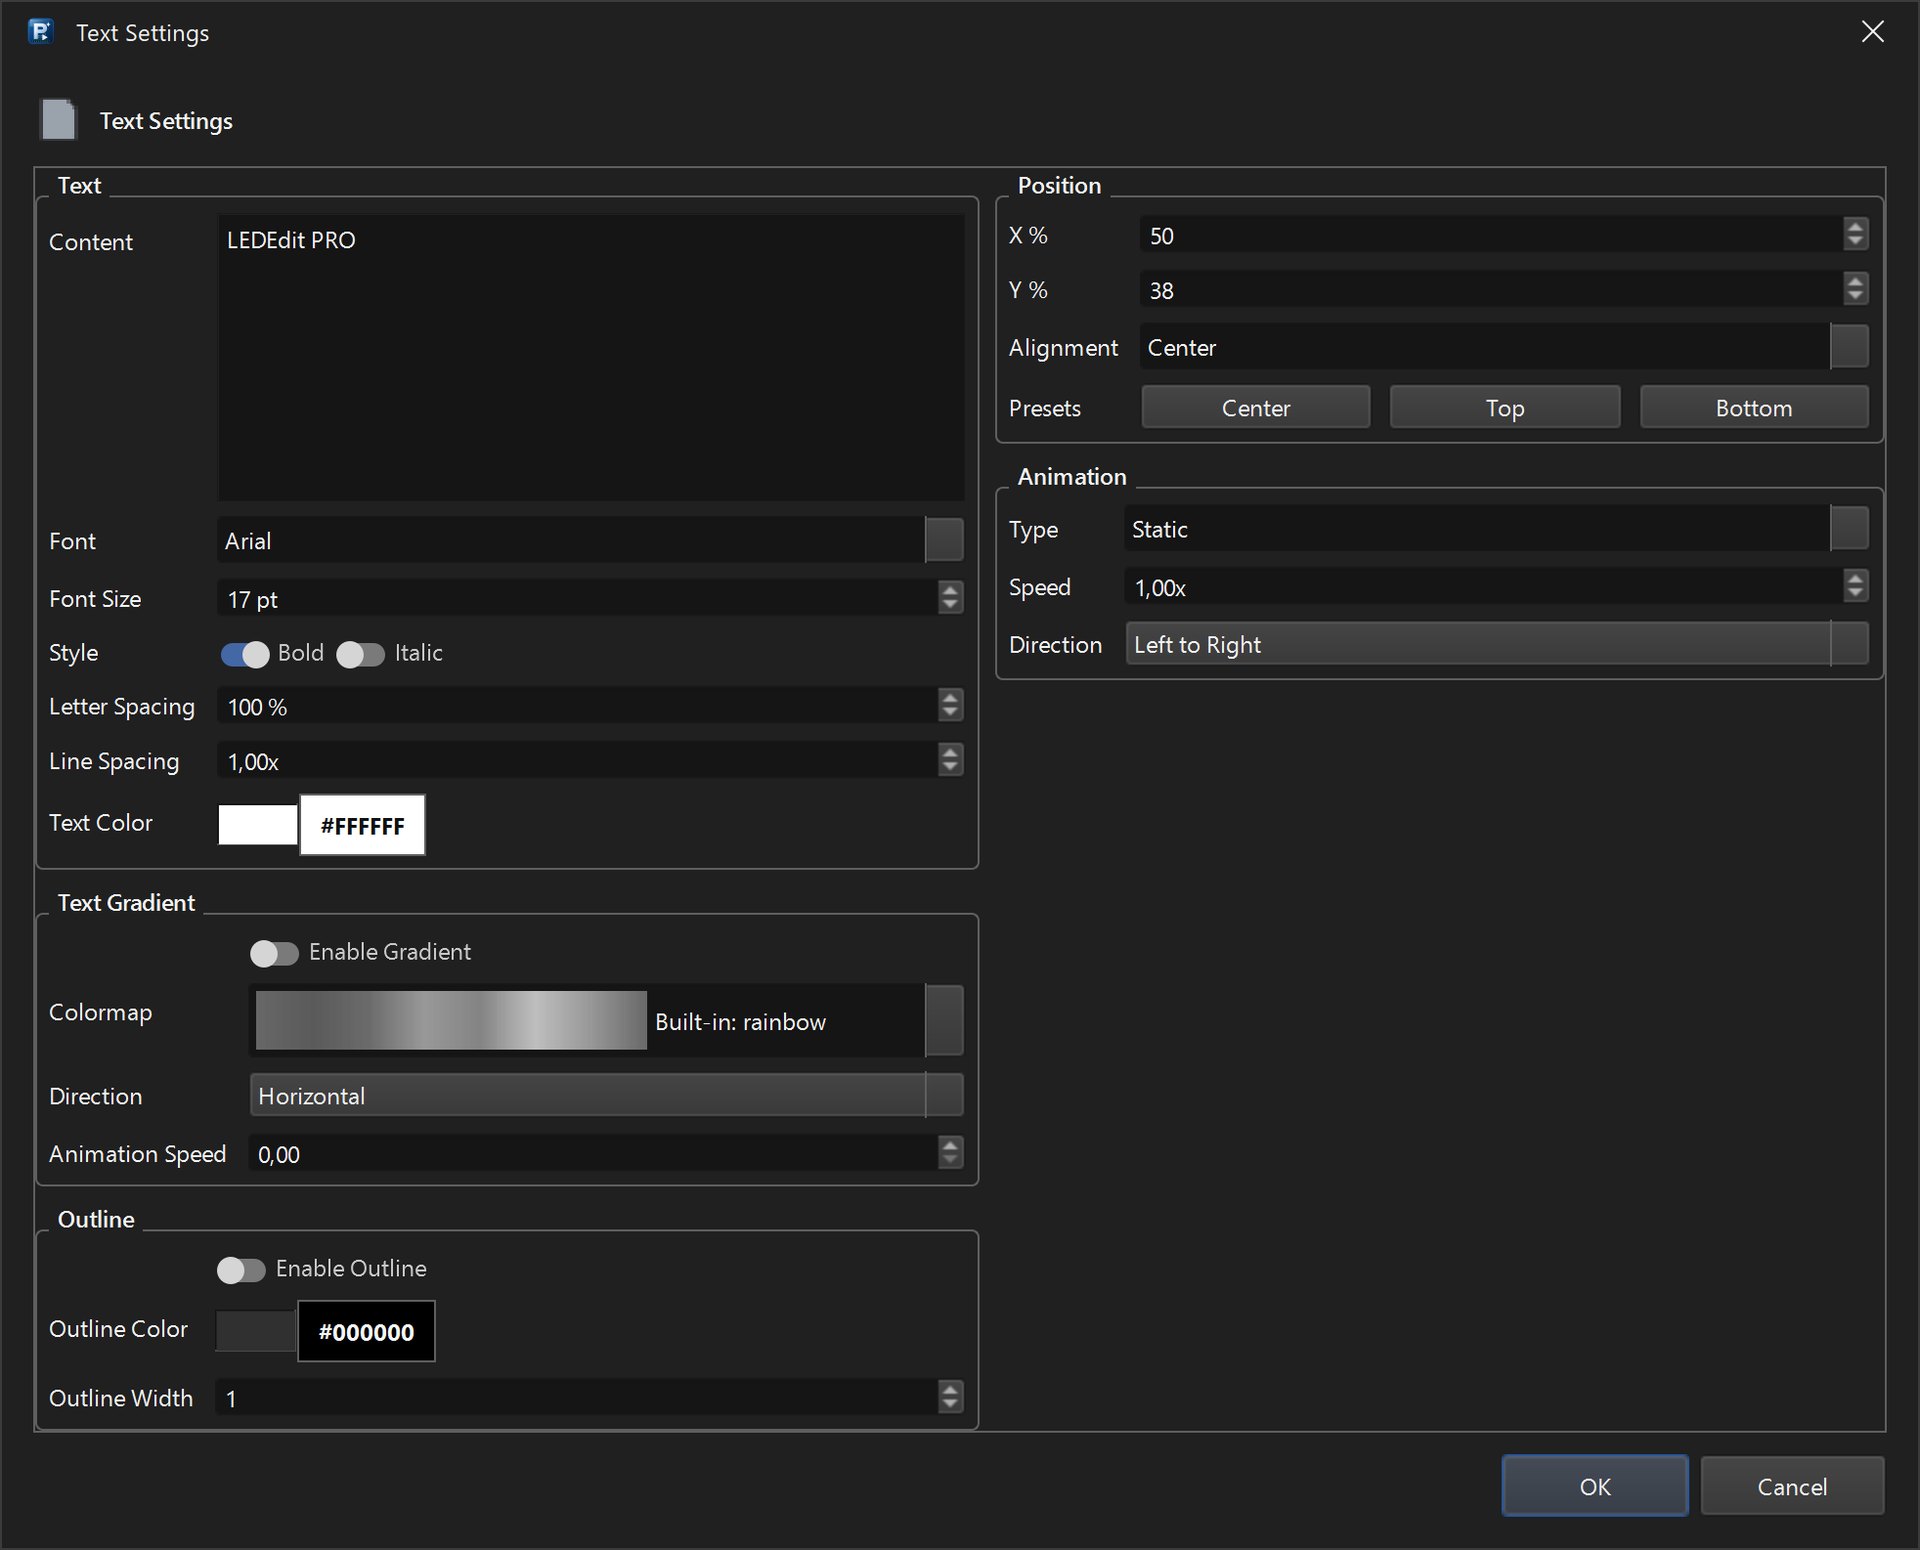
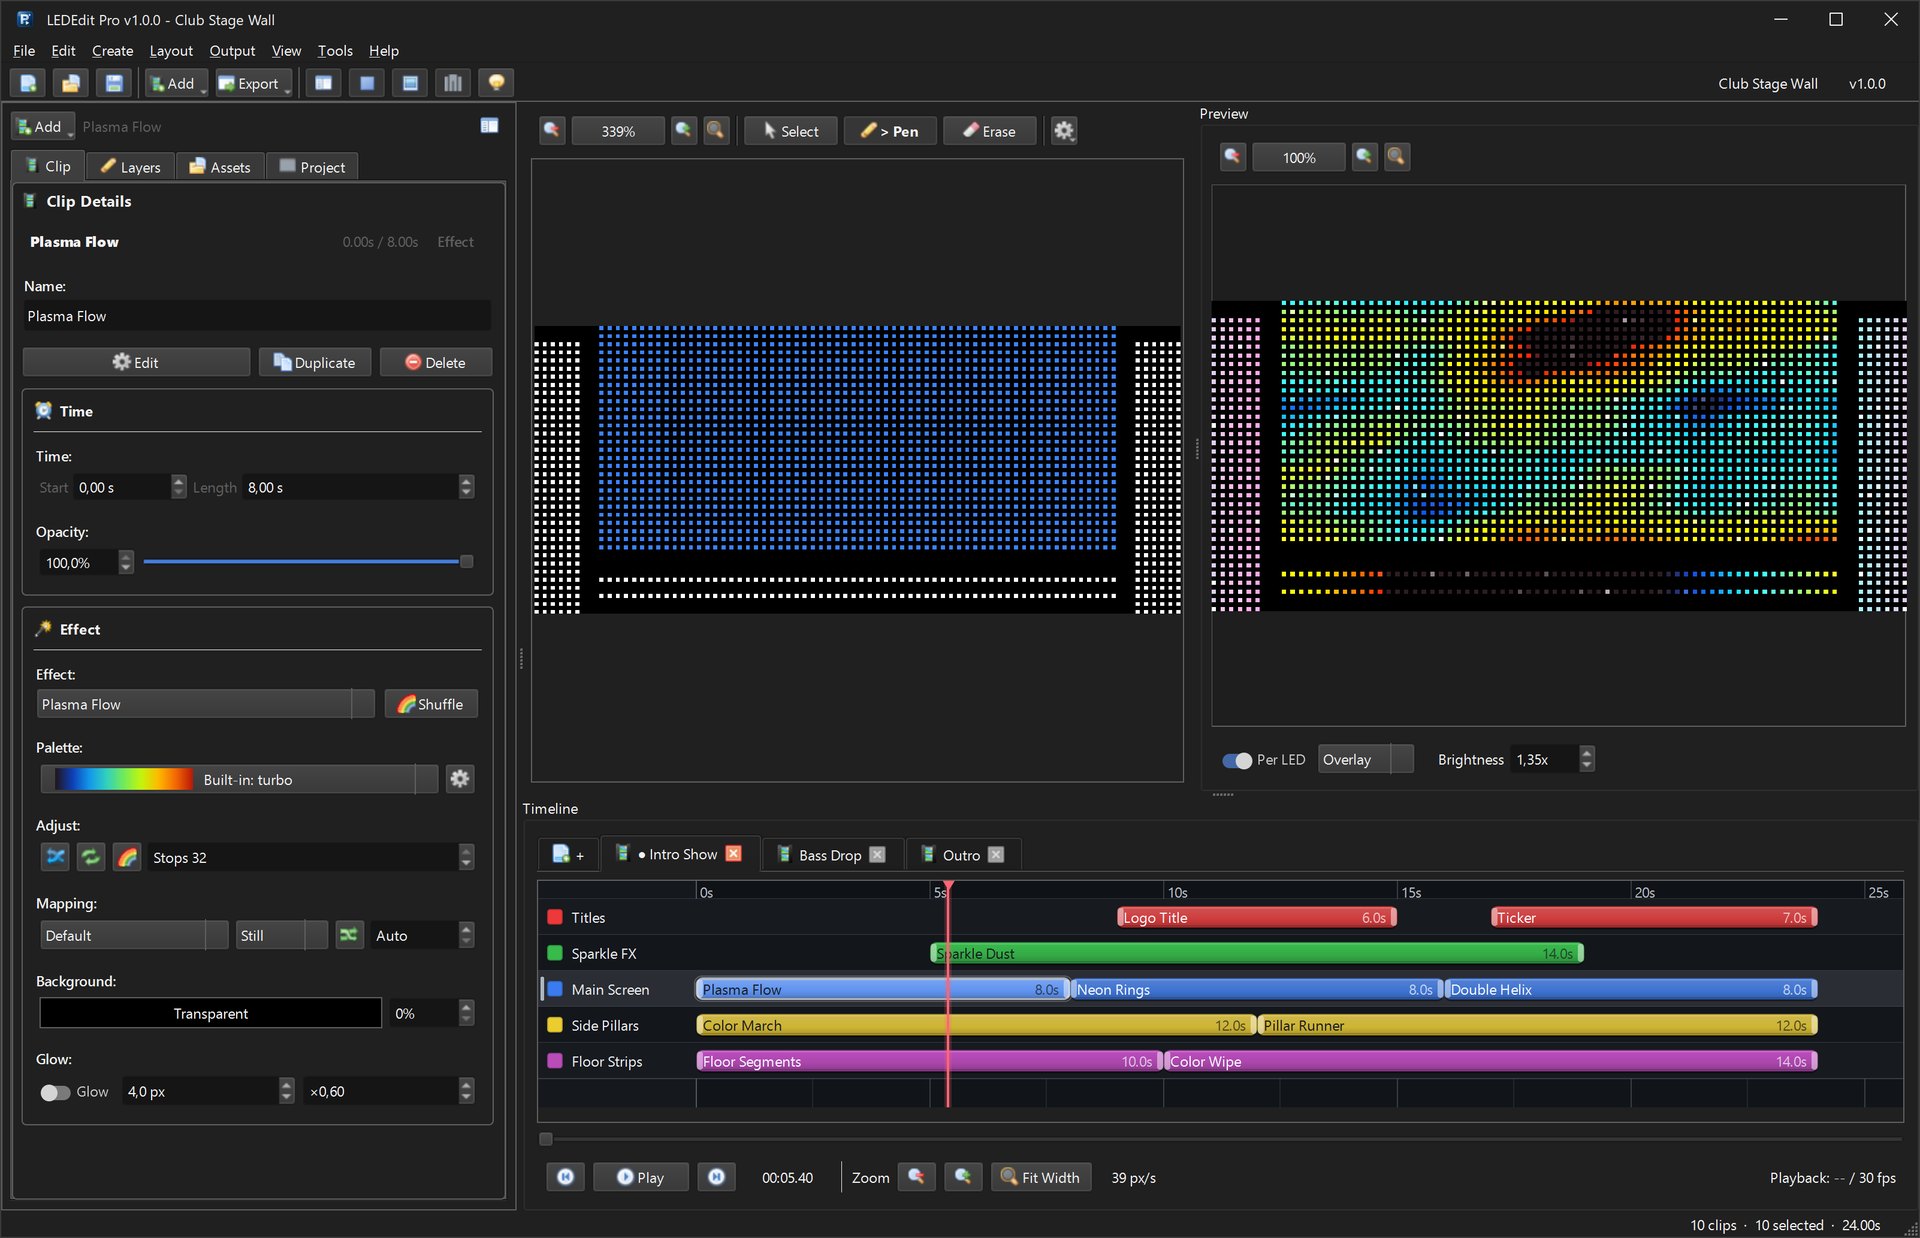
Hand-wiring letters is tedious. LEDEdit Pro 2026 adds text clips with outlines, gradients and scrolling tickers on a multi-layer timeline — type the message, pick the animation, export the .led. No per-pixel surgery.
Step 1: input text window
Layout → Input Text → type your message, set font (blocky sans-serifs map best — thin serifs vanish at low resolution), size in pixels, and spacing. LEDEdit renders each character as a pixel block on the grid. Keep messages short: at 16 px cap height, “OPEN” needs ~80 px width — measure your wall before promising a sentence.
Resolution reality: a 32 px tall wall fits one line of 16–24 px text. Two lines need 48+ px height. Sell the right wall size before drawing.
Step 2: separate the characters
The import drops the whole word as one block — now separate characters with the cut tool so each letter becomes its own section. This lets you wire letters in reading order and fix them individually. Leave 1–2 px gutters between letters for readability; touching letters blur into blobs at distance.
Step 3: fix character details
Auto-rendered letters have classic defects — learn the three repairs:
- The “e” hole: the center bar often merges with the outer ring. Cut the bridge pixel, add the missing bar pixel manually (the “fixing character e” workflow).
- Thin diagonals (A, V, W, N): add pixels to thicken 1-px diagonal strokes to 2 px — single-pixel diagonals flicker and disappear off-axis.
- Character H crossbar: verify the H connection plan — both verticals plus crossbar must be one continuous path, no islands.
Use cut/paste tools to move whole letter sections, and the line tool to add missing details. Zoom to 400%+ — at 100% you can’t see single-pixel faults.
Step 4: wire each letter
Inside each character, the pixels must form one unbroken data path:
- AutoLX for blocky letters with regular rows — fastest.
- AutoAX for letters with long verticals.
- Manual connection for tricky letters (e, s, a) — trace the path pixel by pixel, watching for branches (a pixel with two unvisited neighbors = decision point; pick the route that visits all).
Each letter should end where the next begins — plan exit pixels adjacent to the next letter’s entry.
Step 5: series-connect the word
Connect each section in series left to right: letter 1 output → letter 2 input → … → last letter output → controller port (or next word). This is the step everyone rushes — a reversed link between two letters mirrors everything downstream. After linking, run a chase across the full word: it should sweep smoothly left-to-right with no jumps.
Step 6: port to layout and export
Bind the word block to its controller port with the port tool, confirm the LED count against the port limit, then export. For signs wider than one port, split between words (never mid-letter) and assign word 1 → P1, word 2 → P2.
Save the wired alphabet as a .cxb file (imported .cxb file workflow) — next sign reuses your fixed letters instead of re-repairing every “e”.
Scrolling tickers
For scrolling messages: timeline → text effect → bind to the sign’s layout section → set direction (right-to-left for Latin scripts), speed in px/sec, and loop gap. Test at real viewing distance — 30 px/sec looks frantic up close but perfect from 50 m. Keep ticker height to one text line; two-line scrollers need double the wall height and careful line sync.
Troubleshooting
| Symptom | Fix |
|---|---|
| Letters mirrored | Section direction flipped on that letter |
| One letter dark | Unconnected island — layout check, bridge the gap |
| Text unreadable at distance | Too small / touching letters — increase size, add gutters |
| “e” and “a” fill in | Missing counter repair — cut the bridge pixel |
| Ticker stutters | Too many pixels per port at high frame rate — split ports |
Related guides
- LED layout guide — maps and BMP import
- T-1000S tutorial — wire the finished sign
- Power supply guide — feed the sign
- Free downloads — LEDEdit installers
- LEDEdit Pro 2026 features — text clips with animation