The right frame rate for an LED animation is one your source, project and controller can handle consistently. In LEDEdit Pro, .led export samples the composition at the project’s frames per second, or FPS. A higher number creates more output frames; it does not automatically make low-frame-rate footage smoother or fix an overloaded controller.
Start with the requirements for your exact controller and installation. Then compare a short test at suitable settings before exporting the full programme. There is no single FPS value that is correct for every T-series or K-series controller, chip and pixel count.
Source FPS, project FPS and playback are different
The source frame rate belongs to an imported video. A 25 FPS movie contains roughly 25 source pictures for each second. The project frame rate determines the time steps used when LEDEdit Pro renders the composition, including video, effects and text.
The hardware must then play the resulting data. A smooth desktop preview does not prove that an SD-card controller will play the same file at the requested rate. Controller firmware, selected chip protocol and the installation’s output requirements all matter.
Keep these three questions separate: how many useful frames does the source contain, how many frames are you exporting, and what does the actual controller support? Changing one number without checking the others often hides the original problem.
Where to set FPS in LEDEdit Pro
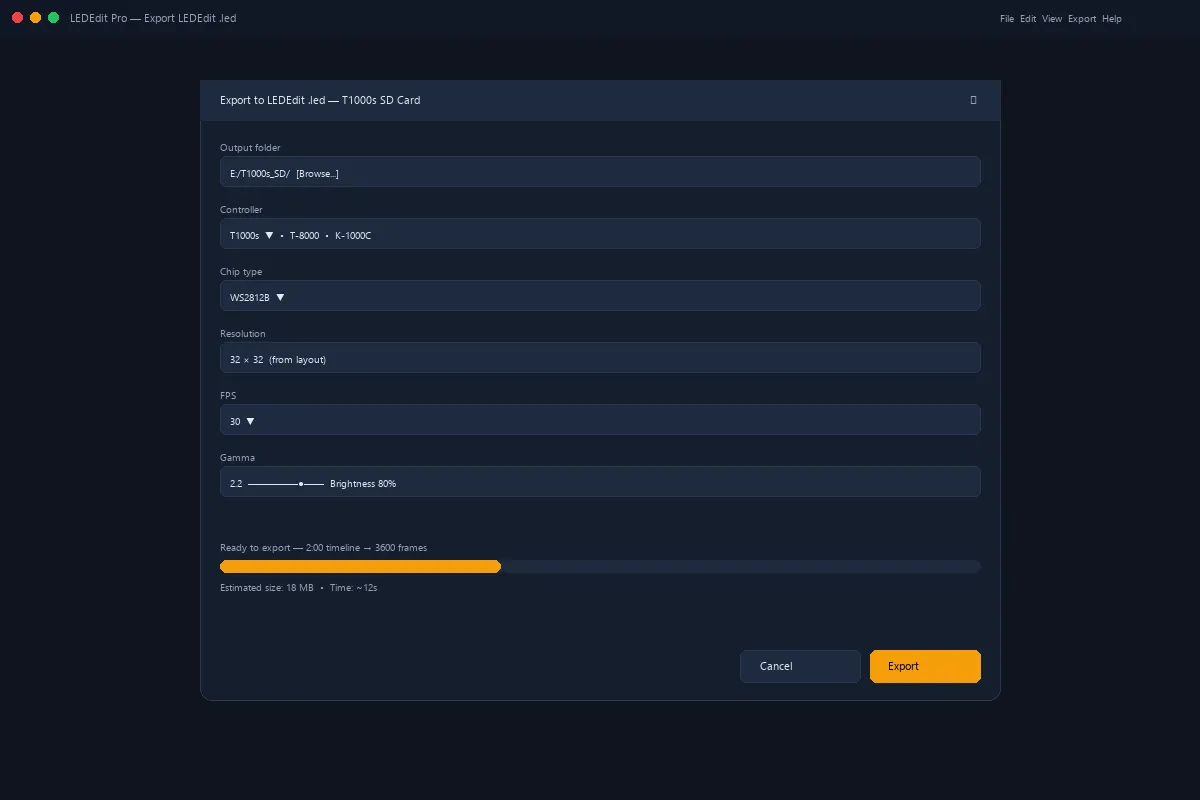
Open Tools → Settings and find Default FPS. In the current application, applying this setting also updates the open project’s FPS. Save the project after changing it, and inspect the export preflight to confirm the rate that will be used.
An existing project loads its saved FPS, so do not assume it uses the same rate as the project you edited yesterday. Verify it whenever you open a template or a project received from someone else.
The settings control permits values that may exceed your controller’s capabilities. Its available range describes the editor, not a hardware compatibility guarantee. Likewise, the FPS options for exporting a preview video should not be confused with the project’s .led output settings.

What happens when the frame rates do not match?
If you put 25 FPS footage in a 50 FPS project, the source still has only its original motion detail. Rendering at more time steps does not manufacture the missing in-between movement. Procedural effects may benefit from finer sampling, but the imported movie remains limited by its source.
Going the other way means some source moments will not appear in the output. Converting between rates that do not divide evenly can also produce an uneven cadence that is noticeable on steady pans, rotating shapes or moving text.
For reference, FFmpeg’s standard fps filter changes the rate by dropping or duplicating frames. That is distinct from motion interpolation. Do not describe a simple frame-rate conversion as generating genuinely new motion detail.
If your project is mainly imported video, matching a supported source rate is a useful starting point. If the controller requires another rate, prepare and judge the conversion deliberately rather than assuming the higher number is better.
More frames mean more work
A ten-second composition at 25 FPS contains approximately 250 output frames. At 50 FPS it contains approximately 500. That doubles the frame count for the same duration; it does not double the duration or slow the animation down.
More output frames generally mean more rendering work and more frame data. Exact file size depends on the controller format, channel count, packaging and overhead, so frame count alone is not a precise storage calculator.
For a long installation programme, test the chosen settings on a short representative scene first. A ten-second test with the real pixel routing is more informative than a full export that has never been played on the target hardware.
Run a useful comparison test
Keep the scene, layout, colour order and export profile unchanged between tests. Only change the frame rate. Otherwise, you cannot tell whether a visible improvement came from FPS or from a different effect, brightness setting or wiring correction.
Use a scene containing a slow sweep, a moving edge and a short text passage if text is part of your installation. Avoid making the test depend entirely on random sparkle, because irregular motion makes cadence harder to compare.
For each export, record the project rate, duration, controller profile and hardware result. Use clearly named folders on your computer to separate the tests while preserving the filenames required on the SD card. Play each version on the actual controller and watch from the normal viewing distance.

Diagnose the symptom before changing FPS
Motion advances in obvious jumps: inspect the source video first. If the same jumps are present there, raising project FPS will not remove them. Slowing the creative movement may improve readability, but that is a design change, not a conversion fix.
The desktop preview struggles but the rendered file is fine: preview responsiveness and offline export are different. Do not reduce the final output rate solely because a complex scene is difficult to preview on that computer.
The controller runs differently from the preview: check its documented limits, output profile and pixel routing. Compare with a known-working short file. See the SD-card playback checklist rather than guessing a universal maximum FPS.
Colours are wrong or the picture is scrambled: investigate colour order and LED mapping. Frame rate does not determine which physical LED receives each colour value.
A practical starting rule
Choose a rate documented for your exact controller configuration, keep imported footage consistent with it where practical, and use the lowest tested rate that gives the motion quality your design needs. This is a testing strategy, not a claim that one preset suits every installation.
Once the short test is reliable, keep those settings for the full export and save the project alongside your notes. Continue with the MP4 and AVI to .led workflow for video-based projects, or explore the editor on the LEDEdit Pro product page.