Layer masks in LEDEdit Pro let you limit an effect to a particular part of the canvas. That is useful when the border should chase, the centre should show video, and a sign should remain readable. Instead of baking every region into one source movie, give each region its own layer and timeline clips.
The important distinction is that a mask controls where content appears. It does not rewire the installation, change LED numbering or create a new physical controller port. Keep those jobs in the LED layout.
Plan the zones before adding effects
Consider a display with a rectangular centre panel and a surrounding border. Start with two regions: Centre and Border. Add a third region only if it genuinely needs independent content or timing, such as a separate sign above the panel.
Draw a quick list of what each region should do. For example, the centre plays a slow colour field, the border runs a chase, and the sign shows a short name. This is a planning example, not a supplied project or a claim that every installation has those parts.
Keep the first version deliberately simple. If every layer contains fast motion and strong contrast, it becomes difficult to tell whether a problem comes from a mask, the source clip or the overall design.
1. Verify the physical layout
Import the installation’s layout or build it in the LED Layout Creator. Check positions, connections and port assignments before drawing masks. A visually correct rectangle can still export in the wrong order if its wiring does not match the real panel.
A region can include LEDs connected to more than one port. Equally, one port can contain LEDs that belong to several visual regions. There is no need to split the wiring simply to put different content on different parts of the canvas.
If your layout still needs work, begin with the pixel mapping and DXF guide. Masks become much easier to check once the LEDs occupy the right positions.
2. Create and name the layers
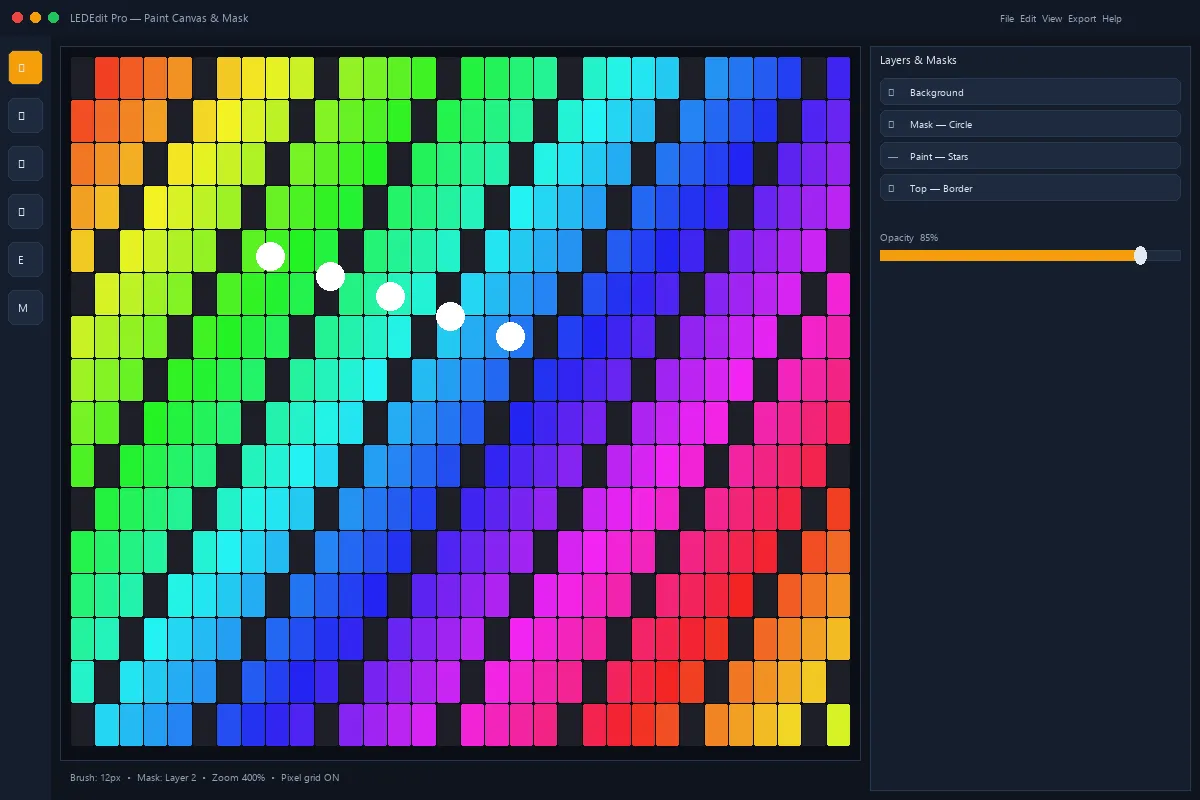
Use Create → New Layer for each region and give it a descriptive name. Names such as Centre Video and Outer Border explain the layer’s purpose better than Layer 2 or Final Copy. Keep a full-canvas background separate if you need one.
Select the intended layer before painting. Use the canvas drawing tools, including Pen and Erase, to define its mask around the region you want to affect. Zoom in near corners and narrow gaps; a small spill at the edge can include LEDs from a neighbouring zone.
Do not treat an empty mask as a reliable way to turn content off. Define an explicit region and check the rendered result. If a layer has clips but no useful region, resolve that ambiguity before export rather than depending on an accidental preview.

3. Test the masks with plain colours
Before choosing the final animation, place simple, visually distinct content on the layers. Use one colour for the centre and another for the border. Position the clips so they are active at the same time, then inspect the boundary between the two areas.
Look for gaps, stray pixels and unexpected overlaps. Move the playhead through the test so you know both clips remain active. A region that appears dark after a few seconds may simply have a shorter clip, not a broken mask.
Once the regions are clean, replace the diagnostic content with the intended effects or media. Save this simple test as a reference. It is useful later if a complex show makes the boundaries difficult to see.
4. Add motion without losing readability
Put a restrained background in the centre and a more directional effect on the border. If the display includes text, leave enough visual separation that the message can be read from its intended viewing distance. Bright movement immediately behind small lettering often works against that goal.
For video clips, review position and scale after setting the mask. Cropping the visible region does not guarantee that the subject is framed well. For procedural effects, compare the result on the actual mapped LEDs rather than judging only the full canvas image.
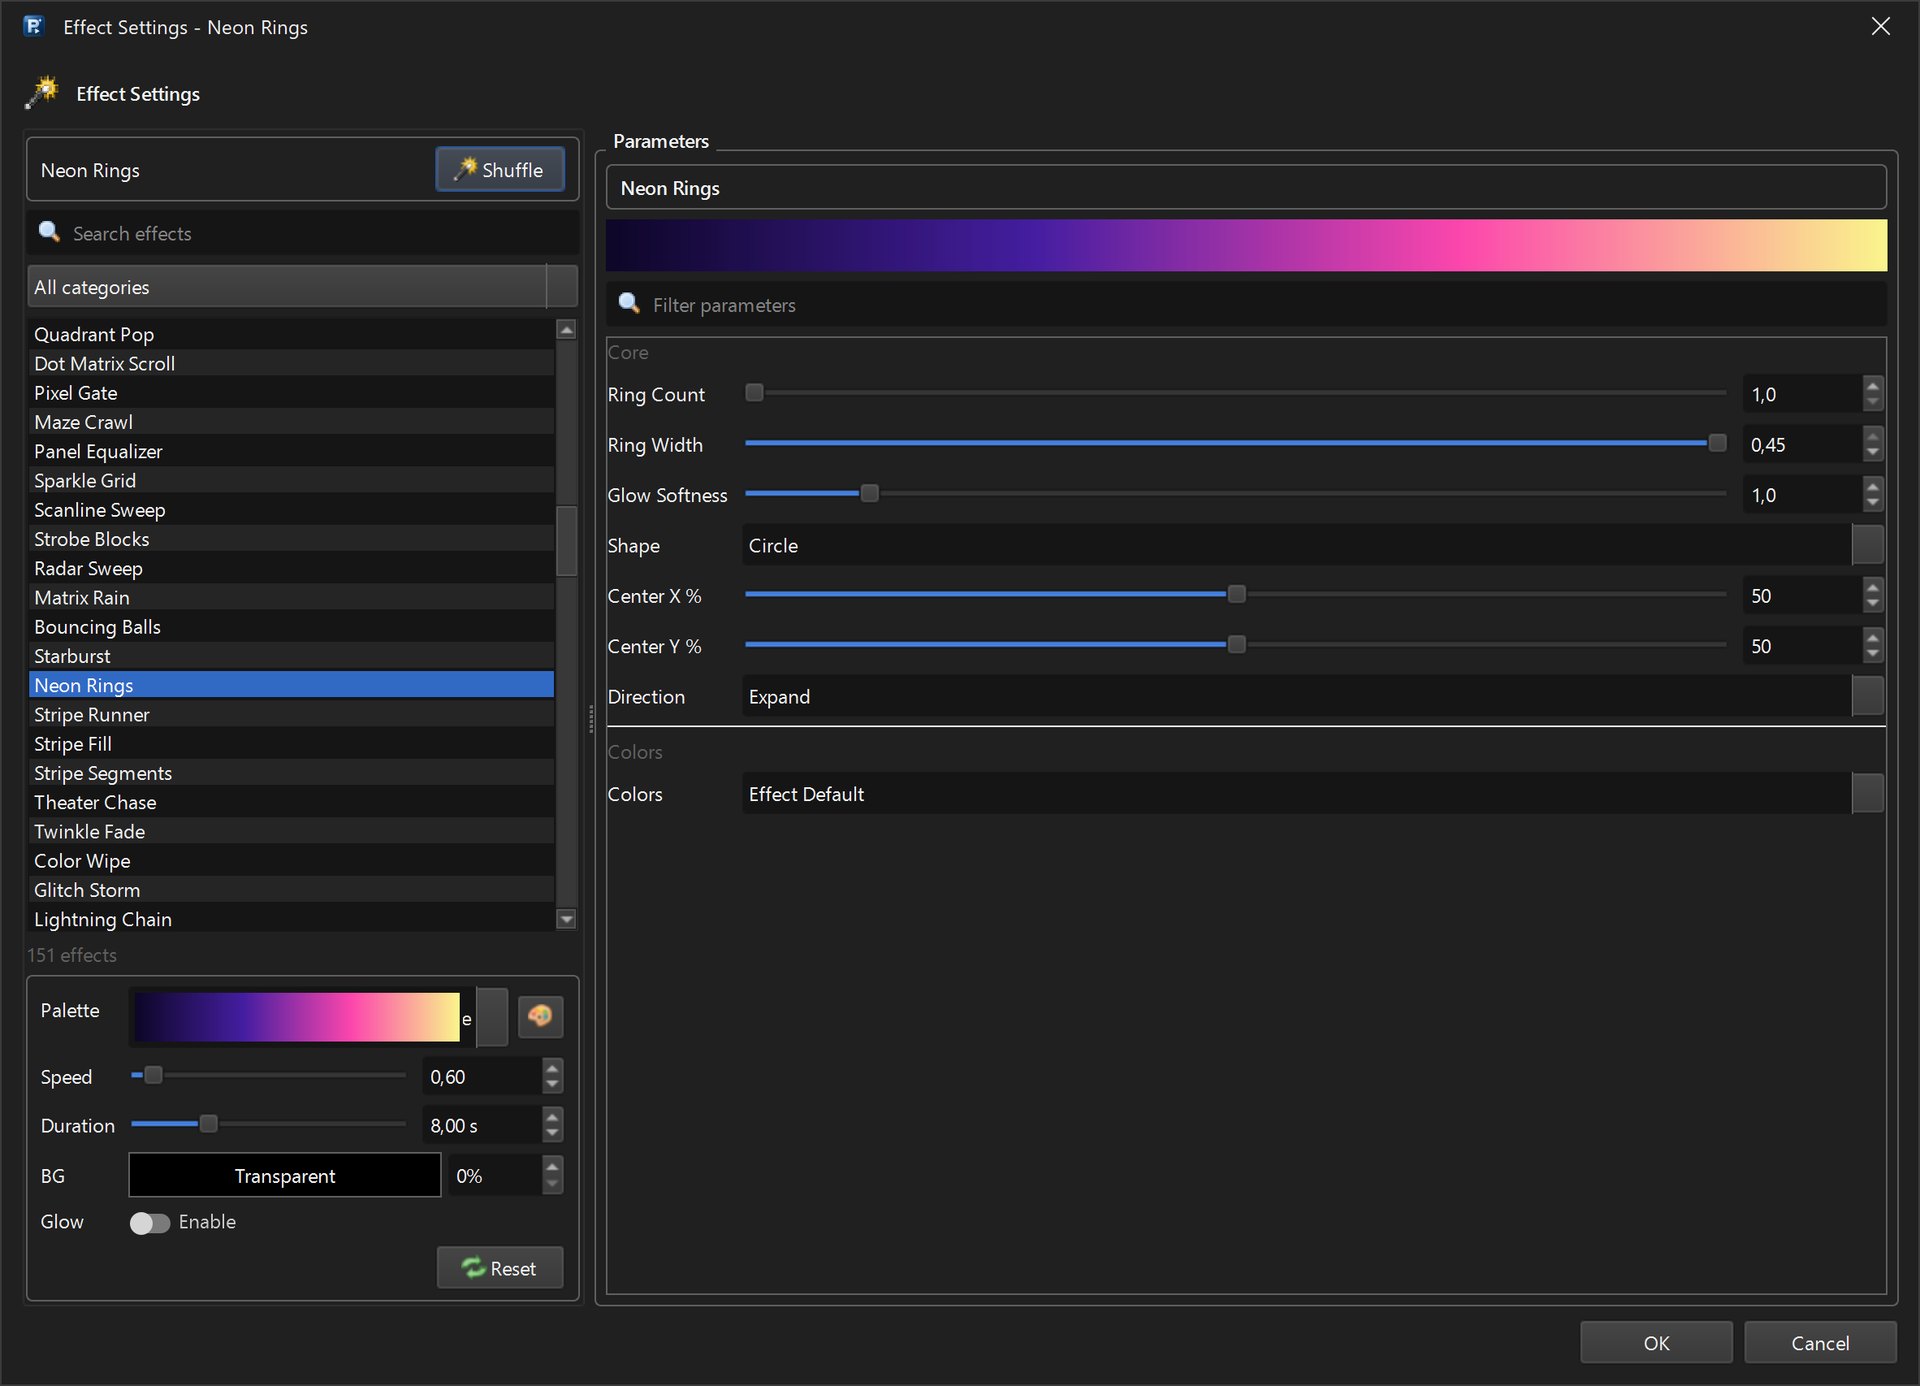
The effects and palettes guide covers the effect library. For a text region, continue with scrolling text and logos.
5. Inspect overlaps and timing
When two layers cover the same LEDs, the result also depends on stacking, opacity and the clips’ blending settings. Do not assume that a mask on one layer automatically excludes the same area from every other layer. Build complementary masks if the zones must stay visually separate.
Check one region at a time, then the combined output. If a layer seems to disappear, compare its active clip interval and opacity with the overlapping content. Adjust one setting at a time so you can identify what actually changed the result.

If the regions need different changes during a longer show, edit their clips independently or organise the programme into scenes. The multi-scene timeline guide explains that next step without turning each zone into a separate export.
Common mask problems
An effect reaches the neighbouring region. Check the painted boundary and whether another layer contains the same effect over a larger area. Test with contrasting plain colours again instead of trying to diagnose two similar animations.
A masked video looks cut off. Inspect its framing as well as the mask. The region may be correct while the important part of the source sits outside it. Reposition the clip and check more than one frame.
The screen looks right but the physical LEDs are wrong. Return to mapping, port routing and colour order. A mask cannot repair reversed wiring or make an incompatible export profile work. Use the controller troubleshooting guide if playback differs from the preview.
Export a short combined test
Save the project and export a short scene through Output → Export LEDEdit .led. Verify the controller, chip, ports and frame rate in the preflight summary. Test all regions together on the real installation before rendering a long programme.
Check the corners and shared edges from the audience’s viewing position, not only close to the LEDs. Keep the simplest version that communicates the design clearly. For the full editing workflow and purchase options, visit the LEDEdit Pro product page.