This project builds a complete scrolling LED sign for a bar or shop window: a 64 × 16 pixel matrix with a chasing outline strip, a ticker, a logo and two scenes you can switch between. Every screenshot below comes from this exact project in LEDEdit Pro 2026.
The plan
| Part | LEDs | Wiring |
|---|---|---|
| Matrix 64 × 16 | 1,024 | Rows serpentine |
| Outline strip around the matrix | 172 | Continues the same chain |
| Total on p1 | 1,196 | One T-1000S output (profile limit 2,048) |
Everything fits on one output of a T-1000 / T-2000 controller, so a single data cable feeds the matrix and then the outline.
1. Build the layout
Open Layout → Open LED Layout Creator…, set the canvas to 140 × 44 and Max LEDs/port to 2048.
- Create → Pattern Builder… — 16 rows × 64 columns, Rows Serpentine, Add to current port. Stamp it with a 2-cell margin.
- Draw the outline around it with Draw LEDs (or a 1-row pattern per side) on the same port, so the chain continues from the matrix into the frame.
- Layout Check should report Ready: 1196 LEDs across 1 port(s). Then Push to Editor.

2. Four layers, top to bottom
Layers draw from the top of the list down, so the order matters:
- Text — the ticker, painted over the matrix.
- Logo — the left 16 × 16 pixels of the matrix.
- Background — the whole matrix.
- Outline — only the frame LEDs.

3. Scene one: “Open”
- Text: a text clip with OPEN COCKTAILS LIVE MUSIC, Marquee from right to left, bold, with an outline.
- Background: Plasma Flow in a dark palette at reduced clip opacity, so the text stays readable.
- Outline: Color March for a gentle running frame.

4. Scene two: “Happy Hour” with a logo
Click the + scene tab and add:
- Text: HAPPY HOUR 5-7 in warm yellow, again as a Marquee.
- Logo: Create → Add Clip → Image Clip… with a PNG logo on black. In the image settings choose Fit and switch on Black = Transparent, so only the logo lights up.
- Background: Plasma Flow in the sunset palette; Outline: Theater Chase in gold_rush.


5. Check it per LED
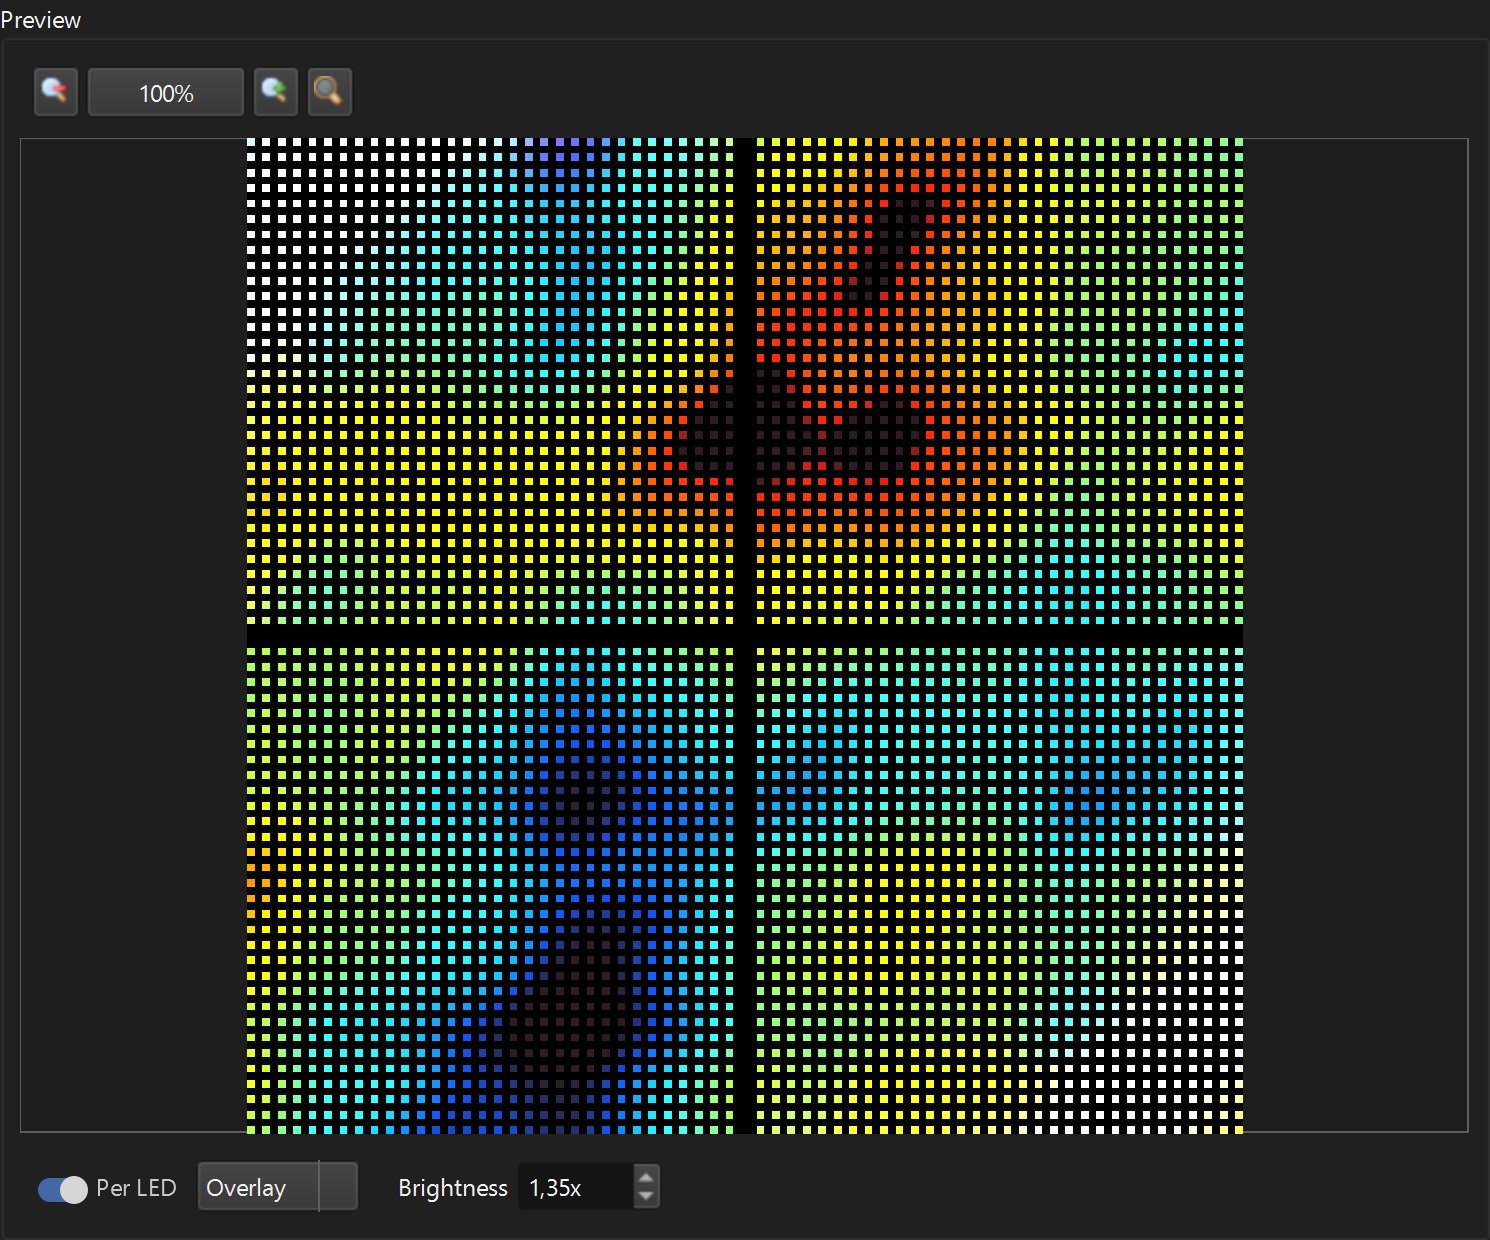
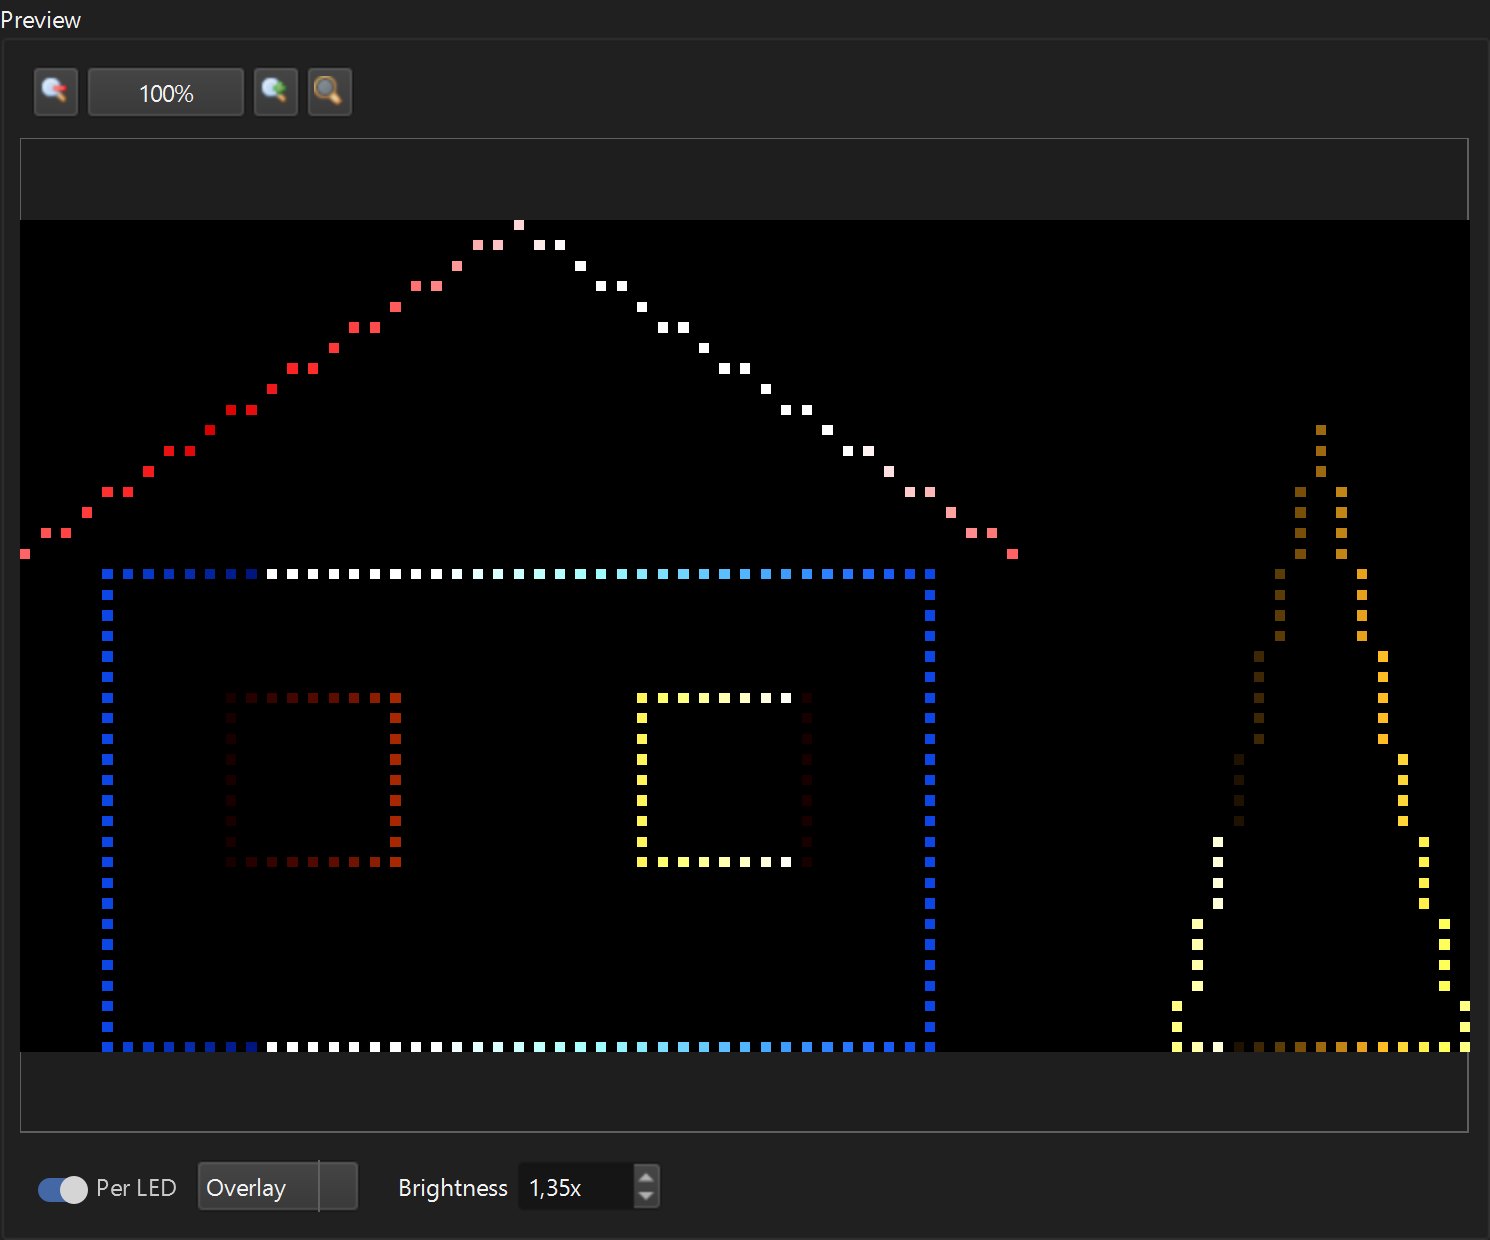
The per-LED preview shows what the sign will actually display — including how readable the ticker is on 16 rows.

Readability tips for 16-row signs: a bold font around 13 pt, a 1-pixel dark outline, a background at lower opacity, and a calm scroll speed. See Scrolling text on LED pixels for more.
6. Export to the T-1000S
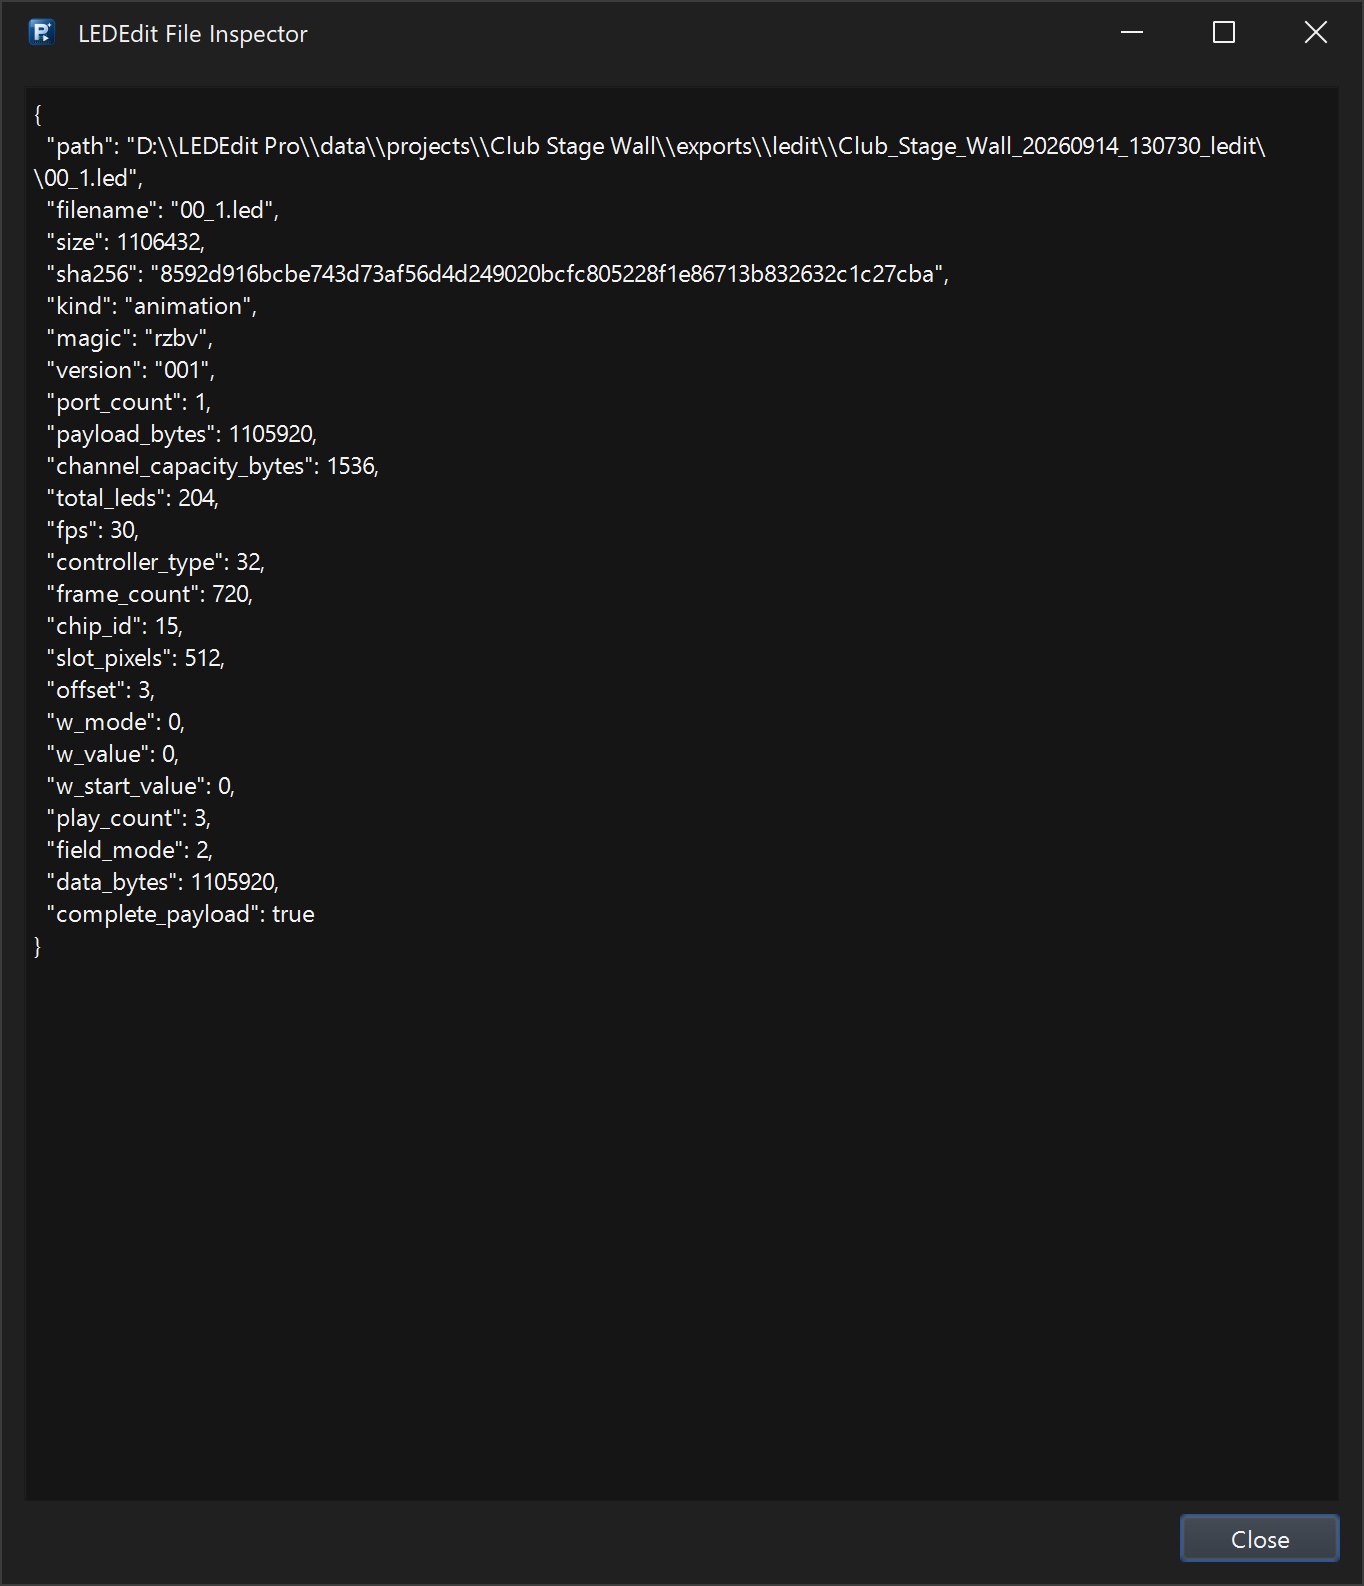
Output → Export LEDEdit .led…, choose T-1000 / T-2000 RGB and your chip (here T-1000-WS2811 / WS2812). The preflight confirms 2 scenes, 30 fps, 1 output and 1,196 LEDs against a profile capacity of 2,048.

Copy the files to the SD card — or use Output → LEDEdit Tools → Write to SD Card… — and the sign is ready.