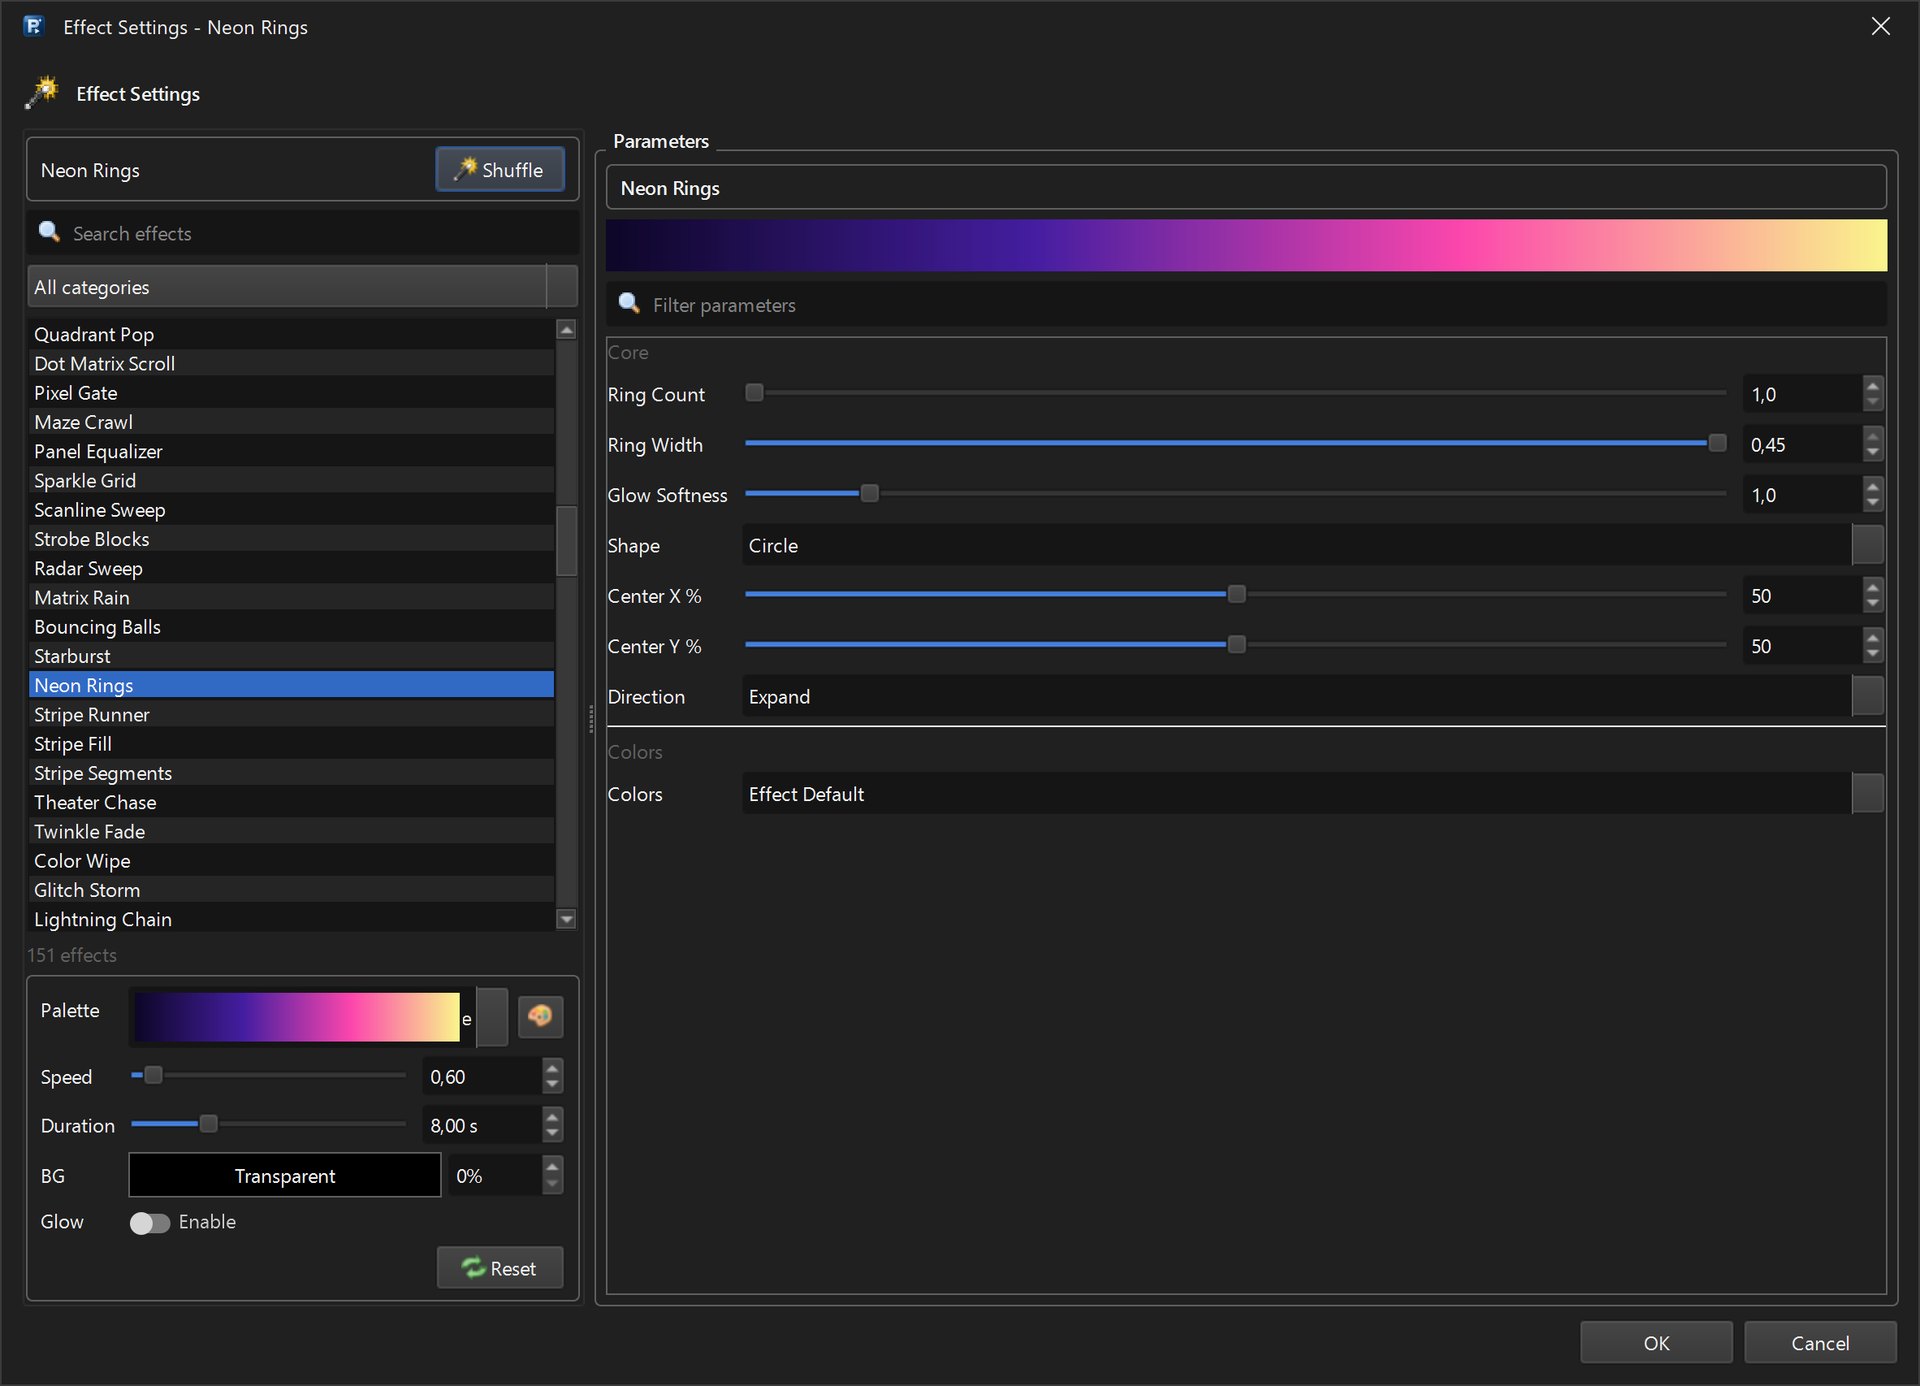
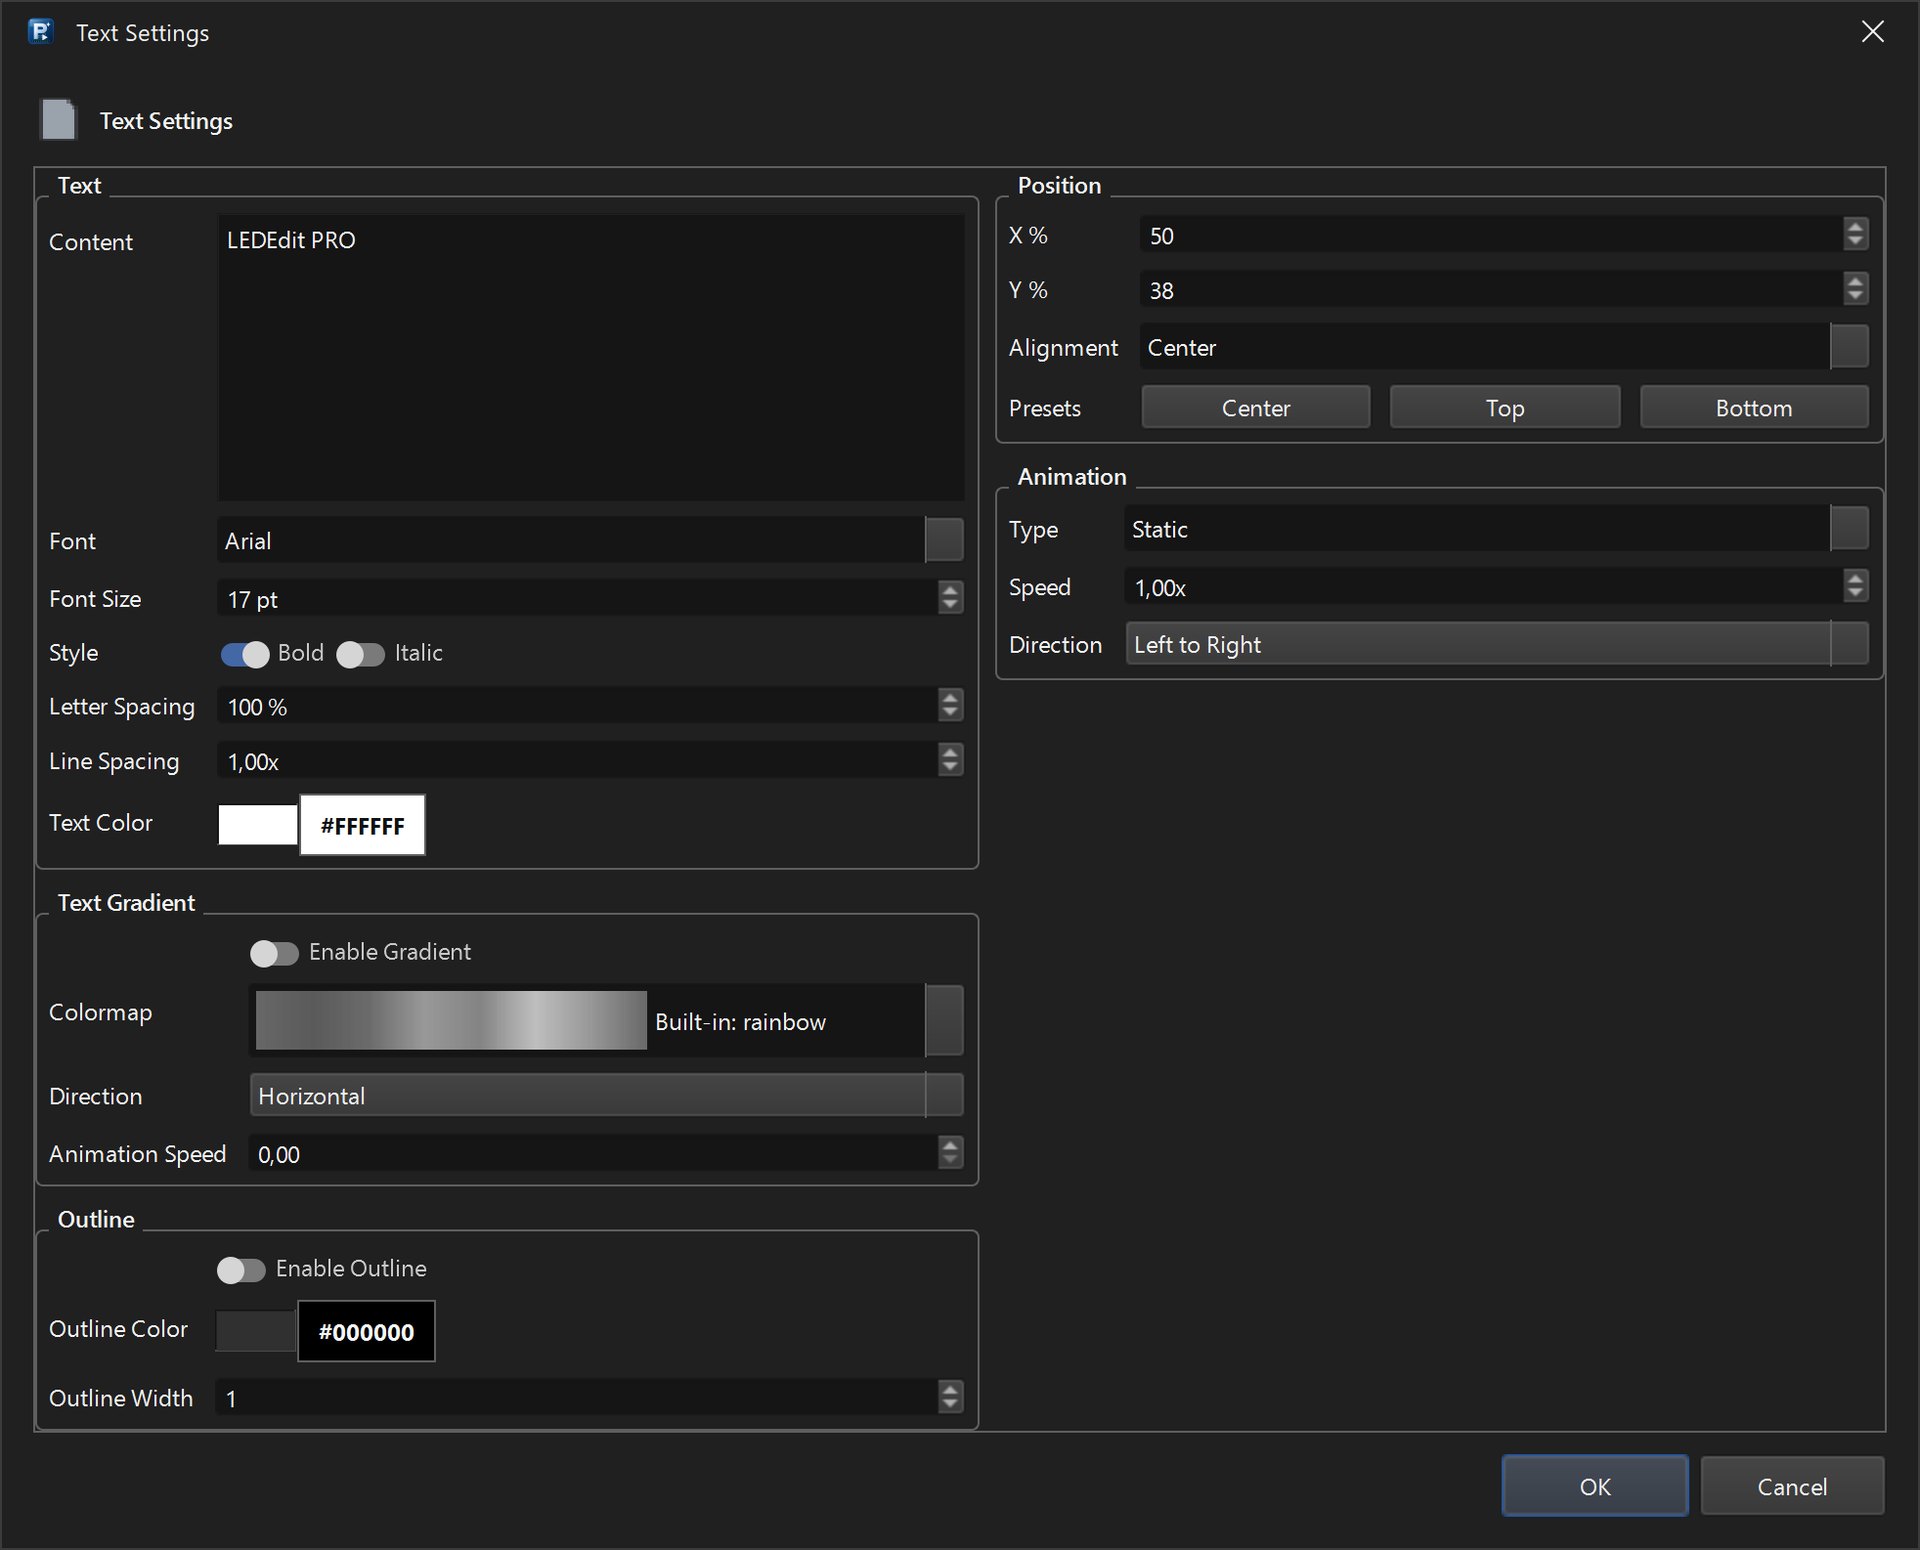
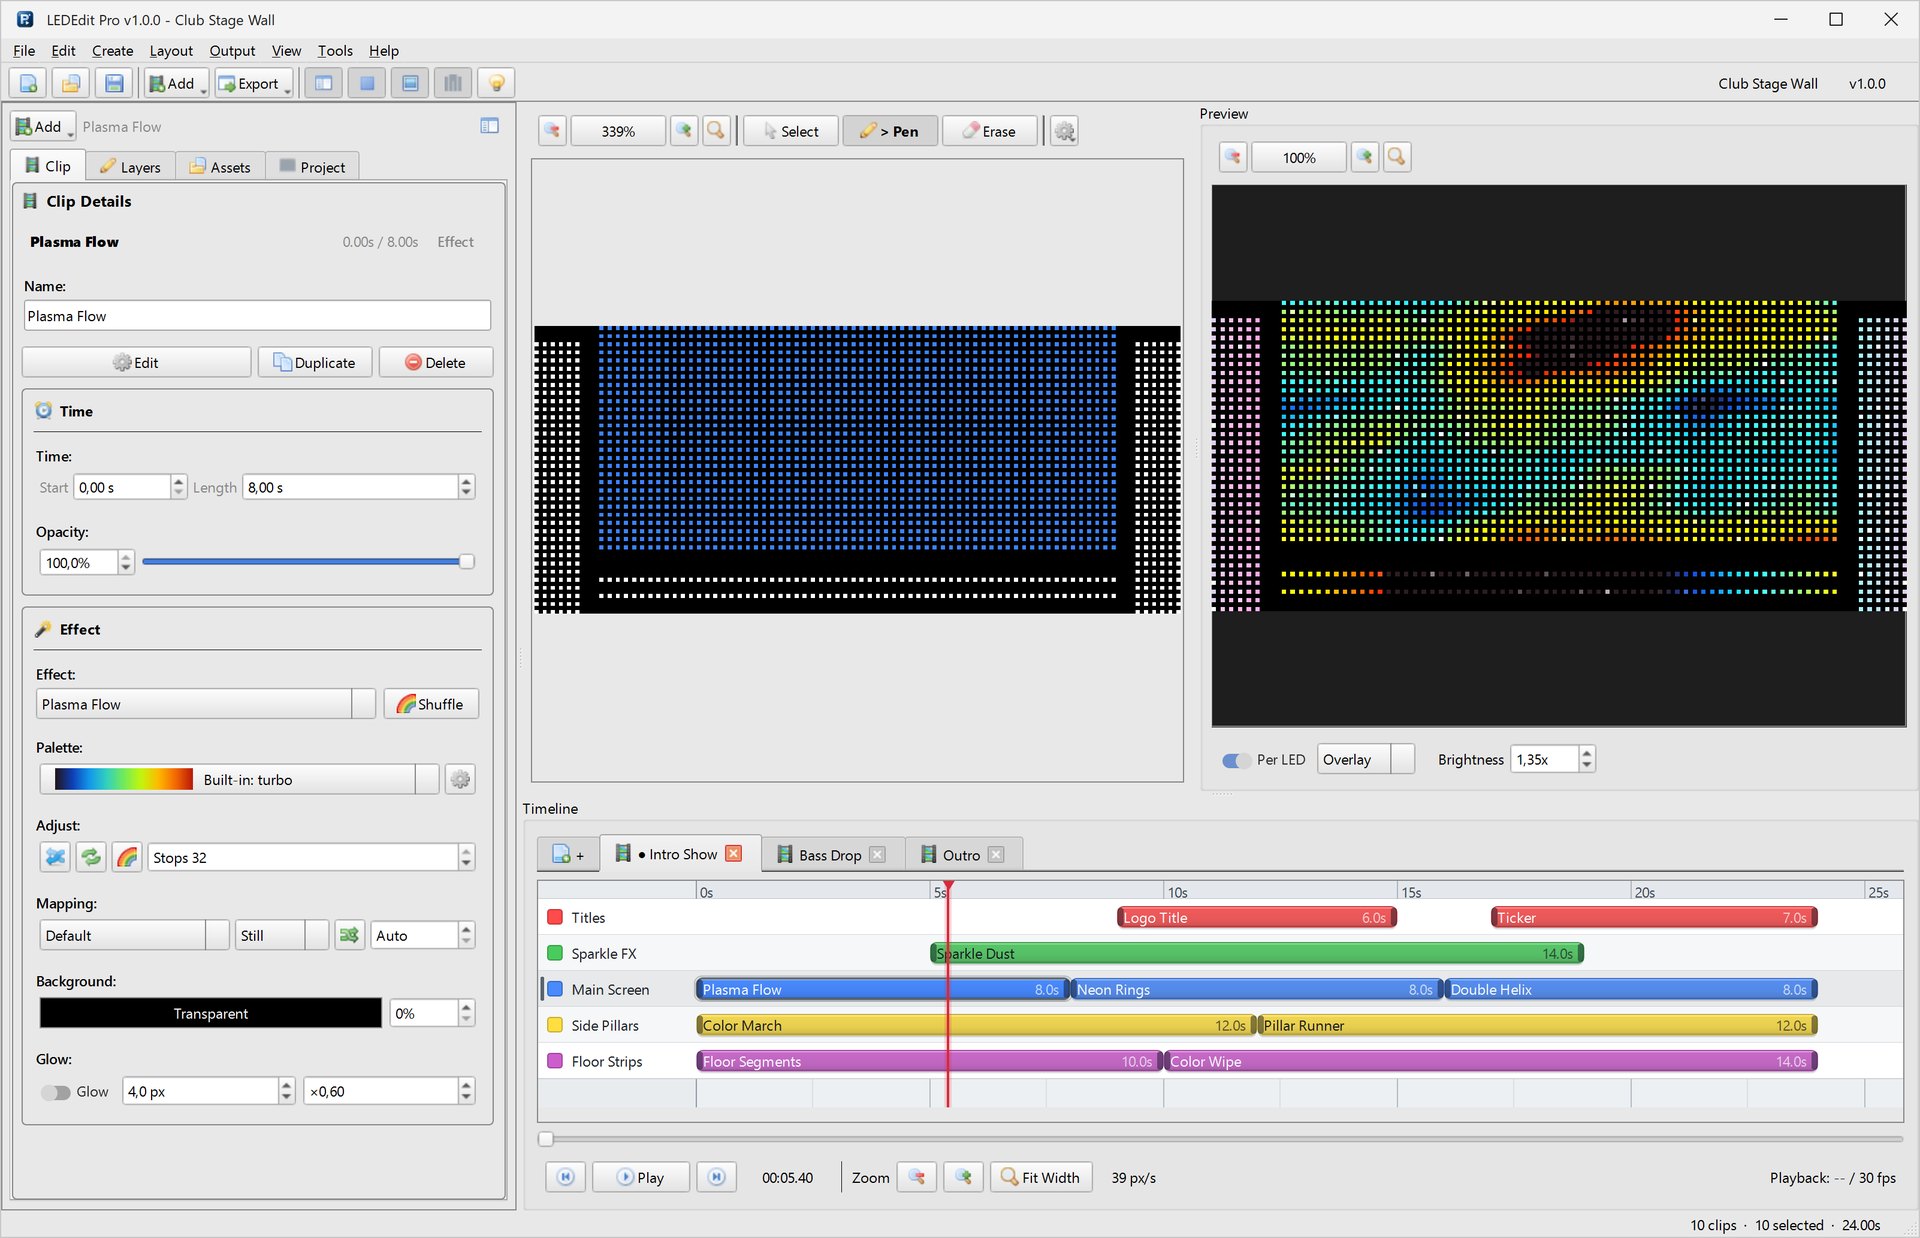
A single effect on a single strip is easy. A real installation — a stage wall with pillars, a shop front with a logo, a club with floor strips — needs several zones playing different content at the same time, often in several parts. That’s what the LEDEdit Pro 2026 timeline is built for.
How the timeline is organised
- Layers are the rows of the timeline. Each layer covers part of your LED layout, painted as a mask on the LED canvas.
- Clips sit on layers. A clip is an effect, a text, an image or a video with a start time and a length.
- Scenes are the tabs above the timeline. Each scene is its own timeline with its own clips — think Intro, Bass Drop, Outro.
Clips on different layers play together; the preview shows the combined result on your real LEDs.
Layers: one zone, one row
Create layers with Create → New Layer or the New button in the Layers tab. For each layer you can:
- toggle visibility (the eye), set opacity and lock it against accidental edits;
- Duplicate or Delete it;
- make it the paint target and paint its mask over the LEDs it should drive.

Tip: Name layers after physical zones (“Main Screen”, “Side Pillars”) rather than effects. Then you can swap effects freely without losing track of where they play. View → Playback Options → Show Selected Layer Only hides the other rows while you focus on one zone.
Clips: add, move, trim
Select a layer and choose Create → Add Clip → Effect Clip…, Text Clip…, Image Clip… or Video Clip…. By default new clips are placed at the playhead (View → Playback Options → Place New Clips at Playhead).
- Move a clip by dragging it; trim it by dragging its left or right edge.
- Set exact start, length and opacity in the Clip tab.
- Ctrl+C / Ctrl+V copy and paste, Ctrl+D duplicates, Delete removes, Ctrl+Z / Ctrl+Y undo and redo.
Snapping and zoom
Snap to Grid is on by default. Choose the step under View → Playback Options → Snap Step: 1.0 s, 0.5 s, 0.25 s or 0.1 s. Zoom with Ctrl++ / Ctrl+-, or press Ctrl+0 / Fit Width to see the whole scene.
Scenes: split the show into parts
Click the + tab to add a scene. Scenes keep long shows manageable: you can perfect the intro without scrolling past the rest, and reuse layers across all parts.
When you export a video (Output → Export Video…, Ctrl+E), LEDEdit Pro asks which scenes to include:

For SD-card files, the .led export preflight lists how many scenes go into the package.
Auto Animate: patterns in seconds
Repeating patterns — layers flashing one after another, a cascade across zones — are tedious to place by hand. Create → Auto Animate… generates them:

- Tick the layers to animate.
- Pick a style: Cascade, Blink, PingPong, Wave, Random Stagger, Alternating, Stack Build or Burst.
- Set Start second, Step (seconds), Clip duration (seconds) and Repeats.
- Keep a Max clips limit so a typo doesn’t flood the timeline.
- Optional: Reverse order, or Replace clips on selected layers.
The dialog shows the estimated number of generated clips before you press OK, and warns you if the estimate is above your limit. Save first if you want an easy way back.
Scheduling playback on the controller
Some controllers can switch programs by time of day. Output → LEDEdit Tools → Time Schedule… writes a LEDEdit .tst schedule file with hour, minute, mode (for example Play program(s)), weekdays and programs, saved next to your other exports.

A proven structure for club and stage shows
| Scene | Layers | Content |
|---|---|---|
| Intro | Titles, Main Screen | Logo text, slow plasma or aurora |
| Main | Main Screen, Side Pillars, Floor Strips | Rings, stripes and colour marches in the same palette |
| Drop | All layers | Auto Animate Burst or Cascade with short clips |
| Outro | Titles, Main Screen | Ticker with thank-you text, fade out |
Using the same palette across layers makes different effects look like one design.