A low-resolution LED matrix cannot preserve every detail from a full-HD video. The useful question is not whether the source is 1080p or 4K, but whether the important shapes survive at the physical LED positions. A small, deliberate graphic often reads better than a detailed movie scaled into the same panel.
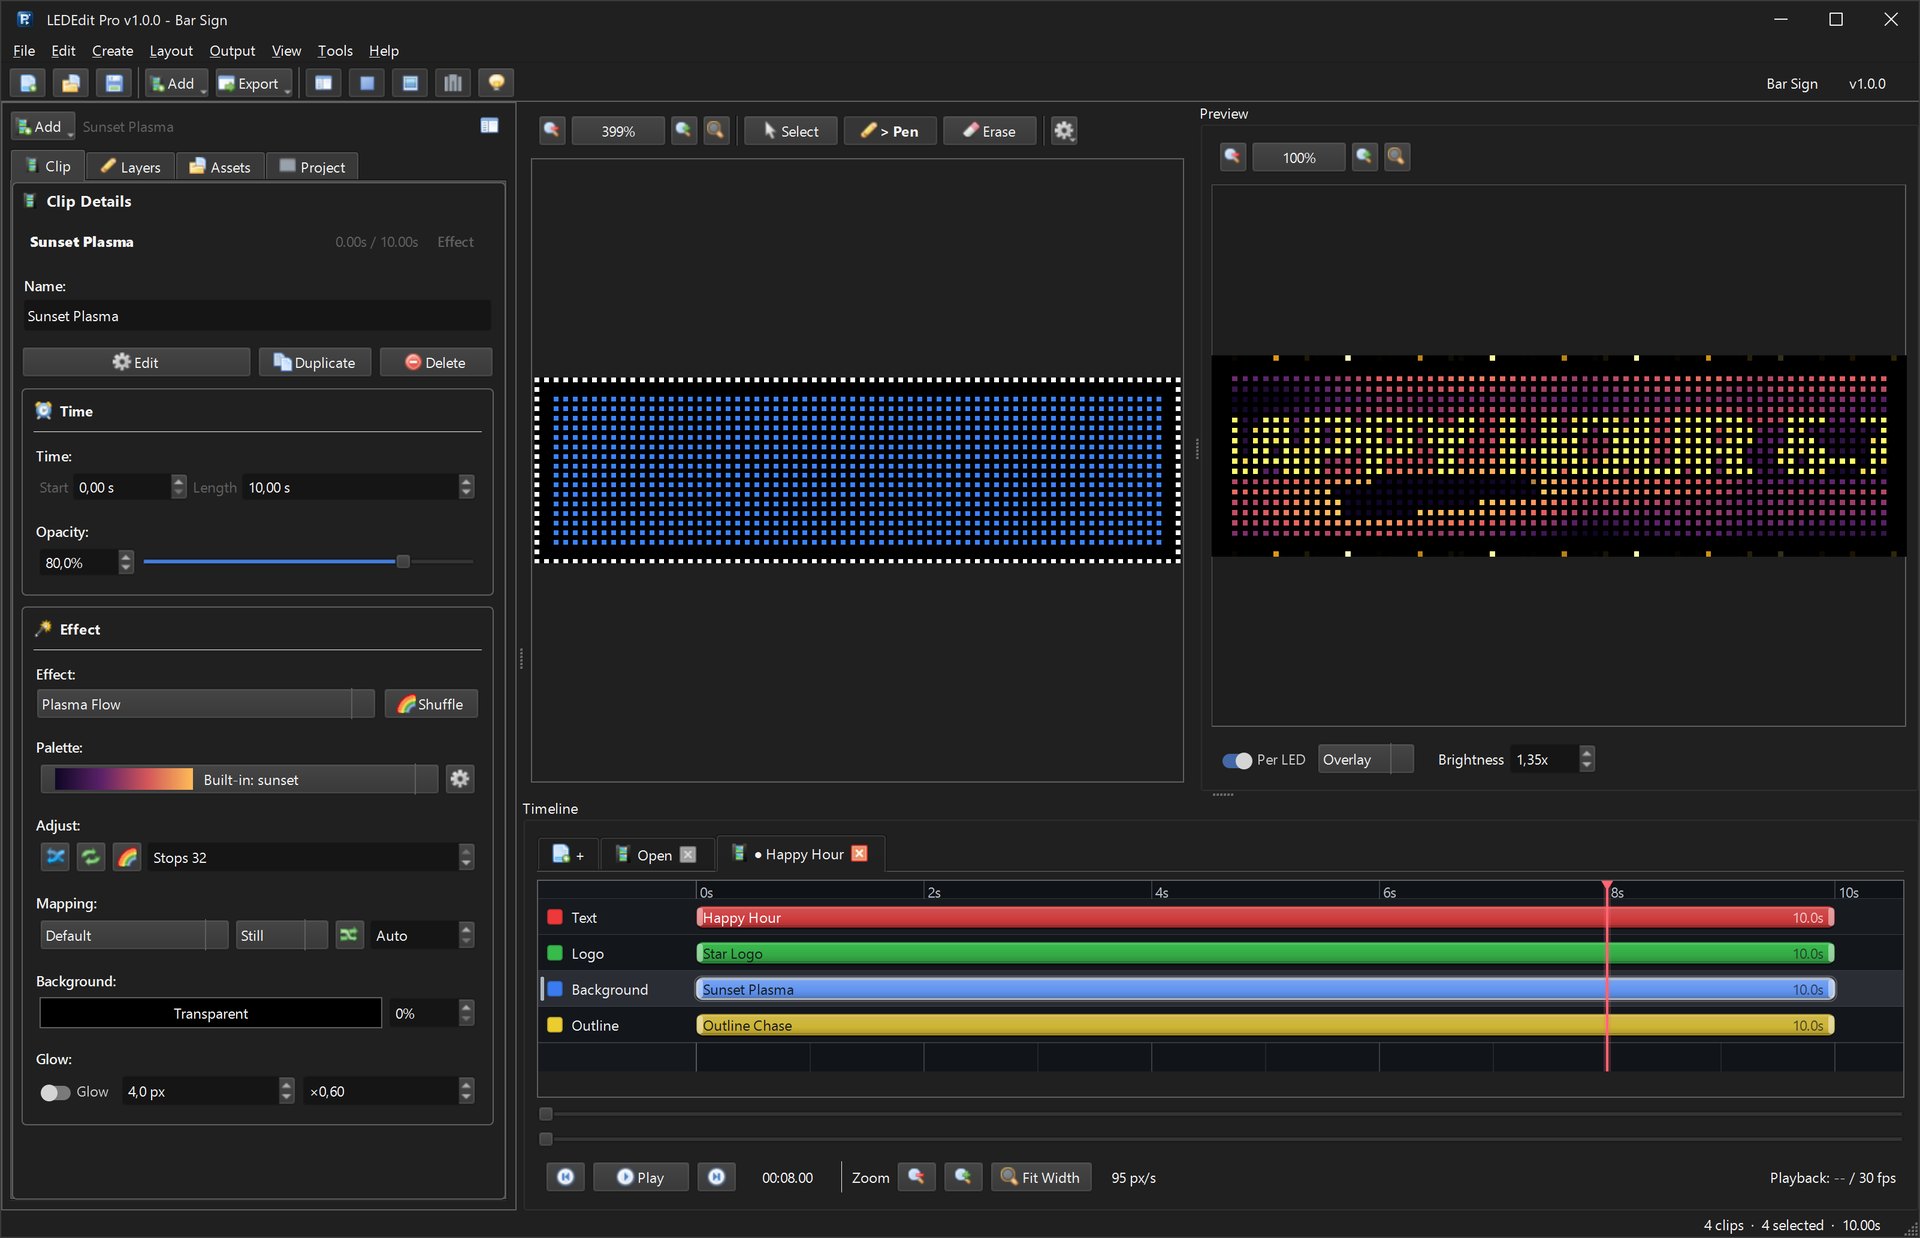
In LEDEdit Pro, the controller export composes a frame and samples colour at each mapped LED coordinate. A bright detail that falls between those coordinates may not survive. The mapping, not the source video’s pixel count, determines the final LED count and order.
Start with the actual layout
Write down the visible shape, LED positions and viewing distance. A rectangular 32 × 16 panel and a house outline with the same number of LEDs do not communicate the same image. A design with a narrow border or holes needs a different composition from a filled matrix.
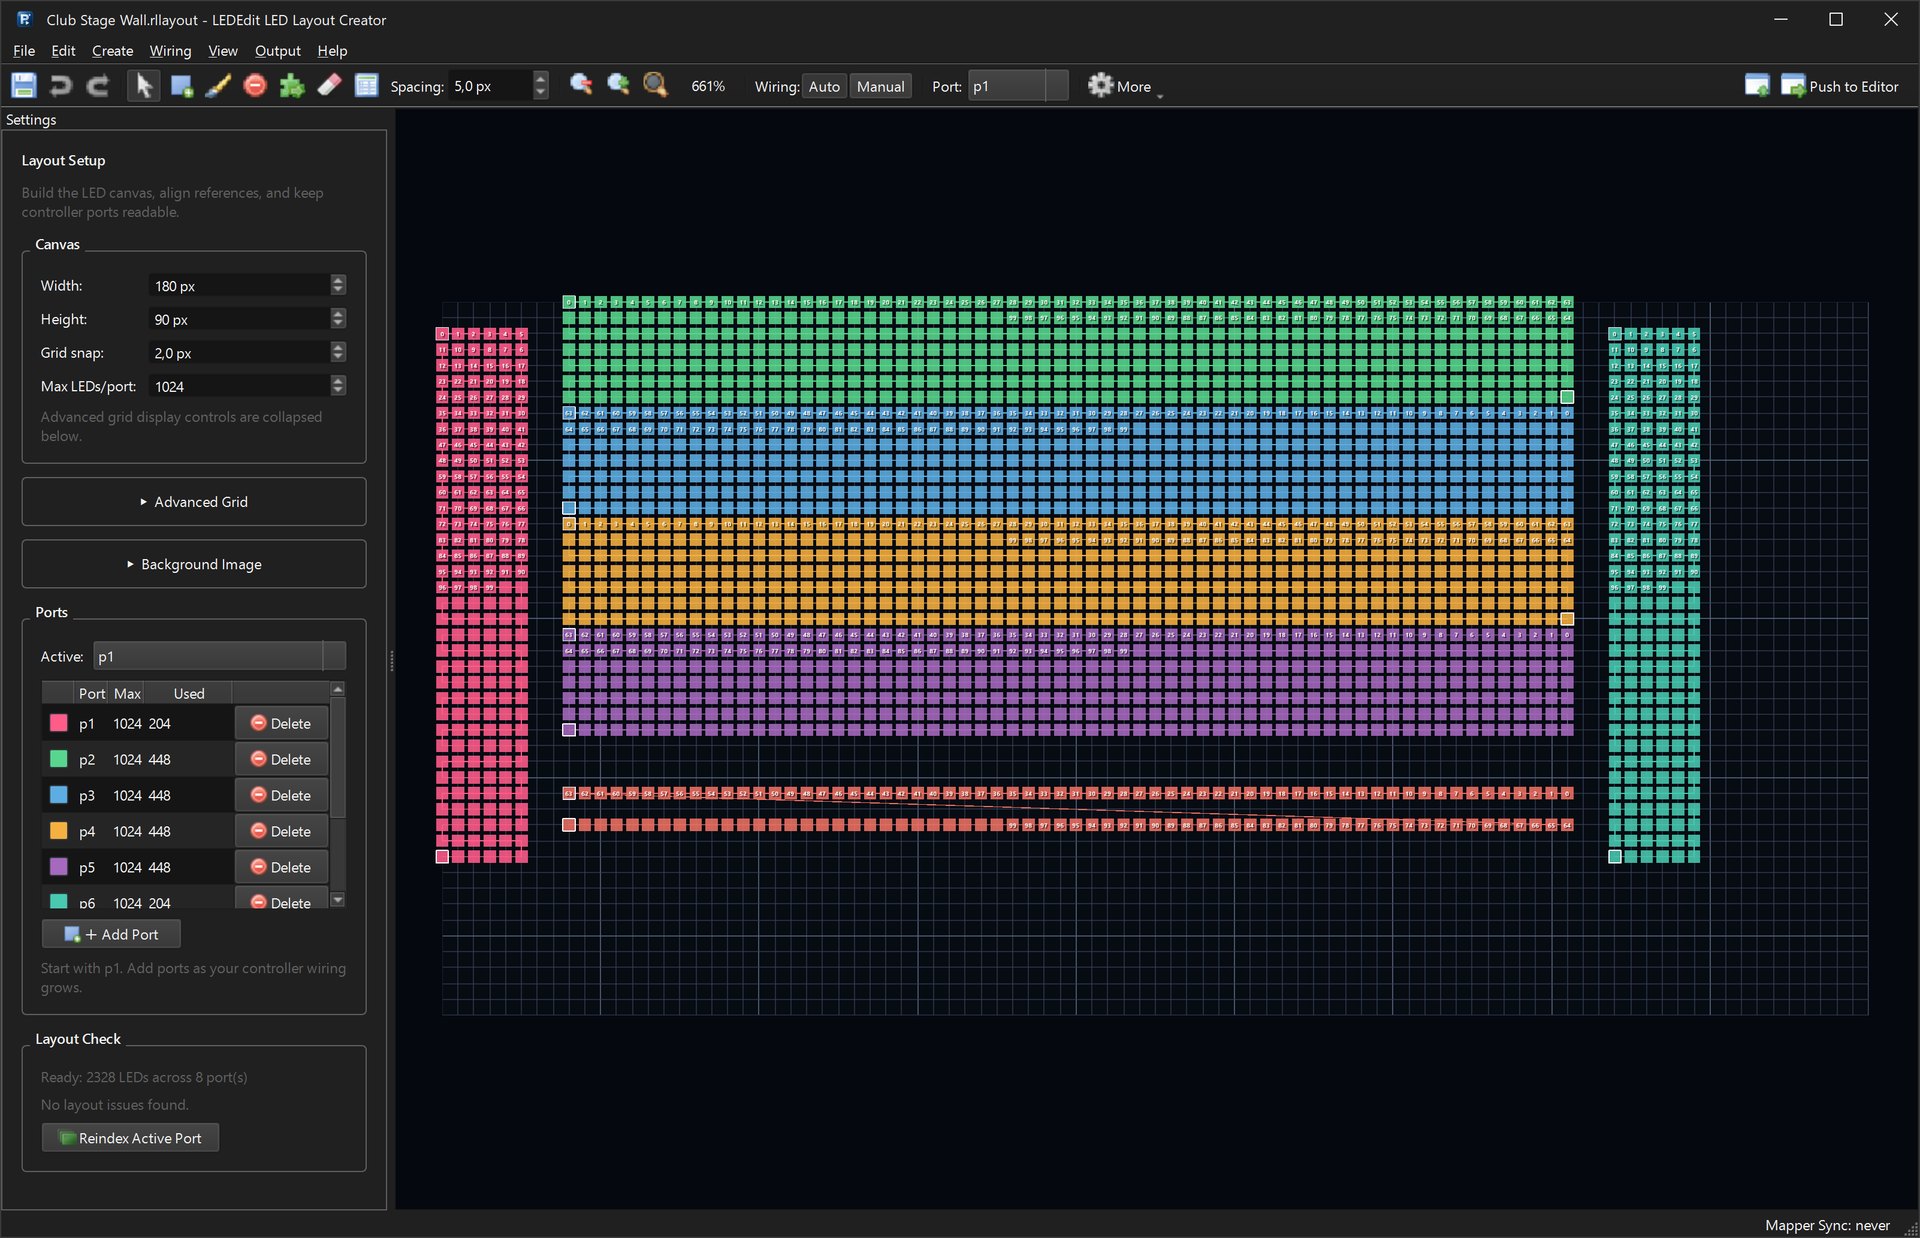
Import the installation’s layout or create it in the LED Layout Creator. Verify the wiring order before judging any visual. If the exported motion appears to jump unpredictably across the display, fixing the animation artwork will not repair an incorrect serpentine path.
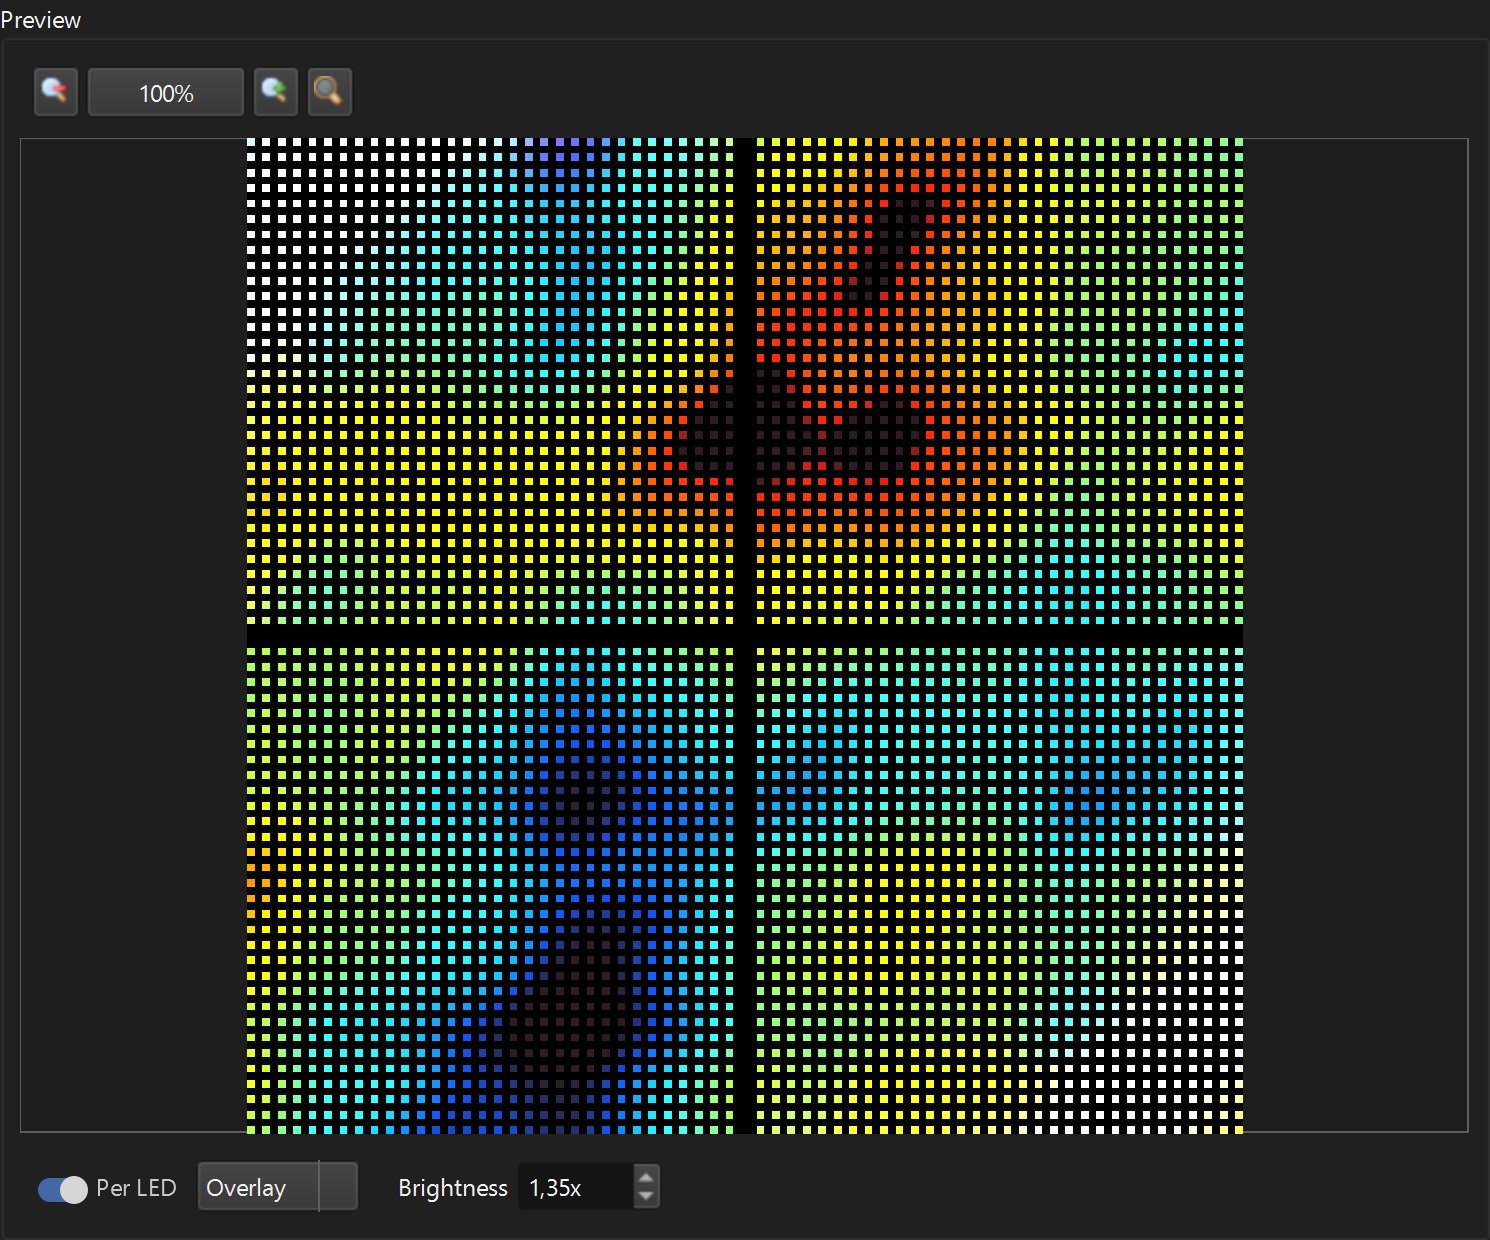
Use the editor’s per-LED preview to inspect the mapped result. Zooming into a clean source frame can be deceptive; judge the LEDs that will actually receive colours. The mapping and DXF guide covers the layout setup if you are starting from scratch.

Give the image a clear silhouette
Choose one main shape or message per moment. Thick lines, large blocks and strong separation between foreground and background remain recognisable after sampling. Fine hatching, tiny particles and low-contrast edges can disappear or turn into isolated points.
Test a still image before animating it. If an icon is unreadable while stationary, adding motion will not make it more legible. Reduce detail, enlarge the subject or choose a simpler visual. On an irregular layout, place the most important part where the LEDs are densest rather than in an empty area of the canvas.
Do not mistake brightness for detail. Raising brightness can make a shape visible, but it cannot restore edges that were never represented by the mapped LEDs. Try a stronger silhouette and fewer competing colours first.
Treat text as a separate design problem
Keep messages short and use letter shapes that remain distinct on the actual display. A long sentence at a small point size may look fine on your monitor but become a moving line of noise on the LEDs. If it must scroll, give viewers enough time to read each segment.
Test text from the intended audience position. A shop sign viewed from across a street has different needs from a decorative wall viewed up close. Compare a plain text pass with the final background: busy movement behind letters usually reduces readability.
LEDEdit Pro’s text clips can be kept on their own layer so you can control timing and region independently. Our scrolling text and logo guide covers those editor controls in detail.
Make motion easy to follow
Slow, directional movement often reads better than rapid changes everywhere at once. Start with a sweep across the display and watch whether the next position feels connected to the previous one. If the subject seems to teleport, distinguish between three causes: the source moves too fast, the project samples too few temporal frames, or the LED mapping order is wrong.
Changing FPS does not invent missing detail in an imported video. Changing source resolution does not add physical LEDs. Make one adjustment at a time and compare a short export on the real controller. The frame-rate guide explains the source/project/controller distinction.
For effects with many small points, compare the mapped preview with a calmer, larger-scale alternative. An animation that is impressive at desktop size can be tiring or meaningless after conversion to a small physical grid.
A ten-second design test
Build a short scene with a simple background, one large moving shape and the text you actually intend to use. Check the first, middle and last seconds in per-LED preview. Then export with Output → Export LEDEdit .led using the correct controller and chip profile.
Test the physical display at the planned viewing distance. Ask whether the primary subject is recognisable immediately, whether the text is readable and whether the motion direction is obvious. If it fails, change the composition before attempting to compensate with a different controller setting.

If the preview looks right but the installation does not, investigate port order and colour order separately. Use the colour-order checklist and controller playback troubleshooting before redesigning a scene that was already clear in the editor.
The goal is a visual that works on your LEDs, not a generic minimum font size or a universal video resolution. See LEDEdit Pro’s layout, preview and export tools to put the test into a complete project.