If a LEDEdit Pro project opens with missing videos or images after you move it, the project file may still refer to media outside its folder. The safest handoff is to collect referenced media into the project, save, copy the whole project folder, and open the copied version before removing the original.
This is especially important when transferring a show to another computer or archiving work for a future controller update. A rendered .led file can play on a compatible controller, but it is not a substitute for the editable project and its source media.
Understand what belongs to the project
The project file is project.rlmproj in its project folder. LEDEdit Pro also uses subfolders for media, layer masks, layout, backups, previews and exports. These are not interchangeable: a PNG mask describes where a layer applies, while a video in media supplies actual frames.
The editor stores media paths relative to the project location when it saves. That helps when files are inside the project folder. A video still sitting in a separate Downloads directory can be represented as a path leading outside the project. Moving only the .rlmproj file breaks its relationship to the masks and other files; moving the folder without collecting outside sources can break those references too.
Do not assume every external document is collected automatically. The Collect Assets action targets referenced image and video clips and the reference image. Check any source DXF or other external files separately if you need them for future editing.

1. Save, then check the Assets tab
Save the project first. In the Assets tab, look for the status message about referenced files outside the project or missing media. An external file is present today but not safely bundled; a missing file is already unavailable at its stored path. Those are different problems.
Use More → Collect Assets while the outside media is still accessible. The action copies referenced images and videos into the project’s media folder and updates those clip paths in the open project. Save again afterward so the rewritten references are stored on disk.
If Collect Assets says everything is already inside the project, that is useful information—but still inspect the folder and reopen the copy as a separate check. The action does not recover media that no longer exists at its original path.
2. What to do if media is already missing
Find the original file in your source archive, camera drive or earlier backup. Restore it where the project expects it, open the project and verify the clip plays. Then collect it into the project and save. Avoid replacing a missing source with a different video that happens to have the same filename; duration, framing and timing can change the finished show.
If the original cannot be recovered, you may need to import the replacement and rebuild the affected clip. Import copies a selected file into the project, but it does not magically restore an unrelated missing clip reference. Check the result on the timeline, including start time, length and scale.
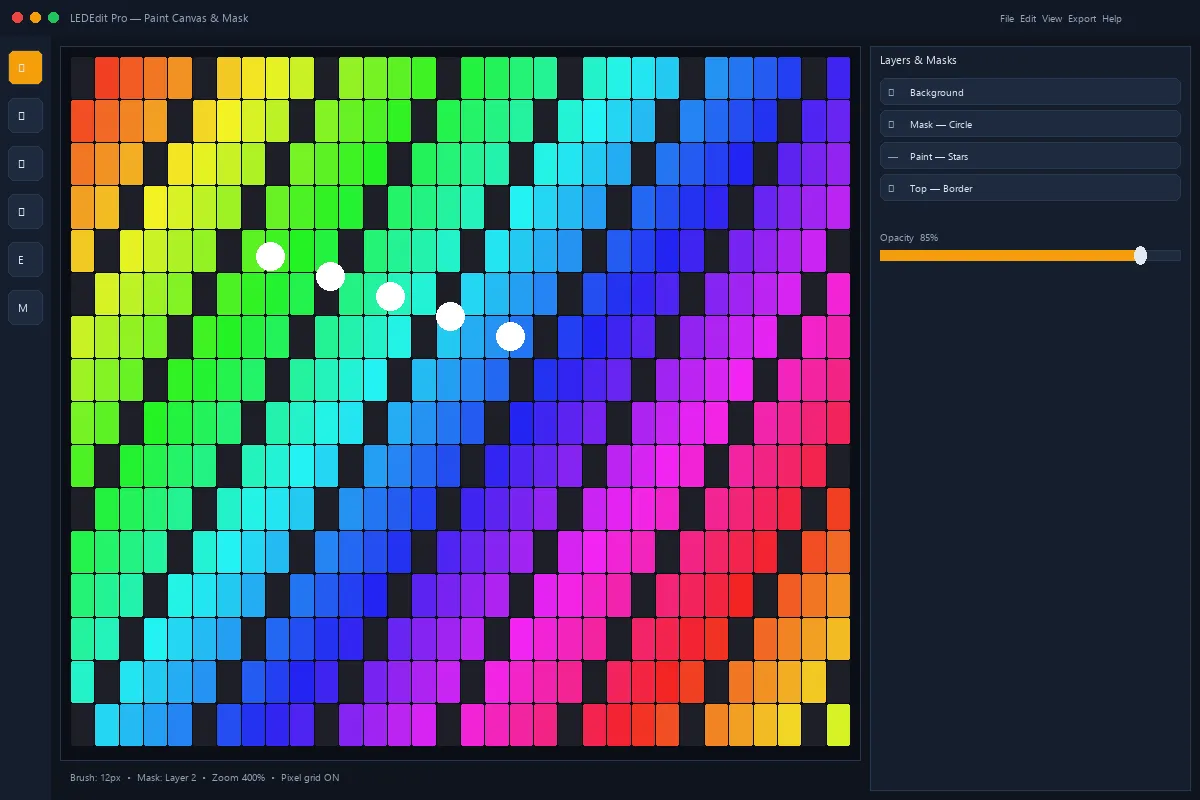
For a black or unexpected preview, separate missing-file problems from an empty layer region, a clip outside the current time, or an incompatible source codec. A missing-media warning is stronger evidence than the appearance of a single dark frame.
3. Copy the entire folder and test the copy
Open the project folder from the editor and make a copy of that folder to the destination. Keep project.rlmproj, media, masks, layout and any other project subfolders together. Exports may be large, but decide explicitly whether your backup needs the finished files; do not silently discard them.
On the destination computer, open the copied project.rlmproj, then inspect several points on the timeline. Test at least one video, one still image if used, a masked region and the LED layout. Check the Assets status again. An export from the copied project is a stronger test than simply seeing its name in the recent-project list.
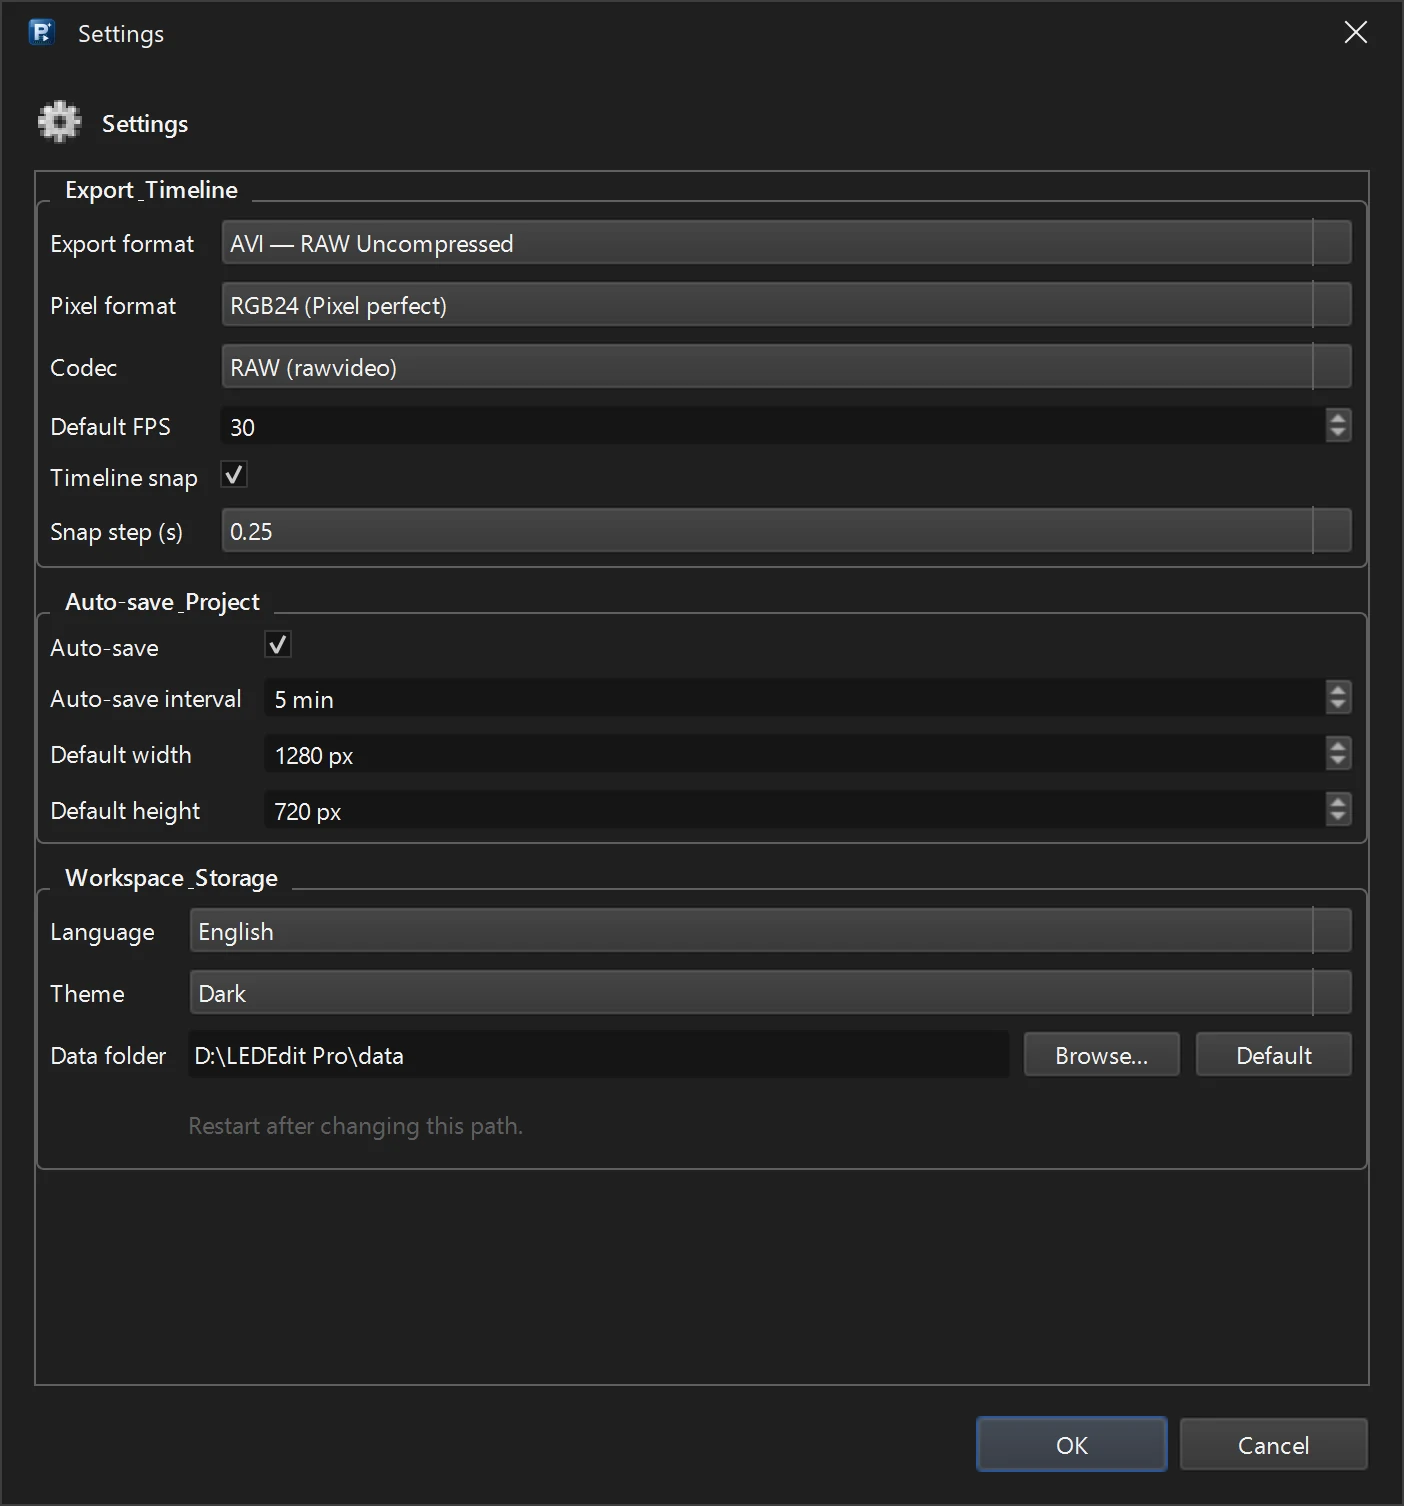
LEDEdit Pro’s auto-save may write a backup under backups/project.rlmproj.bak when a previously saved project has unsaved changes and auto-save is enabled. That is a recovery aid, not an independent backup of the videos, masks and layout. Keep a second copy of the complete project folder on separate storage.
A compact handoff checklist
- Save the project, collect accessible outside media, then save again.
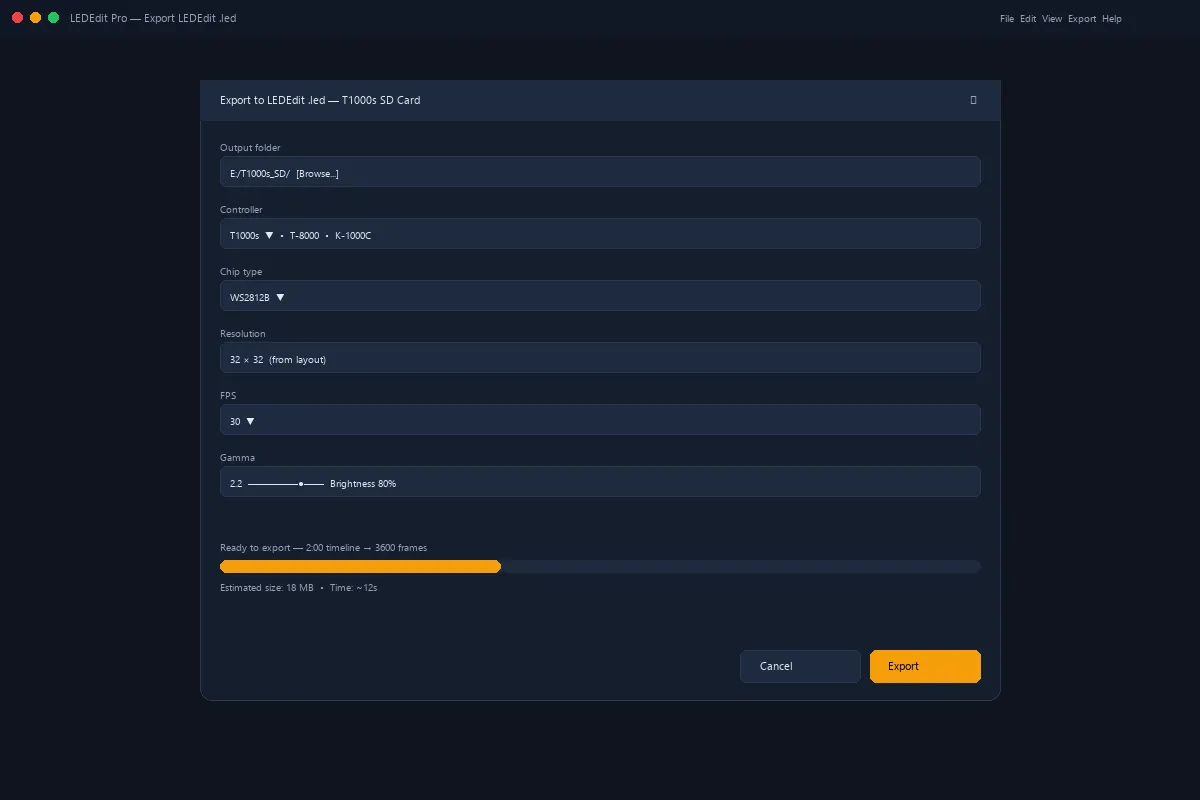
- Record the controller model, LED chip, colour order and working export settings in a note beside your backup.
- Copy the complete project folder; retain the original until the copy has been tested.
- Open the copy from its new location and confirm that representative media and layout still load.
- Export a short scene and verify it on the actual controller if the handoff is for production.
If you are also moving the physical display, compare its ports and wiring with the stored layout. The LED mapping guide covers that part; the SD-card playback checklist helps if the final file is not accepted by the controller.
For the first project from layout to SD card, follow the beginner tutorial. The LEDEdit Pro product page has the current editing and export overview.