The T-8000 (and its twin K-8000) is the 8-output workhorse for building-scale pixel installations. Each port drives up to 2,048 pixels, so one controller can run eight 32×32 matrices or thousands of linear LEDs. This 8-step guide shows the exact LEDEdit flow — from new project to FAT32 SD card to multi-controller networking.
Recommended for new shows: LEDEdit Pro 2026
The download above is the old free community release (good for existing setups). For new projects use LEDEdit Pro 2026 — multi-layer timeline, 151 effects, LED Layout Creator with DXF import/export, live per-LED preview and direct .led export for 19 controller families.
Before you start: what the T-8000 is
- 8 independent data outputs (ports 1–8) — each is a separate SPI bus
- 2,048 LEDs per port maximum — 16,384 total per controller
- Chip support: WS2811, WS2812B, UCS1903, SM16703 and others depending on firmware — select the exact chip in LEDEdit, not just the family
- SD card only — no USB or network upload; the controller reads
.ledfiles from the card on boot - No buttons — compared with T-1000S, the T-8000 auto-plays; no SET or MODE to press
K-8000 vs T-8000: Same wiring and same
.ledformat (K-8000-ALL vs T-8000B profiles). If your label says K-8000, follow this guide but pick the K-8000 chip profile on export.
Step 1: Create a new project and set the canvas
Open LEDEdit 2014 → File → New. In older LEDEdit this is called LED Effect Design. Set canvas size to your combined installation size — for example 128×64 if you have four 32×32 panels across.
In LEDEdit Pro 2026 the flow is clearer: File → New Project → LED Layout Creator opens with Max LEDs/port = 2048 already enforced.
Tip: Decide wiring before drawing. The canvas size does not need to match your wall linearly — it defines the coordinate space; per-port assignment matters more.
Step 2: Select the controller – T-8000x-WS2811
Go to File → LED Type (2014) or Output → Export LEDEdit .led… → Controller (Pro). Choose:
- Family:
T-8000orK-8000 / T-8000 - Chip: the exact IC printed on your pixels — for most WS2811 strips pick
T-8000-WS2811orT-8000B-WS2811 - Color order:
RGBis default; useGRBonly if your strip spec says so — wrong order gives wrong colors, not a dark output
Double-check the chip by reading the small print on the pixel PCB or strip datasheet. A wrong chip looks like flicker or random colors, not a silent failure.
Step 3: Build the layout – assign LEDs to the 8 outputs
This is the critical step. In the LED Layout Creator:
- Choose Create → Pattern Builder → set rows, columns and wiring to Serpentine Rows for matrix panels
- Each panel should be created on a specific port: P1, P2, … P8. The layout shows per-port LED counts live.
- For a wall of four 32×32 panels (4,096 LEDs):
| Port | Content | LEDs | % of limit |
|---|---|---|---|
| P1 | Panel 1 – top left 32×32 | 1,024 | 50% |
| P2 | Panel 2 – top right 32×32 | 1,024 | 50% |
| P3 | Panel 3 – bottom left 32×32 | 1,024 | 50% |
| P4 | Panel 4 – bottom right 32×32 | 1,024 | 50% |
| P5–P8 | Empty or second wall | 0 | – |
Leave unused ports empty — the controller skips them.
Run Layout Check: it should say Ready: 4096 LEDs across 4 ports. Fix any port over 2,048 by splitting across two ports.
Screenshot described: LED Layout Creator showing four rectangular blocks labeled P1–P4, each 1024, status line Ready: 4096 LEDs across 4 ports, Max per port 2048.
Step 4: Add effects and scenes
With layout pushed to the editor:
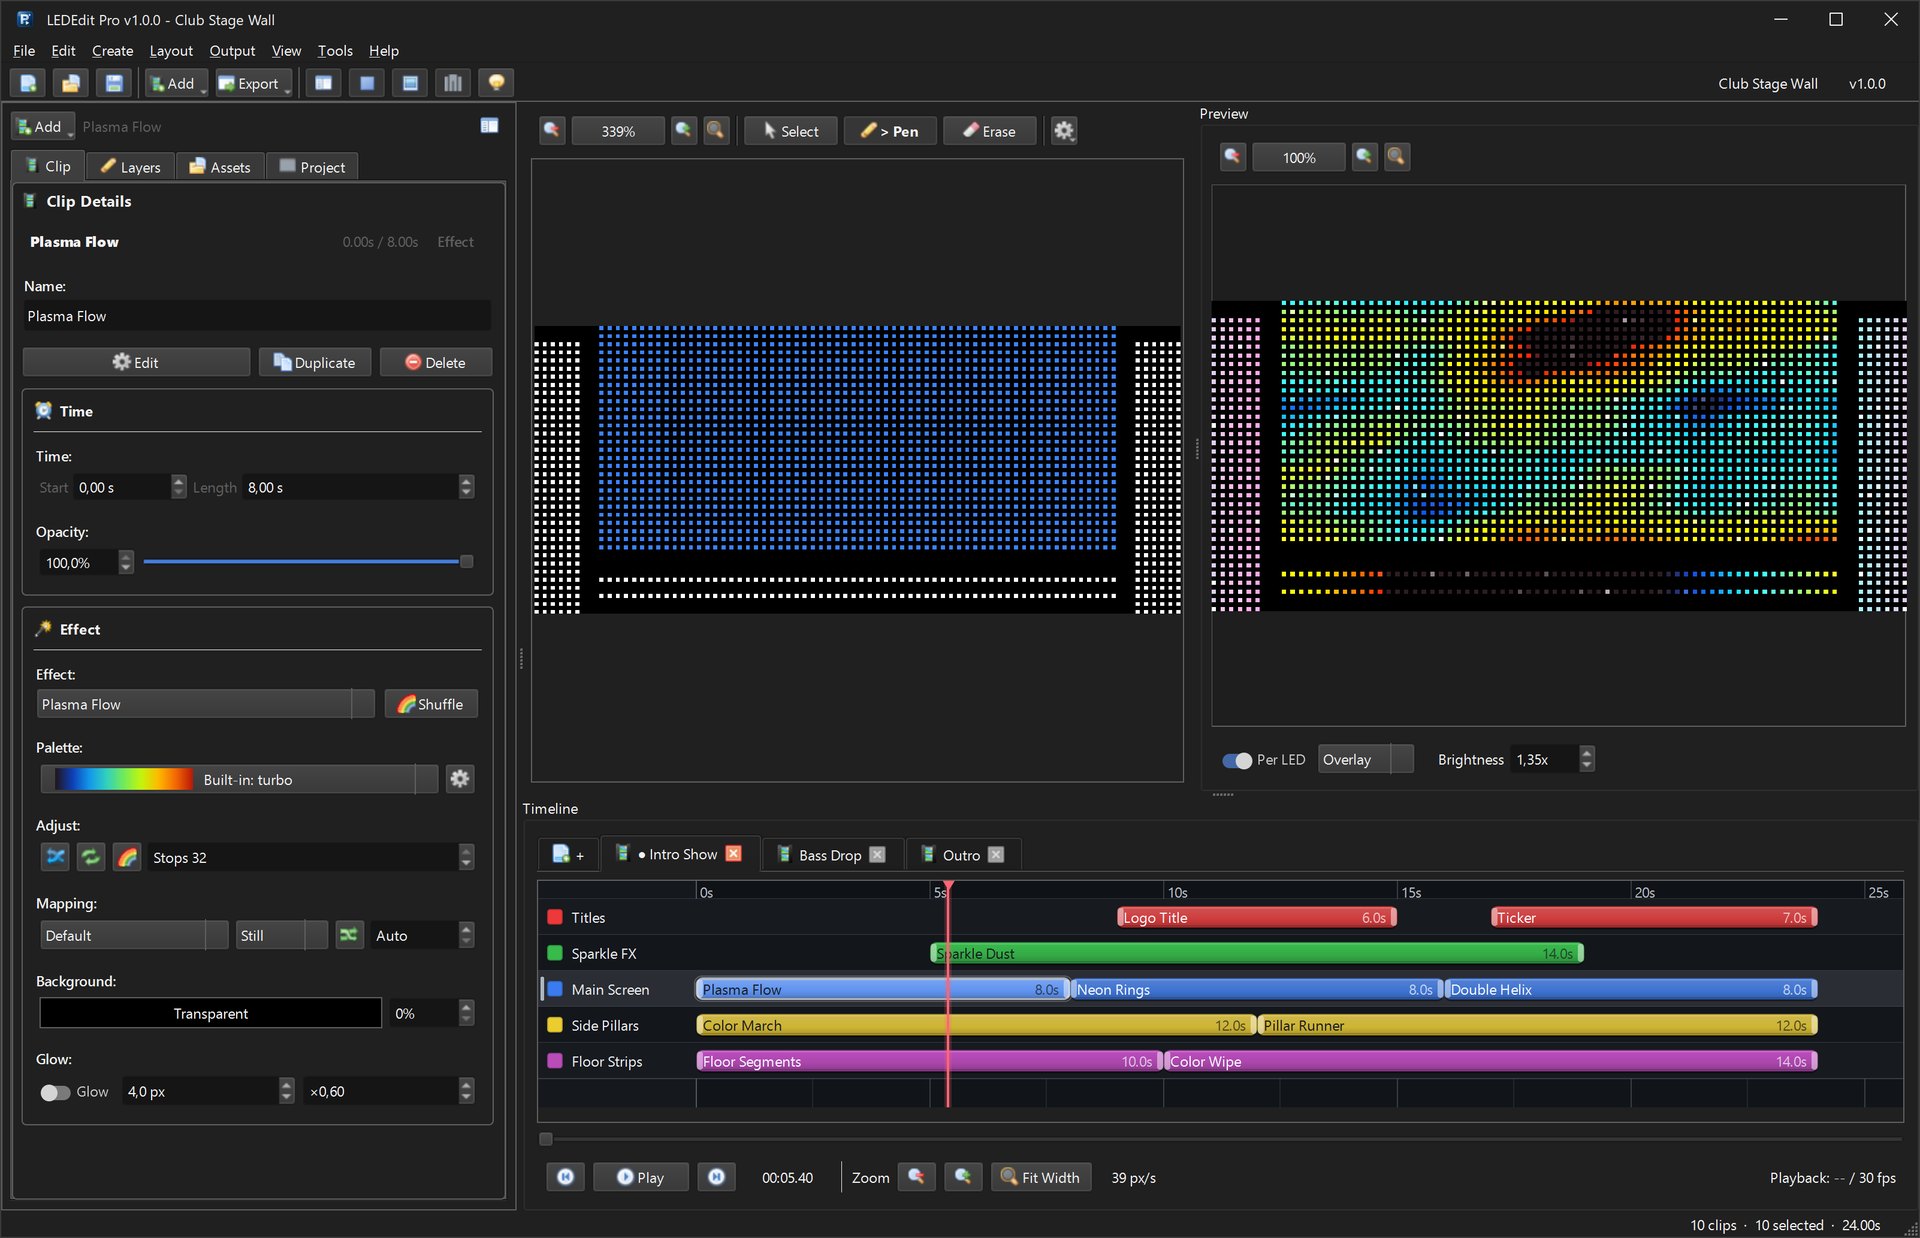
- Timeline tracks map to your canvas — add an effect clip per layer, not per port. LEDEdit renders to the whole canvas and splits by port at export.
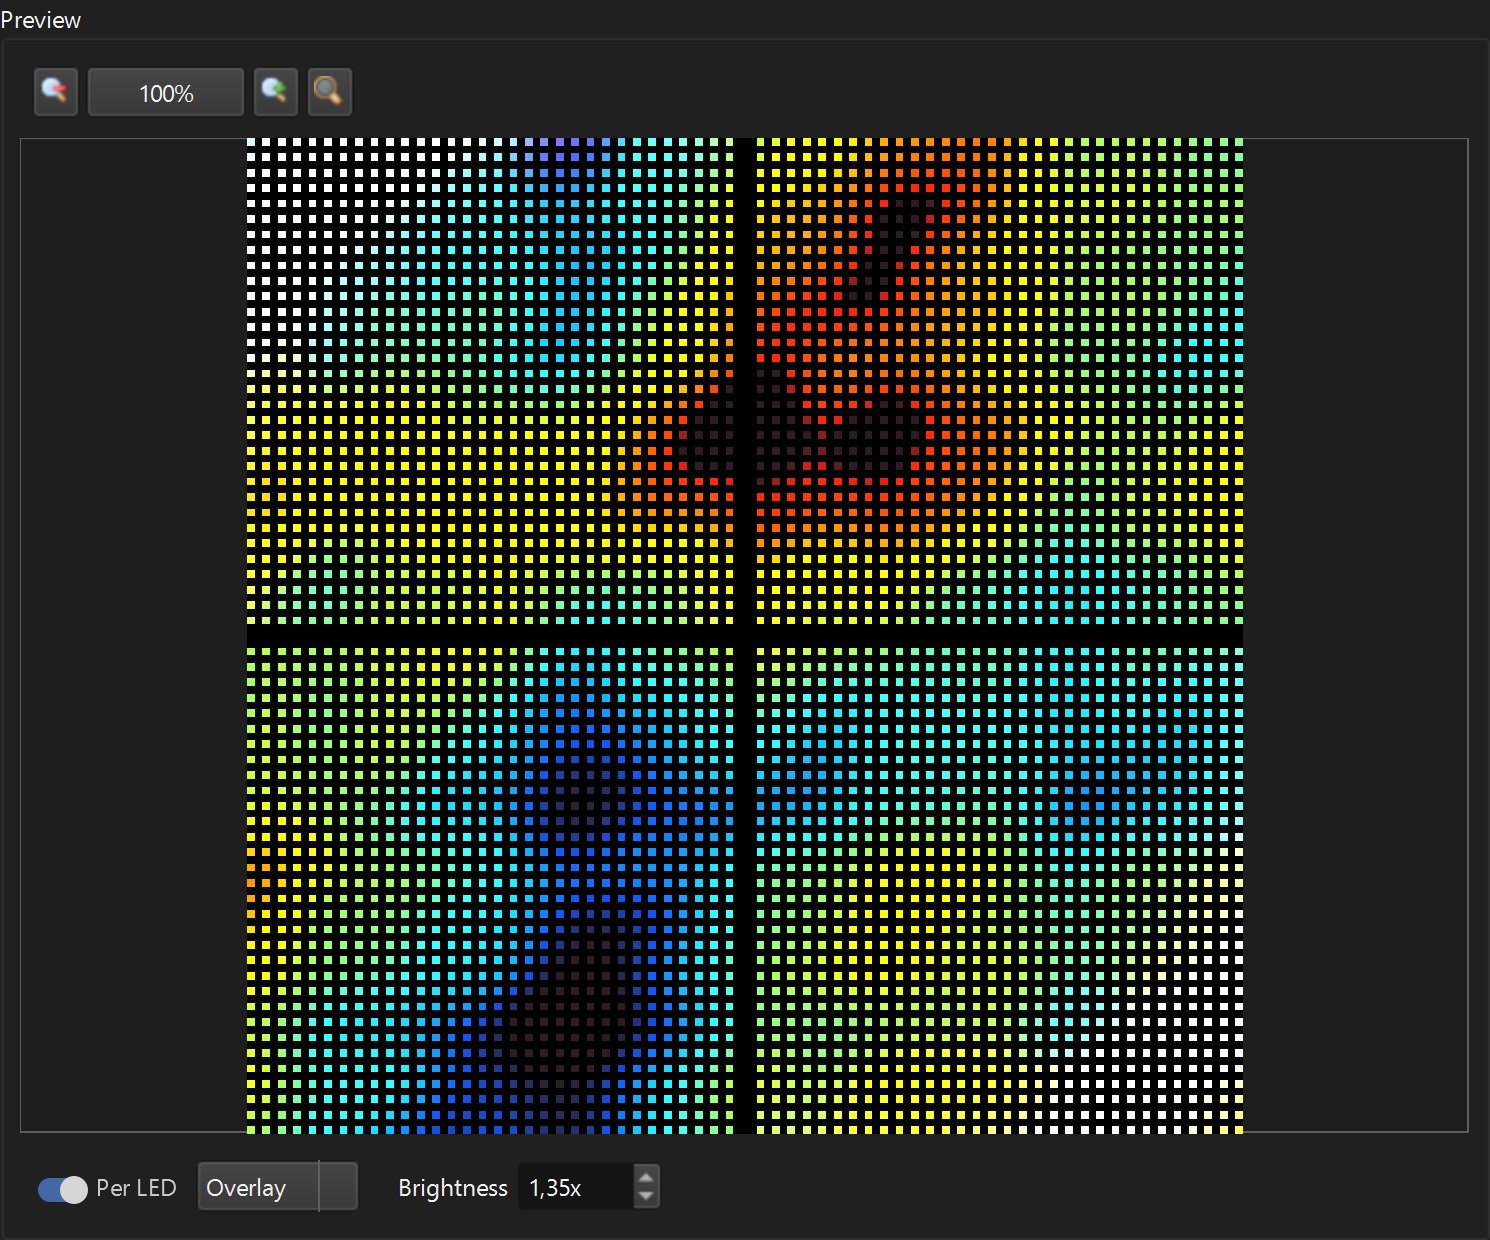
- Per-LED preview in Pro shows exactly which pixel gets which color — use it to spot gaps between panels.
- Scenes: create one scene per look (for example “Day — corporate loop” and “Night — party chase”). Each scene becomes one
.ledsegment; the controller cycles or you can schedule.
Popular settings for T-8000 walls:
- Frame rate 30 fps — smooth and SD-friendly; 60 fps doubles file size with no visible gain at 16k LEDs
- Brightness 70–80% in software — full 100% washes out SMD panels and stresses power
- Motion speed slow — fast moves strobe on large pixel pitches
Tip: Test with a solid color wipe first. If panels show the wrong segment, you wired the data cable to the wrong port — swap at the terminal block, not in software.
Step 5: Export the .led file
File → Export → Export .led file (2014) or Output → Export LEDEdit .led… (Pro):
- Confirm controller
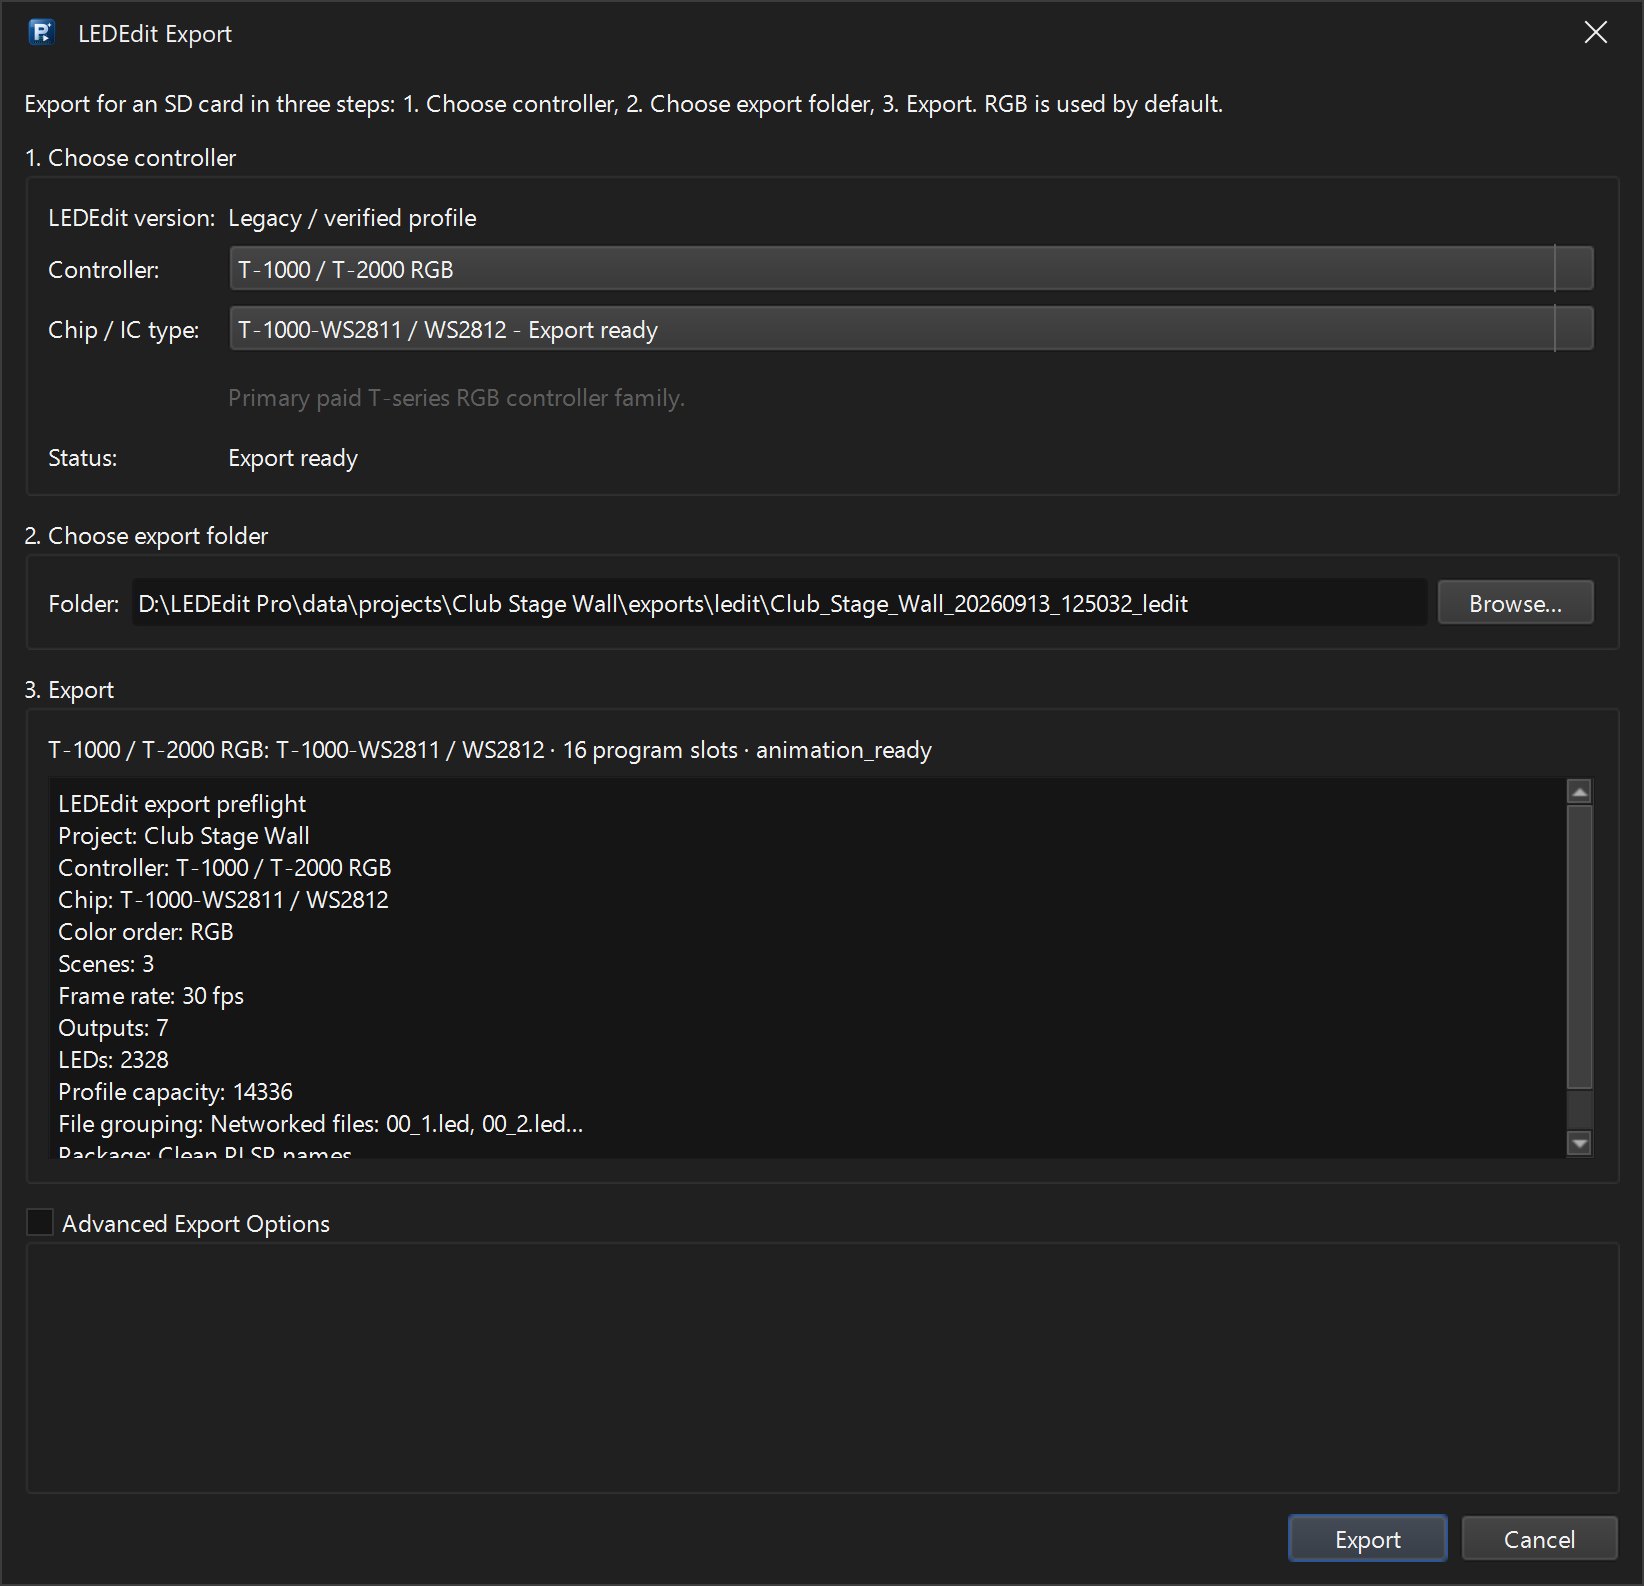
T-8000-WS2811and chip - Check the preflight line: scenes, FPS, outputs, total LEDs. It should match your Layout Check
- Save as
00_01.ledfor auto-play on power-on, or01.led/02.ledif your manual says so — filename matters per firmware - For DMX variants, also export DmxSet.led if the Output menu offers it
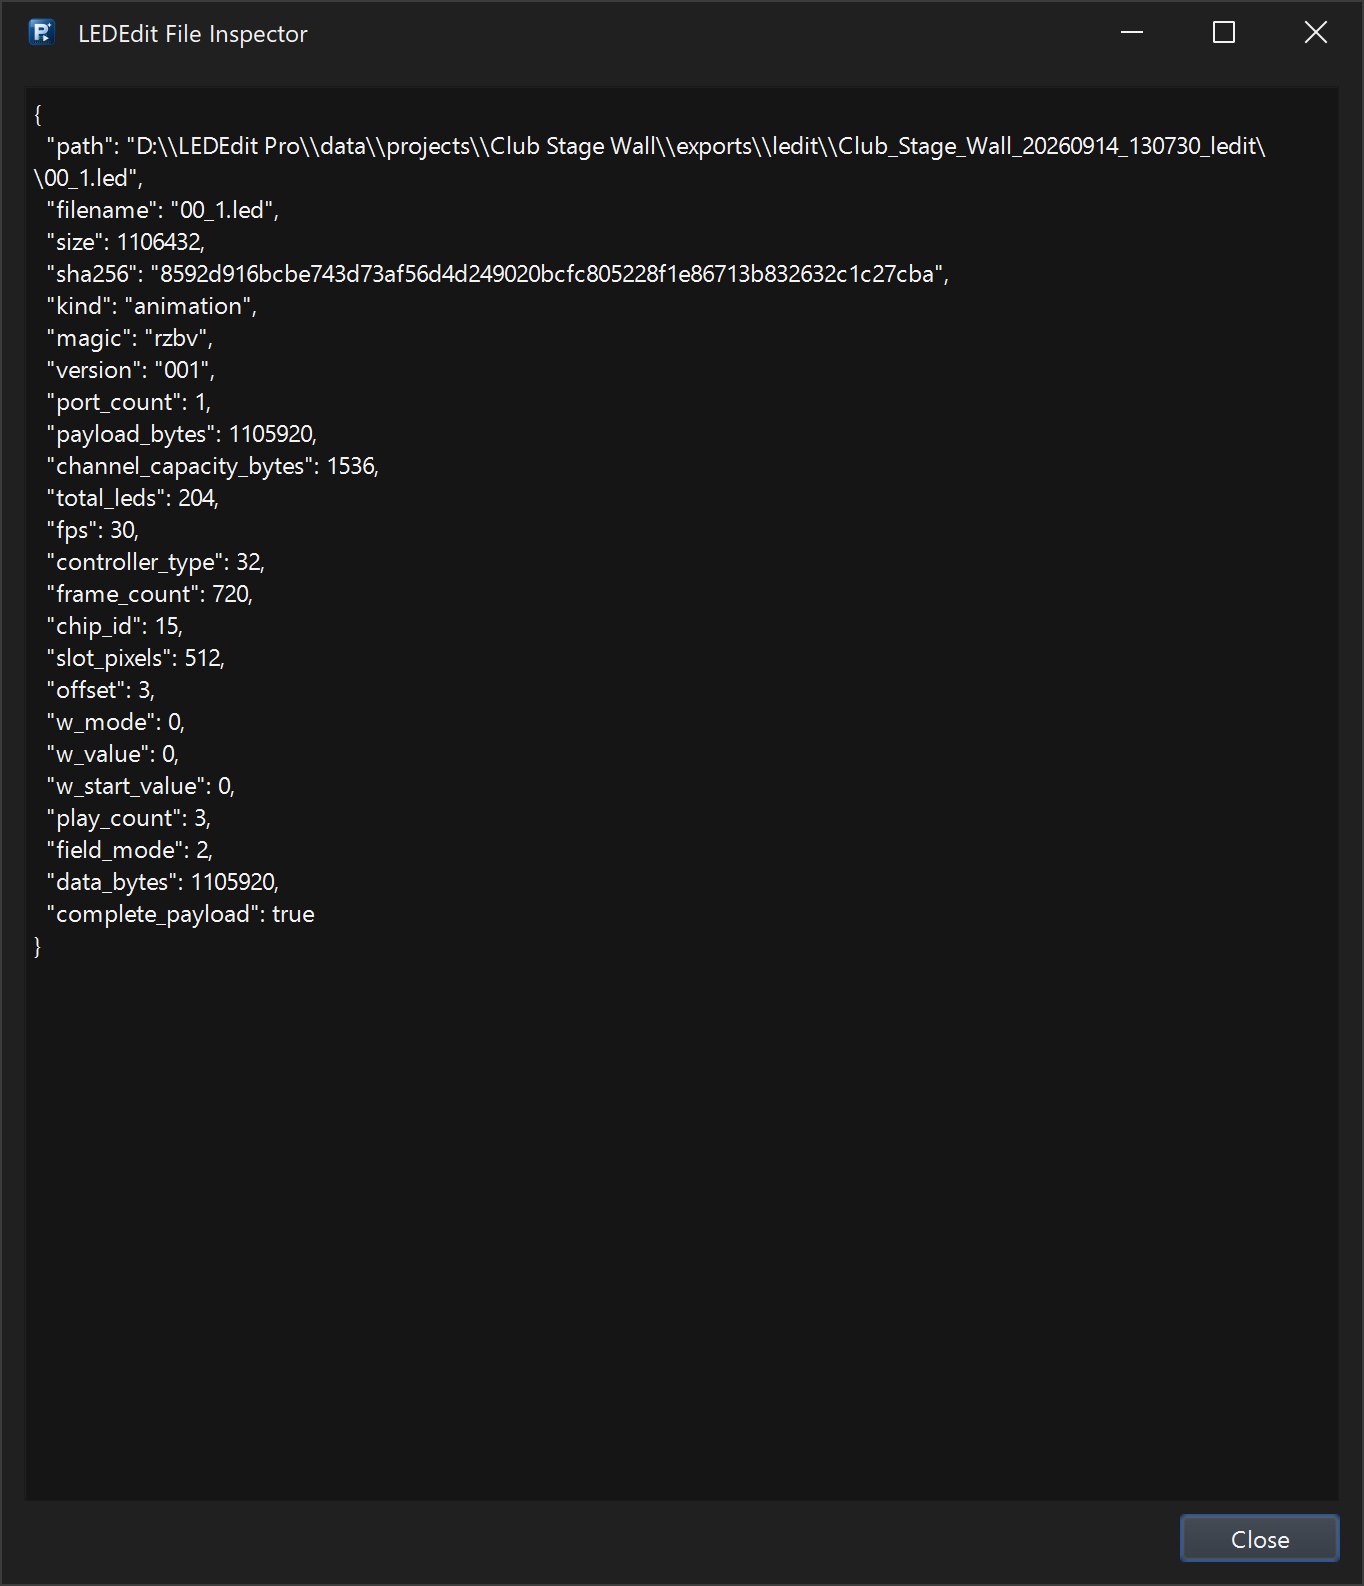
The exporter writes a binary header with controller family + chip + frame count, then the pixel frames. Do not rename inside the export dialog after saving — the controller reads the header, not the extension, but some firmwares also filter by name pattern.
Export preflight example (Pro 2026):
Controller: K-8000 / T-8000  Chip: T-8000B-WS2811  Order: RGB
Scenes: 2  FPS: 30  Outputs: 4  LEDs: 4096 / 16384
Capacity: 4096 LEDs OK — writing 00_01.led
Step 6: Prepare the SD card – FAT32 is mandatory
Use a 2–32 GB microSD with adapter. Larger SDXC cards formatted as exFAT will not boot — the T-8000 bootloader only reads FAT.
Format steps on Windows:
- Insert card → open File Explorer → right-click drive → Format
- File system: FAT32 (if the card is >32 GB, use
guiformat.exeordiskpartto force FAT32) - Allocation unit size: 4096 bytes
- Check Quick Format → Start → OK
- Delete any
System Volume Informationfolder if it appears — leave root clean
SD card lock switch: On full-size adapters, slide the lock to unlocked (up). A locked card shows “write protected” and LEDEdit cannot copy.
Step 7: File placement and first boot
Copy rules:
- Place
.ledfile(s) in the root —E:\00_01.led, notE:\shows\00_01.led - No other
.ledfiles with conflicting numbers — one auto-play file is enough - Safely eject the card (system tray → Eject) to flush cache
Boot sequence:
- Power off the T-8000 (unplug 5V/12V supply)
- Insert SD card until it clicks
- Power on — status LED blinks rapidly for 1–2 seconds, then goes solid when the show loops
- If the LED stays blinking or the wall stays dark, power off, re-check filename and FAT32, re-export (see Step 8 troubleshooting)
Step 8: Multi-controller networking (cascaded and parallel walls)
For walls larger than 16,384 LEDs, chain multiple T-8000s:
- Cascaded (serial) layout: Split the canvas in LEDEdit Pro across controllers — export
Controller A: ports 1–8as00_01.ledfor unit A andController B: ports 1–8as00_01.ledfor unit B. Each controller gets its own SD card with its own segment. Power and data star from each controller to its panels. - Parallel (cloned) play: Same file on every SD card for synchronized identical walls — useful for retail rows.
- Sync: T-8000 has no network sync cable; sync by matching frame rate and powering on together. For frame-perfect sync across controllers, use T-4000 or T12K-U which support sync ports.
Power wiring for multi-controller:
- One 5V 60A (or 12V) supply per 4–6 panels — never daisy-chain power through panels over long runs; inject at each panel
- Common ground between supply, controller and first pixel of each port — floating ground causes flicker
Troubleshooting file not playing
| Symptom | Cause | Fix |
|---|---|---|
| Dark after boot, LED steady | Wrong chip / color order | Re-export with verified WS2811 vs SM16703, test RGB vs GRB |
| Only half the wall lights | Port count wrong, some ports empty incorrectly | Re-open layout, verify P1–P4 assignment, Layout Check |
| First panel wrong colors, rest OK | Wiring serpentine mismatch | Toggle serpentine on/off for that port, re-export |
| SD error blink (3 short) | exFAT or bad filename | Reformat FAT32 4096, rename to 00_01.led, eject cleanly |
If nothing plays, fall back to the diagnostic SD card not playing fix and the T-1000S guide for chip verification.