A seamless LED video loop needs its final displayed frame to lead naturally back to its first. Simply repeating an MP4 or extending a timeline clip will not conceal a sudden cut, a colour shift or a pause already present in the source. Check the join in the artwork first, then check the rendered frames and the controller’s real playback behavior.
This guide is for a repeating background, shop display or decorative LED wall. It does not assume that every SD-card controller supports the same repeat mode or naming convention; consult the documentation for your particular hardware.
Plan a repeatable movement
Begin with a pattern that has a natural cycle: a rotating ring returning to its starting angle, a moving gradient completing its travel, or a pulse that begins and ends at the same intensity. If the artwork starts on a bright red frame and ends on a dark blue frame, playback will expose the join even if the motion is smooth in between.
Record three things about the intended loop: its duration, the subject’s starting state and its state just before the end. Both position and colour matter. For a moving stripe, returning to the same side may not help if its hue and thickness have changed abruptly.
Do not rely on copying the first frame onto the end as a complete fix. That can create a momentary hold before the cycle begins again. Compare the last few frames with the first few frames at normal speed, not only two isolated stills.
Prepare the source before importing it
If you are using an external video, edit the loop where you created the footage. Use a complete motion cycle or design a transition that blends into the opening. Check the exported source file itself by playing it twice in succession. Compression, a black leader or an unintended final frame can reintroduce a visible seam.
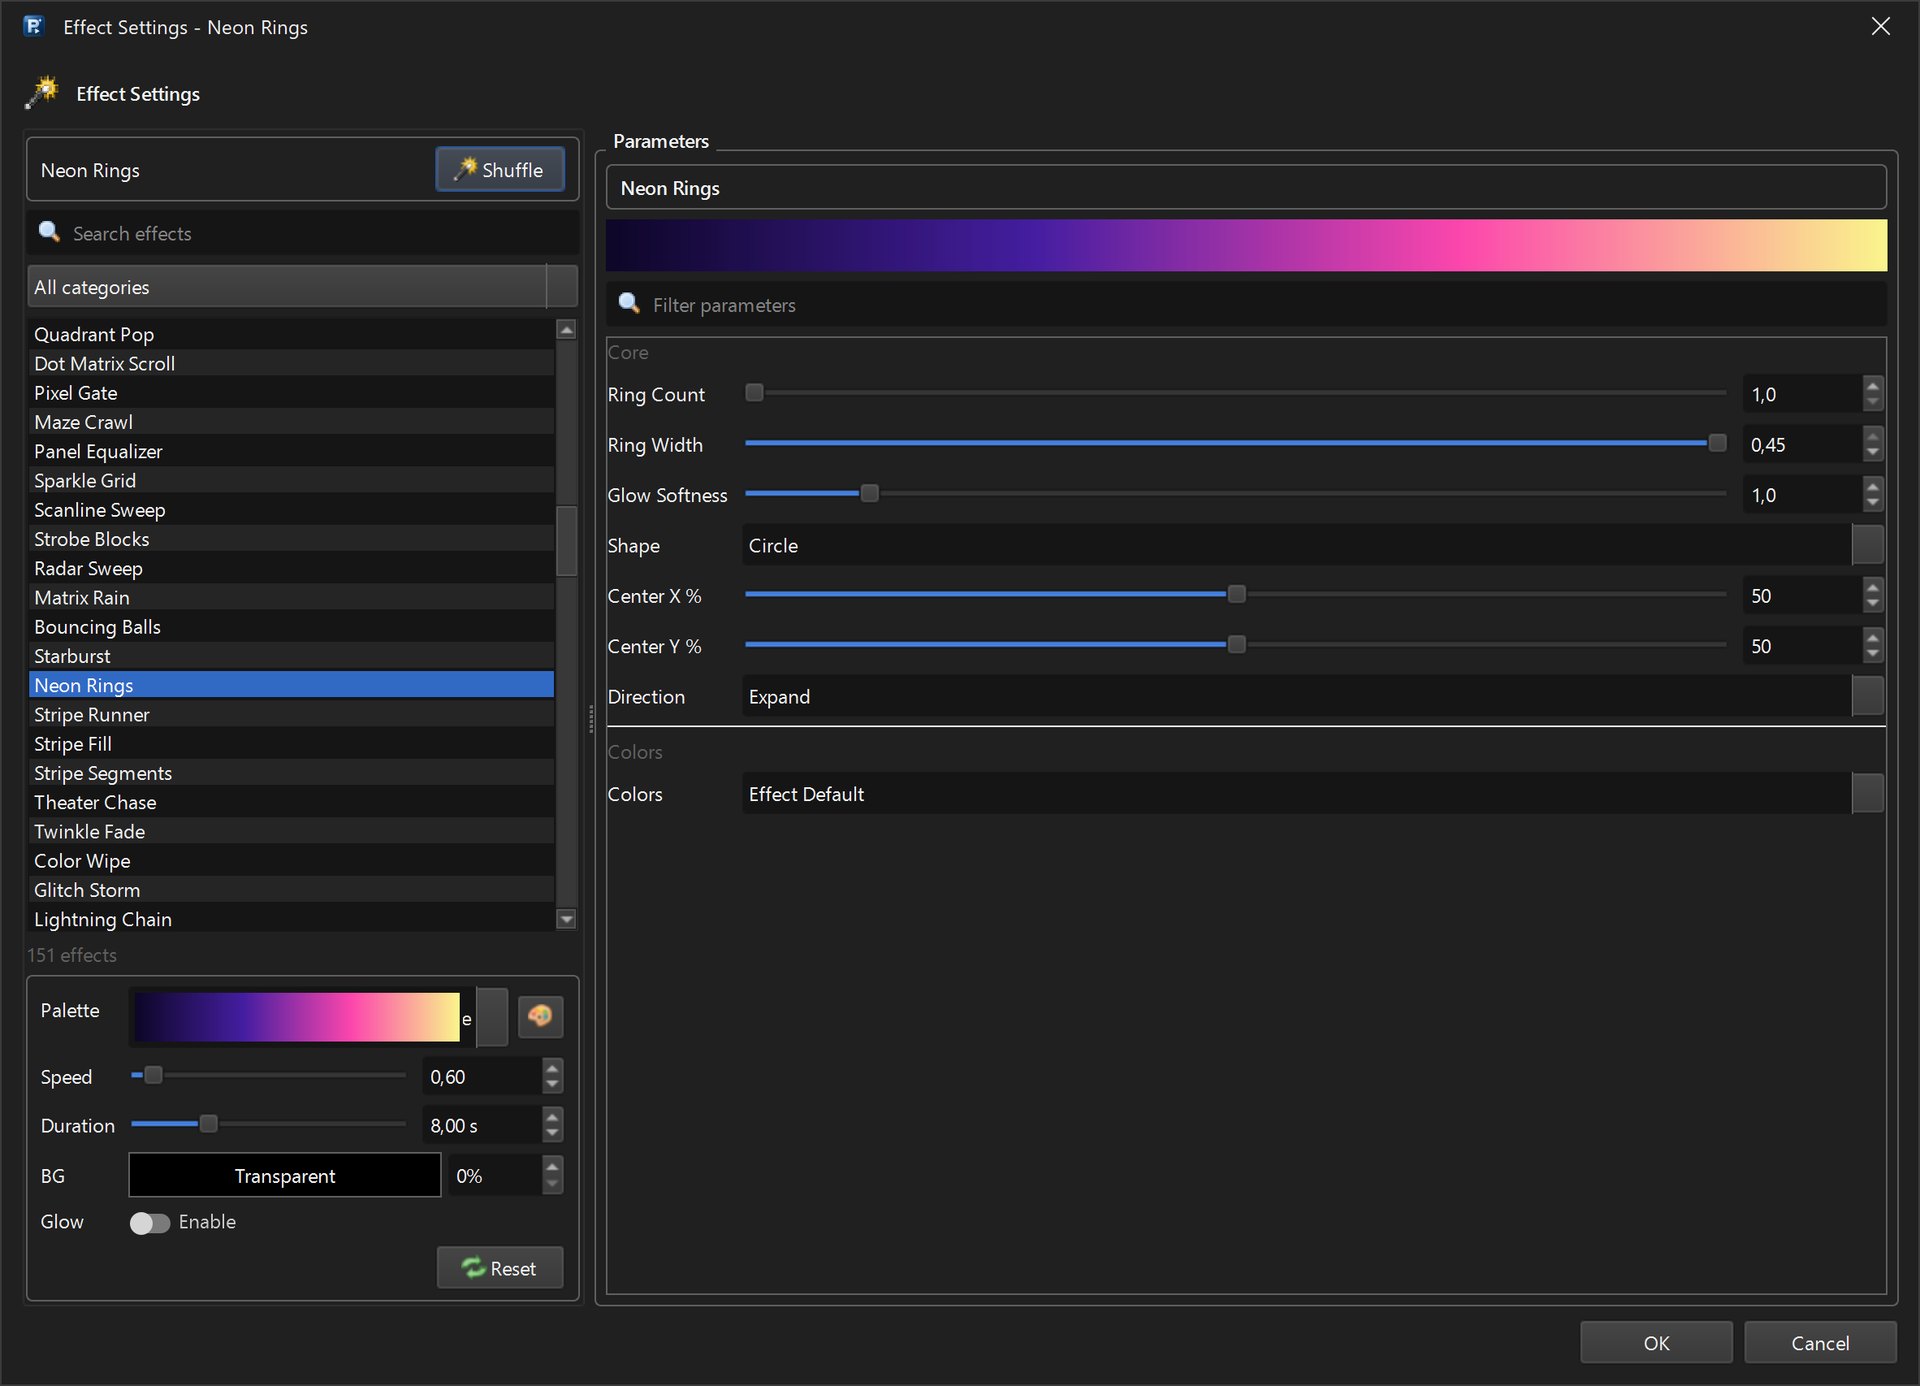
For an effect generated in LEDEdit Pro, choose timing and effect settings that bring the visual back to a compatible state at the scene boundary. A procedural effect being labelled “loop” does not prove that your entire composition—other clips, text and background included—will repeat without a jump.
Keep the first test short and visually simple. Rapid flashes can hide a seam during editing but remain distracting on a real installation. A slow gradient and a moving edge are better diagnostic elements.
Build one exact-length test in LEDEdit Pro
Set up the LED layout and add the source to a layer. A newly added video clip initially uses up to eight seconds of the source, so inspect its actual timeline length rather than assuming that a longer imported file was placed in full. Set the intended duration and position explicitly.
Scrub to the start, one frame before the end and the first frame again. If the source ends before the clip, the final image may be held; making the clip longer is not an automatic loop operation. Rework the source duration or the clip timing instead of using an accidental freeze as a transition.
If other layers overlap the loop, inspect them too. A text message that vanishes at the scene boundary can make a perfectly cycling background look broken. Keep diagnostic tests on one layer before adding timed labels and borders.

Test the actual exported boundary
The .led exporter renders frames at the project’s FPS over the selected scene duration. The last exported frame is sampled just before that duration ends; the next playback cycle starts at the first frame. Compare those displayed states, not an abstract endpoint that never becomes an exported frame.
Use Output → Export LEDEdit .led with the profile matching your controller, chip and wiring. Place the file on a prepared SD card according to that controller’s instructions. Let it play through at least three complete cycles while watching the join from the intended audience position.
If there is a pause, check the source file for held frames, the clip’s end time, other layers’ timing and the controller’s own repeat behavior. If there is a single-frame flash, compare the last exported moment with the first and inspect any gaps where the background layer is no longer active.

Distinguish the seam from a hardware issue
A jump at exactly the repeat boundary points toward source or scene timing. Random gaps during playback may involve the controller, SD card or an unsupported output configuration. A colour mismatch throughout the show points instead to colour order. Diagnose those separately before rebuilding the loop.
The video-to-.led guide covers source import and controller export, while the FPS guide explains why changing frame rate alone cannot repair a poorly prepared seam. For file or SD-card failures, use the playback checklist.
Once the short loop works on your hardware, keep its project and source file together, then add titles or extra zones without changing the proven boundary. Explore the LEDEdit Pro editor for the layout, timeline and export workflow.