
LEDEdit-K is the special LEDEdit branch built for the “K” family of pixel controllers — T-300K, T-400K, T-500K, T-600K and their variants. Unlike the classic T-1000S flow where you sneakernet an SD card to the controller, K-series controllers can run online: connected to your PC over Ethernet while you design, preview and push effects in real time. This guide covers when to use LEDEdit-K, how to set up the network, and how the offline SD fallback works.
Recommended for new shows: LEDEdit Pro 2026
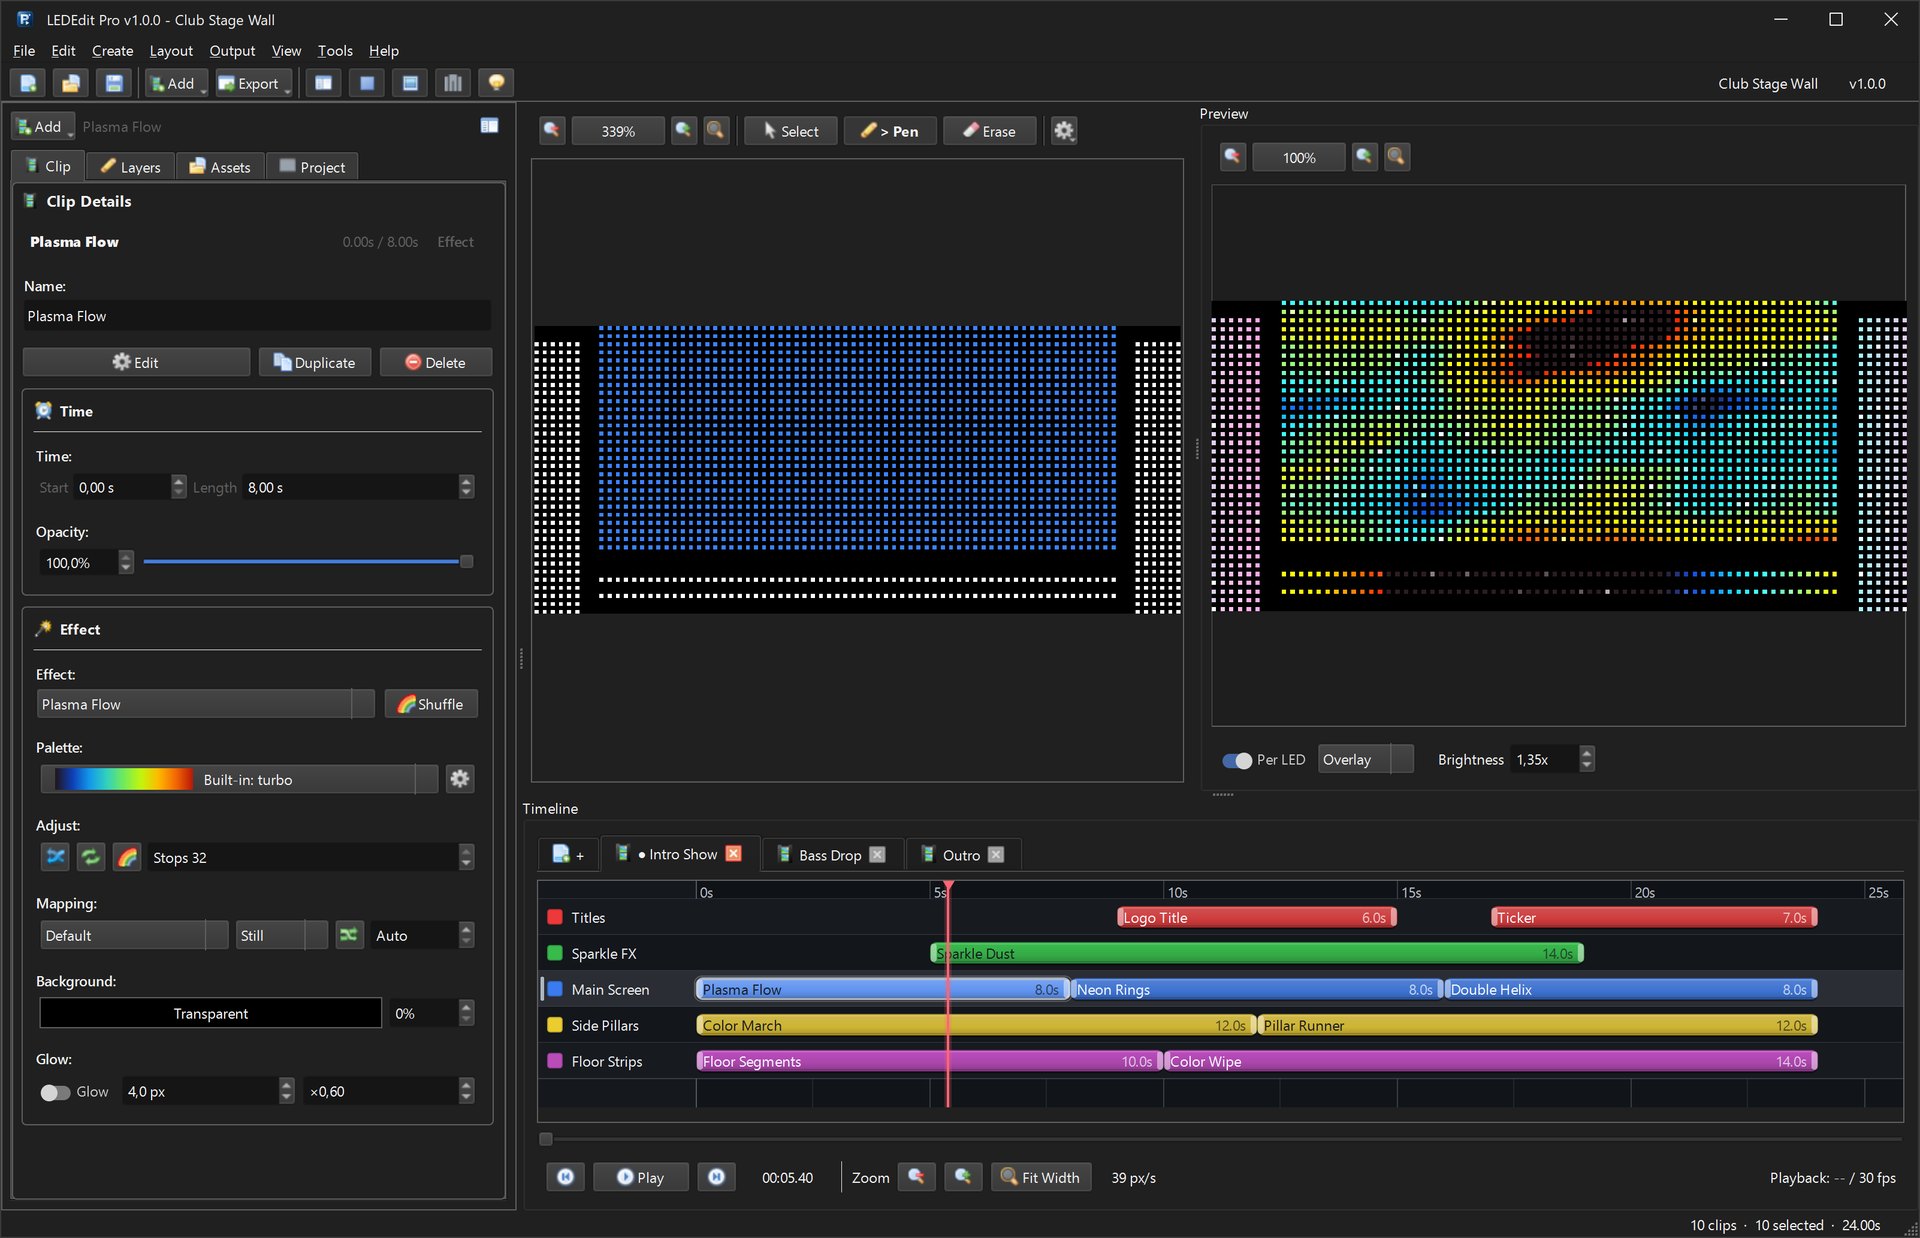
This guide covers the free LEDEdit-K community release. For new projects use LEDEdit Pro 2026 — multi-layer timeline, 151 effects, LED Layout Creator with DXF import/export, live per-LED preview and direct .led export for 19 controller families including the full K-series.
LEDEdit vs LEDEdit-K: which one do you need?
| Question | Answer |
|---|---|
| Controller is T-1000S, T-8000, K-1000C, K-8000 | Use classic LEDEdit 2014/2024 |
| Controller is T-300K, T-400K, T-500K, T-600K | Use LEDEdit-K |
| You want live Ethernet preview while editing | LEDEdit-K online mode |
| Show must run standalone without a PC | Either — export .led to SD in offline mode |
The interfaces differ. LEDEdit-K has its own layout, network and device windows. Settings you know from LEDEdit 2014 are in different places — follow this guide instead of guessing.
What “online” actually means
In offline mode the K controller behaves like a T-1000S: it plays .led files from its SD card on power-up, no PC needed. In online mode the controller stays connected to your computer over Ethernet and LEDEdit-K streams frames to it live. Online mode is for building and testing — you see every change on the real strips instantly. When the show is final, you export the .led package to SD and the controller runs standalone.
Most installers work online during setup week, then switch to offline for the permanent install. Nightclubs that change content weekly often stay online with a mini-PC.
Network setup step by step
- Wire it: PC Ethernet port → switch or direct cable → controller LAN port. Use Cat5e or better. For a direct PC-to-controller cable, most modern NICs auto-cross, so a normal patch cable works.
- Set a static IP on the PC: e.g.
192.168.1.100, mask255.255.255.0. The K controllers default to the192.168.1.xrange (commonly192.168.1.50— check your unit’s sticker or manual). - Open LEDEdit-K → Network connections window. It scans the subnet and lists found controllers with IP and model.
- Select your controller and confirm the port count matches the hardware (T-600K = 6 ports, T-500K = 5, and so on).
- Test the link: the status dot turns green and the controller display (if fitted) shows the link icon. If it stays red, re-check IP range and firewall — Windows Firewall blocks LEDEdit-K’s discovery port on first run, so allow it when prompted.
Two networks, two cables: If the venue PC also needs internet, use two NICs (or USB-Ethernet adapter): one for venue internet (DHCP), one static for the LED network. Never put the LED controllers on a DHCP network you don’t control — a router reboot can re-address them mid-show.
Creating your first online project
- File → New project, then pick the exact controller model plus drive-chip (e.g.
T-600K–WS2811). Controller name in the list equals controller model + chip —T-600Kalone is not enough. - Draw the layout: set matrix width/height per port, then wire ports in order. K-series ports each drive a contiguous block — keep a sketch of which physical strip hangs on which port.
- Add effects on the timeline and press play — with the online link green, the strips mirror your preview live.
- Tune brightness and speed on the controller or in software, then export to SD for standalone playback: File → Export → choose SD drive, confirm the file lands in root as
00_01.led,00_02.led, etc.
Splitting layouts across ports
Large walls exceed one port’s LED limit, so LEDEdit-K splits the layout into sections — one per port. Rules that save hours:
- Fill port 1 completely before starting port 2; the software numbers sections in port order.
- Keep each port’s LED count under its max (check the controller table — K-series ports typically handle 1,024–2,048 LEDs depending on chip and frame rate).
- Snake wiring within a port (serpentine) to halve cable runs, but declare the snake direction in the layout so the image isn’t mirrored.
- Label physical cables P1–P6 with tape matching the software ports. Future-you will be grateful at 2 AM.
Offline SD export checklist
- SD card 2–32 GB, FAT32 (not exFAT), freshly formatted.
.ledfiles in root, named00_01.ledupward — subfolders are ignored.- Card unlocked (side switch toward the contacts).
- After export, use OS eject before pulling the card — a half-written FAT table is the #1 “FFFF error” cause.
- On the controller, the display should list the file count; if it shows FFFF, re-seat and re-export.
Troubleshooting
| Symptom | Fix |
|---|---|
| Controller not found in network window | Same subnet? Firewall allowed? Try direct cable, disable Wi-Fi so discovery uses Ethernet |
| Online preview lags | Lower preview resolution, close other LAN traffic, use a dedicated switch |
| Plays online but not from SD | Wrong chip profile selected, or files not in root, or exFAT card |
| Colors wrong (red/blue swap) | Chip color order — set RGB vs GRB in controller settings to match your strip batch |
| Only first port lights | Port count mismatch — re-select exact model; check section split order |
Related guides
- T-1000S tutorial — the classic offline controller
- K-1000C tutorial — the K-series SD workflow
- Program the T-8000 — 8-port offline programming
- Free downloads — LEDEdit-K and classic installers
- LEDEdit Pro 2026 features — timeline, 151 effects and direct
.ledexport