To convert an MP4 or AVI video to a .led file in LEDEdit Pro, import the video into a project, map the physical LEDs, and export for the correct controller and chip. Renaming a video file to .led does not perform that conversion. The controller needs an ordered stream of LED colours, not the original movie container.
This guide covers a short, repeatable workflow for SD-card projects. Start with ten seconds of simple footage, prove it on your hardware, then export the full show. A successful software preview is useful, but it does not establish compatibility with every controller revision.
What you need before importing video
Have your controller model, LED chip type, pixel count per port, and wiring order ready. Keep the source video available on your computer and use footage you have permission to use. If the installation already has a working layout, reuse that layout instead of estimating the wiring from a photograph.
For a first test, choose a clip with large shapes and clear movement. A wide colour sweep is easier to diagnose than a detailed camera shot. On a small matrix, tiny text and fine textures can disappear even when the source looks excellent on a monitor.
LEDEdit Pro’s video picker accepts MP4, MOV, MKV, AVI and WebM, alongside its specialist formats. A listed extension is not a guarantee that every codec inside that container will decode. If one file fails, test another known-working clip before changing the layout or controller settings.
1. Build the LED layout first
Create or open your project, then import the installation’s DXF layout or use the LED Layout Creator. Match the actual LED positions, port assignments and wiring direction. For a serpentine panel, alternate rows must follow the physical cable route rather than simply reading left to right.
The layout and video resolution describe different things. A 1920 × 1080 movie does not mean your controller should be configured for that many LEDs. The mapped installation determines which positions contribute colour values to the output.
Before adding footage, check the layout with a simple effect. If a chase jumps between distant sections, fix the mapping first. Our LED pixel mapping guide explains the layout workflow in more detail.
2. Add the video to a layer
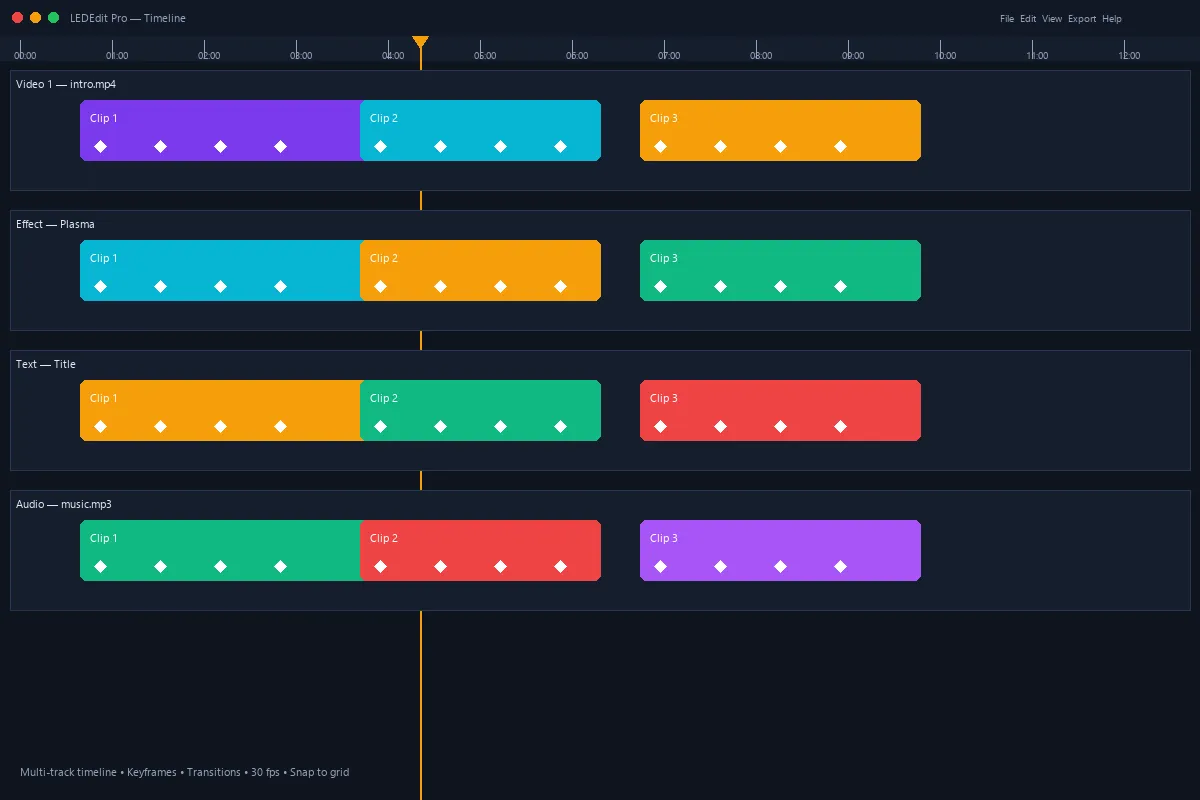
Create a layer, then choose Create → Add Clip → Video Clip… and select your source. Put the clip at the intended start time on the timeline. Keep this first project simple: one source, one visible region and a short duration make errors easier to isolate.
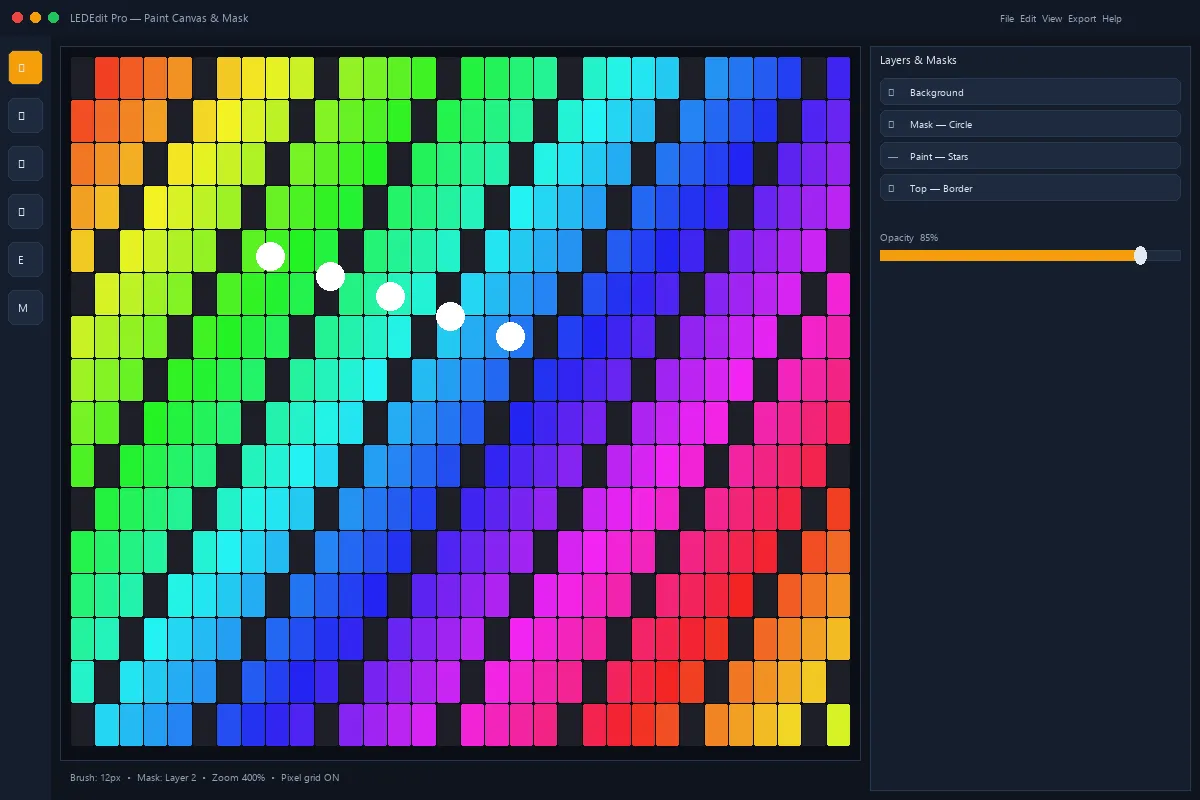
Use the clip’s positioning and scaling controls to place the image over the intended LED area. Check whether important content is clipped at the edges or compressed into a narrow strip. A house outline and a rectangular LED matrix rarely need the same framing.
If the video should appear in only one part of the installation, define that region with a layer mask. See the separate LED zones guide before building several overlapping layers.

3. Check the whole clip, not just its first frame
Scrub through the beginning, middle and end. Confirm that the video remains readable at the LED layout’s effective resolution and that no unintended gap appears before the first clip. Watch the end especially closely: extending a timeline item beyond the useful source footage is not a substitute for preparing a seamless loop.
Keep normal playback speed for the first export. If the original is already too fast to read, adjust the creative content deliberately rather than hoping a higher output frame rate will slow it down. Playback speed and frame rate solve different problems.
For a loop, compare its last image with its first image. A hard cut in the source will still be a hard cut on the LEDs. It is often faster to fix that transition in the source than to keep changing export settings.
4. Export the controller file
Save the project, then choose Output → Export LEDEdit .led. Select the profile that matches your actual hardware. Do not choose a similar-looking model name merely because it appears in the list.
Read the export preflight carefully:
- Confirm the controller and LED chip.
- Check colour order against a known red, green and blue test.
- Compare LED counts and port routing with the installation.
- Confirm the intended scenes and duration.
- Check the project frame rate shown in the summary.
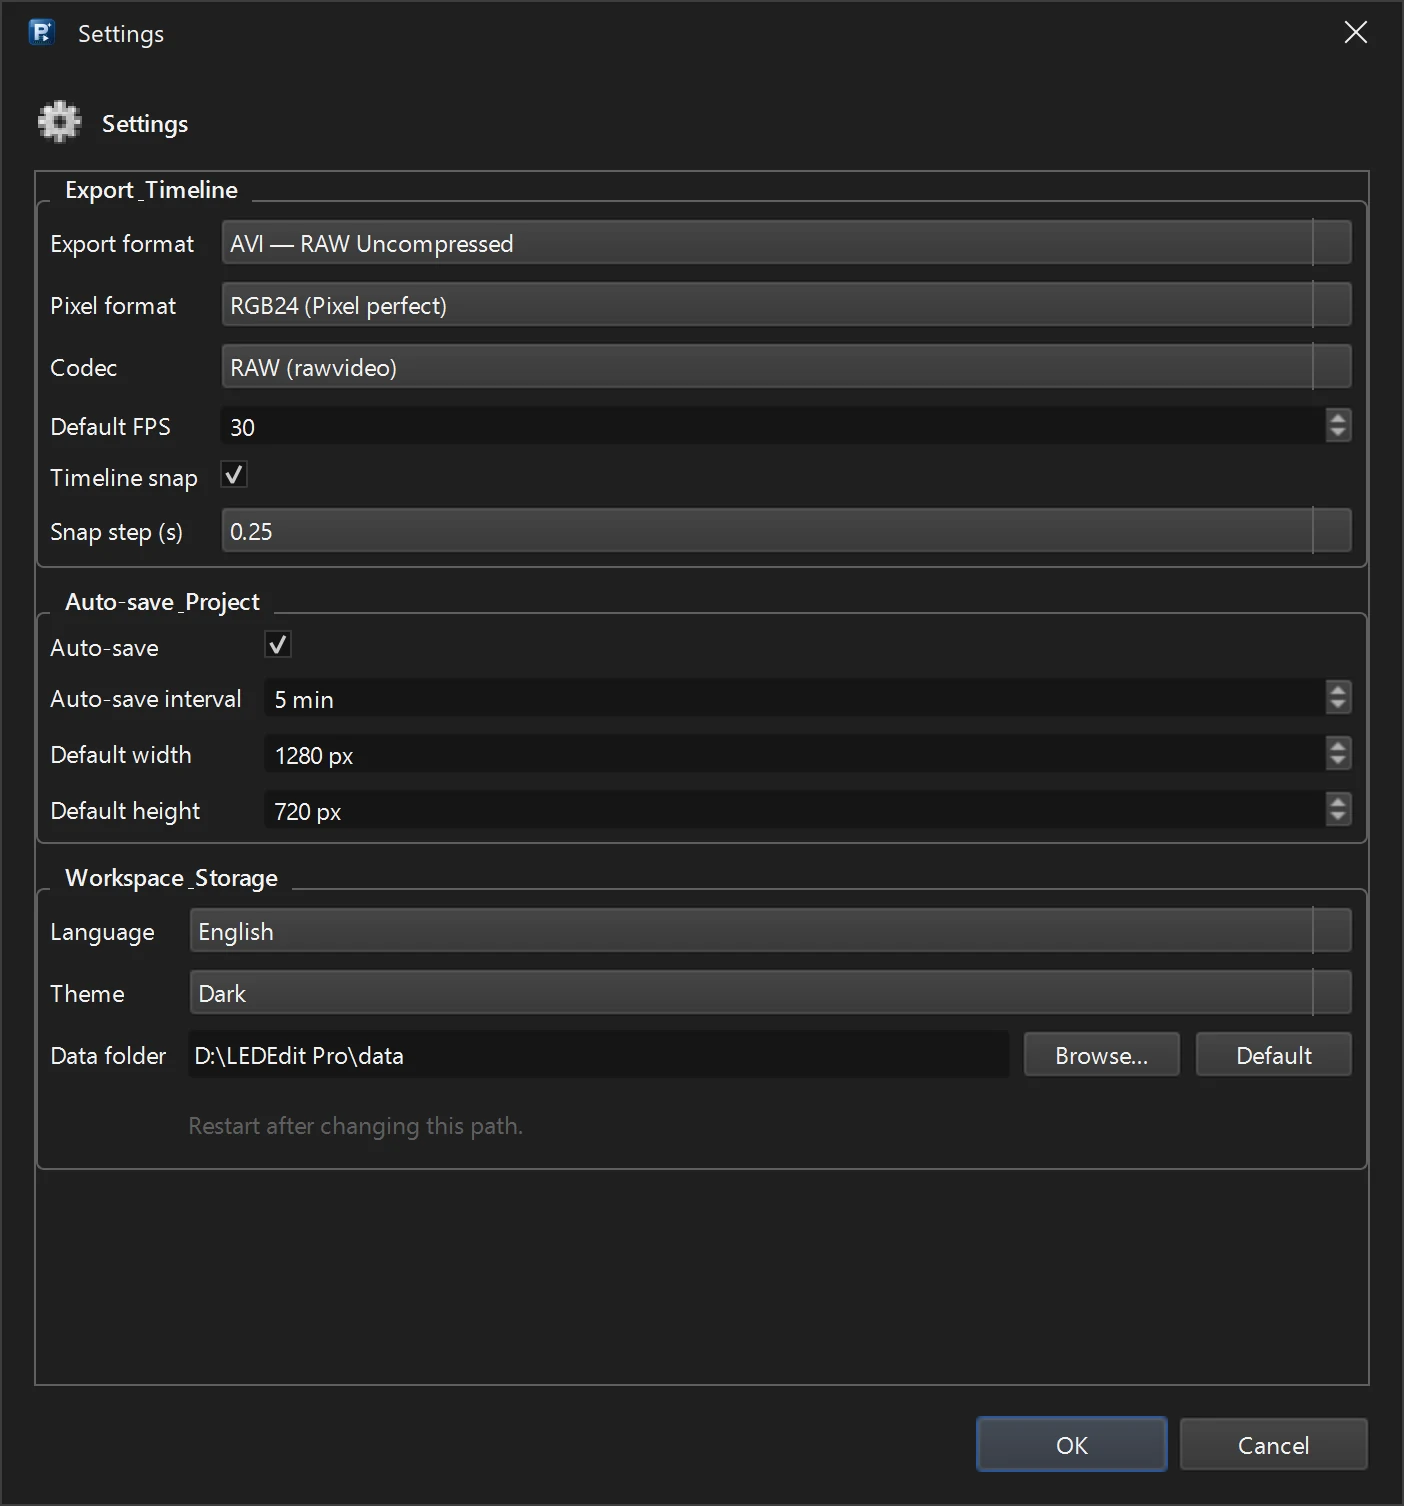
The .led export uses the project’s frame rate. The frame-rate guide explains how to choose and verify it. Exporting an MP4 preview is a separate operation; that preview is not the SD-card controller file.

5. Test the SD card before exporting a long show
Use Output → LEDEdit Tools → Write to SD Card and follow the requirements for your controller’s card format and filenames. Back up existing card contents before replacing anything. Do not rename every generated file to a generic name: some controller profiles expect a particular package structure.
Run the short test on the real installation. Check the first and last LEDs on each port, overall orientation, colour order and motion. Only after that succeeds should you generate the longer programme. Keep a record of the working profile and project settings so the test is reproducible.
If the conversion does not play correctly
The preview is black: check the source path, decoder, clip timing, opacity and region settings. Try a second source file. A black preview is not evidence that the controller profile is wrong, because the controller is not involved yet.
The preview is correct but the card does not play: investigate the export profile, firmware expectations, card preparation and filenames. Use the SD-card troubleshooting checklist. Do not repeatedly transcode the video when the failure occurs after a valid render.
Shapes are scrambled or colours are swapped: inspect mapping and colour order separately. Neither problem is normally solved by increasing video resolution. If your hardware revision needs a different writer, the DXF and AVI fallback workflow explains how to continue with a compatible LEDEdit version.
Ready to build your own show? Review LEDEdit Pro’s editing and export features, or follow the first-project tutorial if you have not created a layout yet.