Pixel LED displays are a fantastic way to add vibrant, dynamic visuals to everything from VJ performances to Christmas decorations. With Pixel LED Animator 2, you can create stunning effects that are compatible with popular software like LedEdit, Jinx! LED, and more. This guide will walk you through the process of creating and exporting pixel LED effects using Pixel LED Animator 2.


Step 1: Download and Install Pixel LED Animator 2
First things first, let’s get the software set up:
- Download the Software: Head over to the Pixel LED Animator 2 official website and download the installation file.
- Install the Software: Run the installer and follow the prompts to get Pixel LED Animator 2 installed on your computer.
- Register the Software: Open the program, and you’ll be prompted to enter your email and license key. Enter these details to register and activate your software.
Step 2: Setting Up Your Project
Now that you have the software installed, it’s time to set up your project:
- Launch the Program: Open Pixel LED Animator 2.
- Set Effect Dimensions: Define the dimensions of your pixel LED matrix. This usually involves setting the width and height in pixels to match your LED setup.
- Set FPS: Choose the frames per second (FPS) for your animation. A common choice is between 30 to 60 FPS for smooth animations.
- Adjust Other Settings: Customize any additional settings to fit your project’s needs.
Step 3: Designing Your Effects
Here’s where the fun begins—creating your effects:
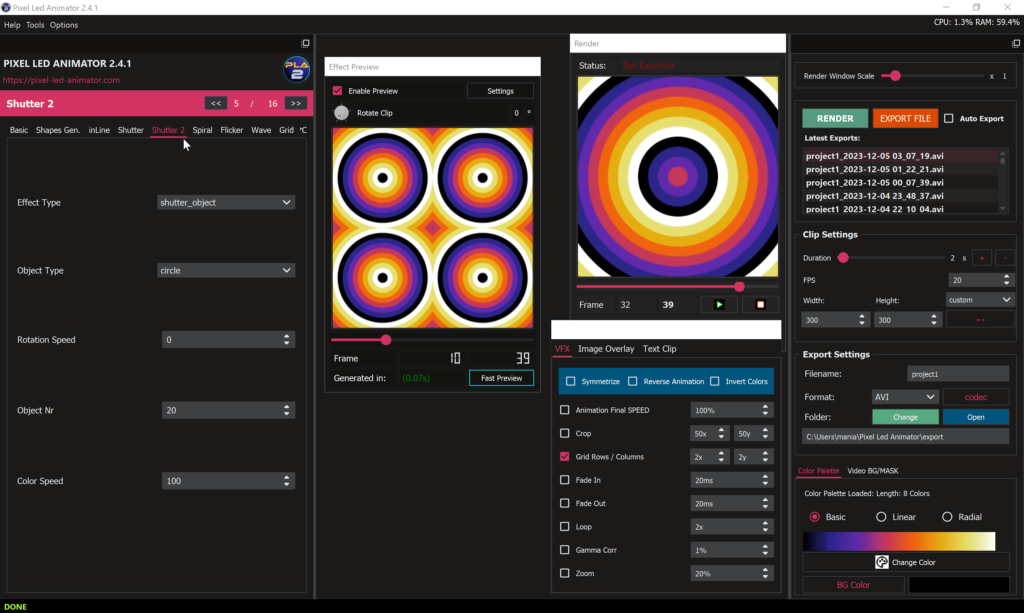
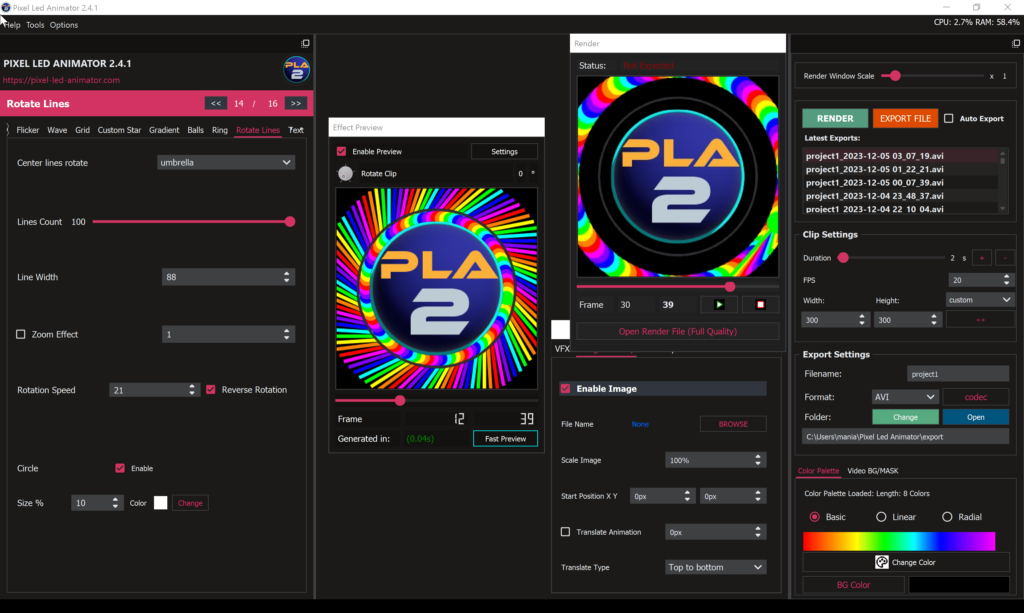
- Select Effects: On the left panel, browse through various effect templates and tools. Pick an effect that suits your vision.
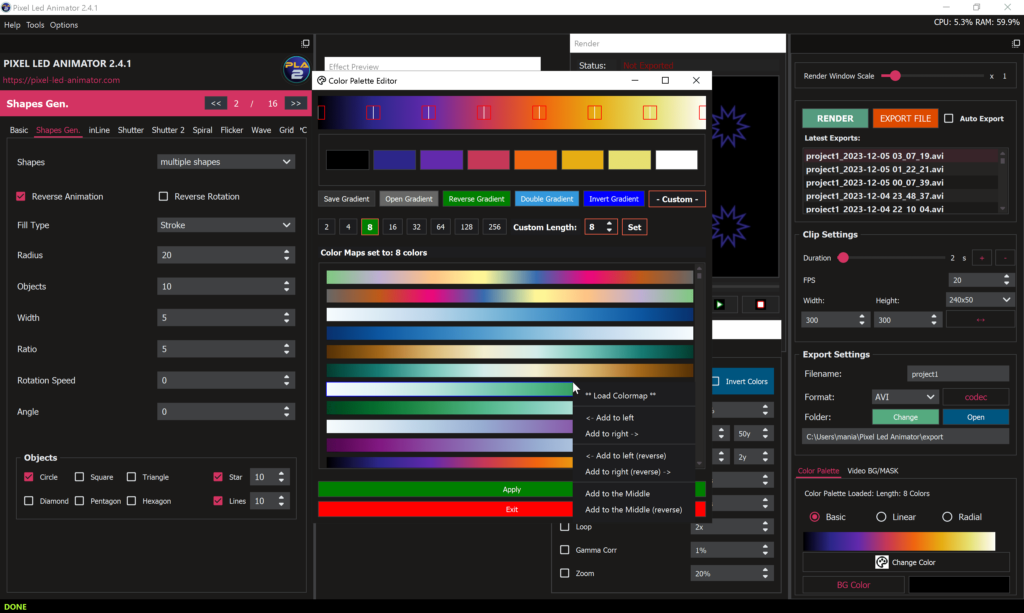
- Customize Variables: Tweak the selected effect by adjusting variables like speed, color, and intensity. These controls help you refine the effect to your liking.
- Live Preview: Use the live preview feature to see changes in real-time. This ensures you know exactly how your effect will look on your pixel LED display.
Step 4: Rendering and Exporting Your Animation
With your effect ready, it’s time to render and export:
- Render the Animation: When you’re happy with your effect, click the “Render” button on the right panel.
- Export the File: After rendering, export the file in your desired format (such as AVI, SWF, etc.). Make sure the format you choose is compatible with your LED control software like LedEdit or Jinx! LED.
- Auto Export Option: For added convenience, enable the “Auto Export” feature, which automatically exports the file after rendering.
Step 5: Importing Your Effects into Your LED Software
Finally, let’s bring your animations to life:
- Run Your LED Software: Open the LED control software of your choice (e.g., LedEdit, Jinx! LED).
- Set Up Your LED Layout: Configure your LED matrix layout in the software to match your actual hardware setup.
- Import Your Effects: Import the effect files you exported from Pixel LED Animator 2 into your LED software.
- Apply and Test: Apply the effects to your LED matrix and test them to ensure they display as intended.
Tips for Creating Stunning Effects
- Experiment Freely: Don’t be afraid to experiment with different variables to discover unique effects.
- Use Layers: Combining multiple effects in layers can result in more complex and visually appealing animations.
- Save Often: Save your work frequently to avoid losing progress, especially when working on detailed designs.
- Test on Actual Display: Whenever possible, preview your animations on the actual pixel LED display to ensure they look perfect.
By following these steps, you’ll be well on your way to designing mesmerizing pixel LED animations. Whether you’re crafting animations for a high-energy VJ set or festive holiday lights, Pixel LED Animator 2 offers everything you need to bring your ideas to life. Ready to get started? Download Pixel LED Animator 2 from the official website and let your creativity shine!
